


Table of Contents
1) Creating a free instance on Google Cloud
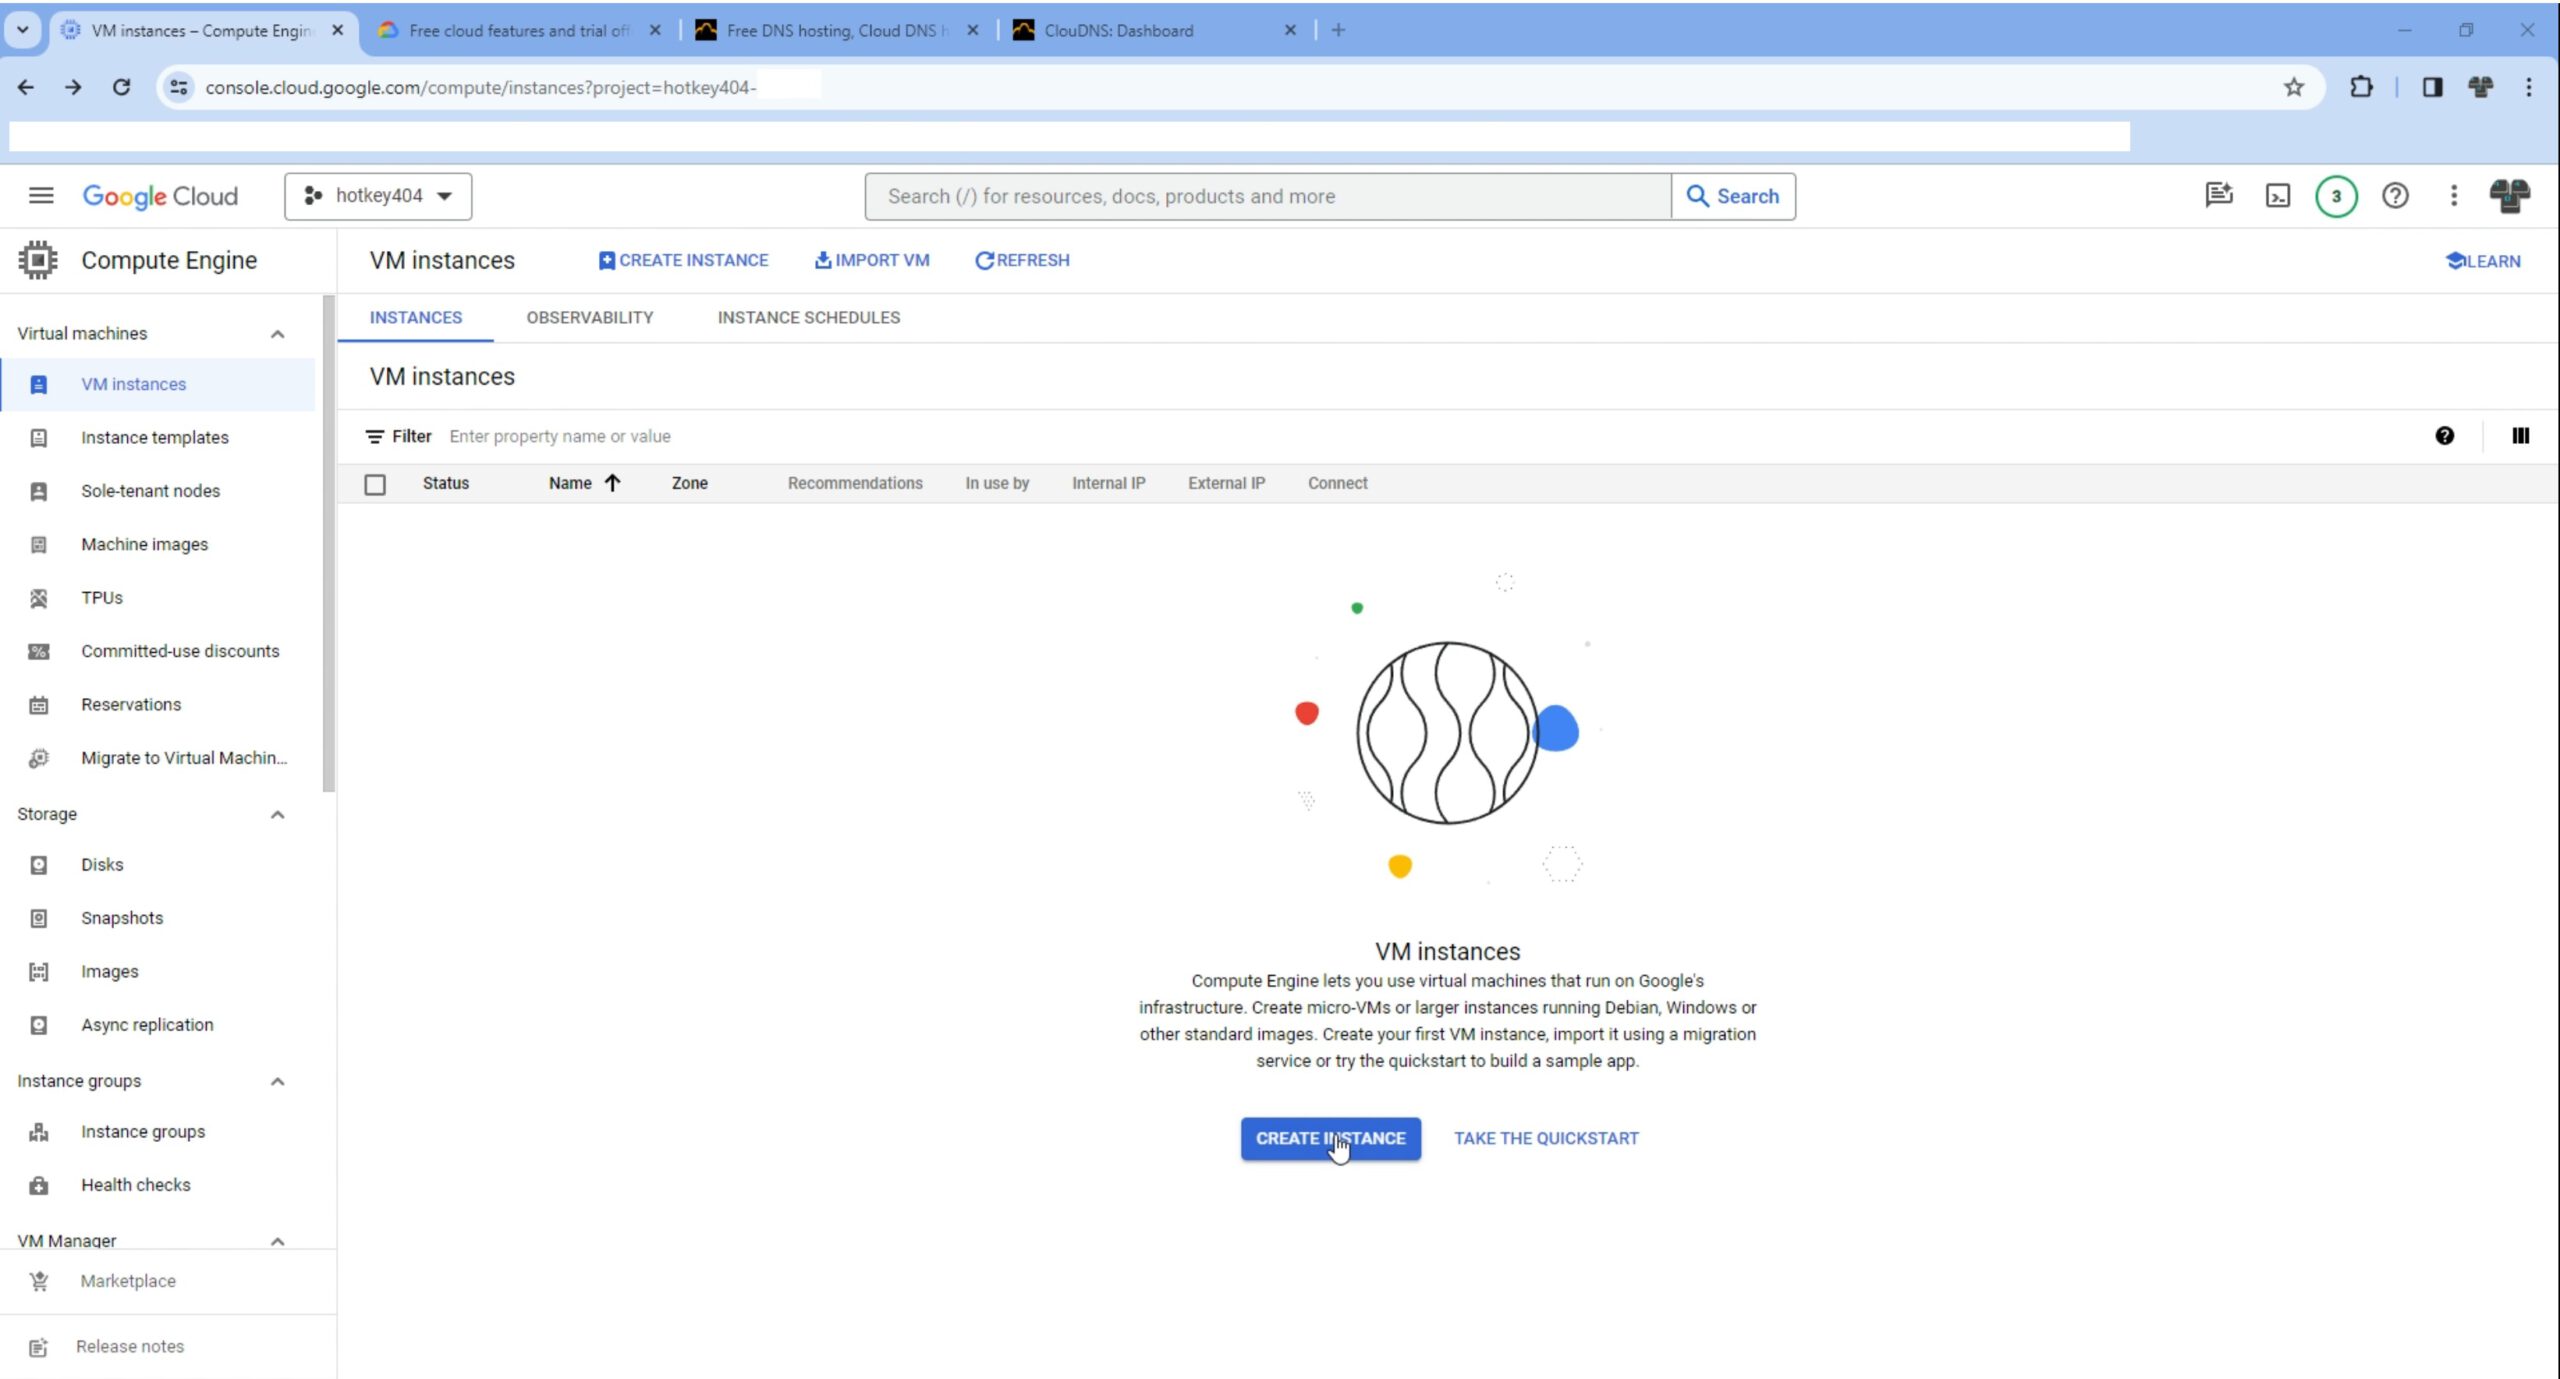
Go to Google Cloud Console and select from the navigation menu Compute Engine -> VM Instances and click Create Instance
NOTE: If you haven't started using Google Cloud with a billing account, you can create one now. You will also receive a pool of certain free funds to use for 90 days. If you do not choose any paid solutions, you will not incur any costs.
e2-micro“. The window on the right shows the projected costs, but we do not care about this information because it will later turn out that, as previously described, it will be free. 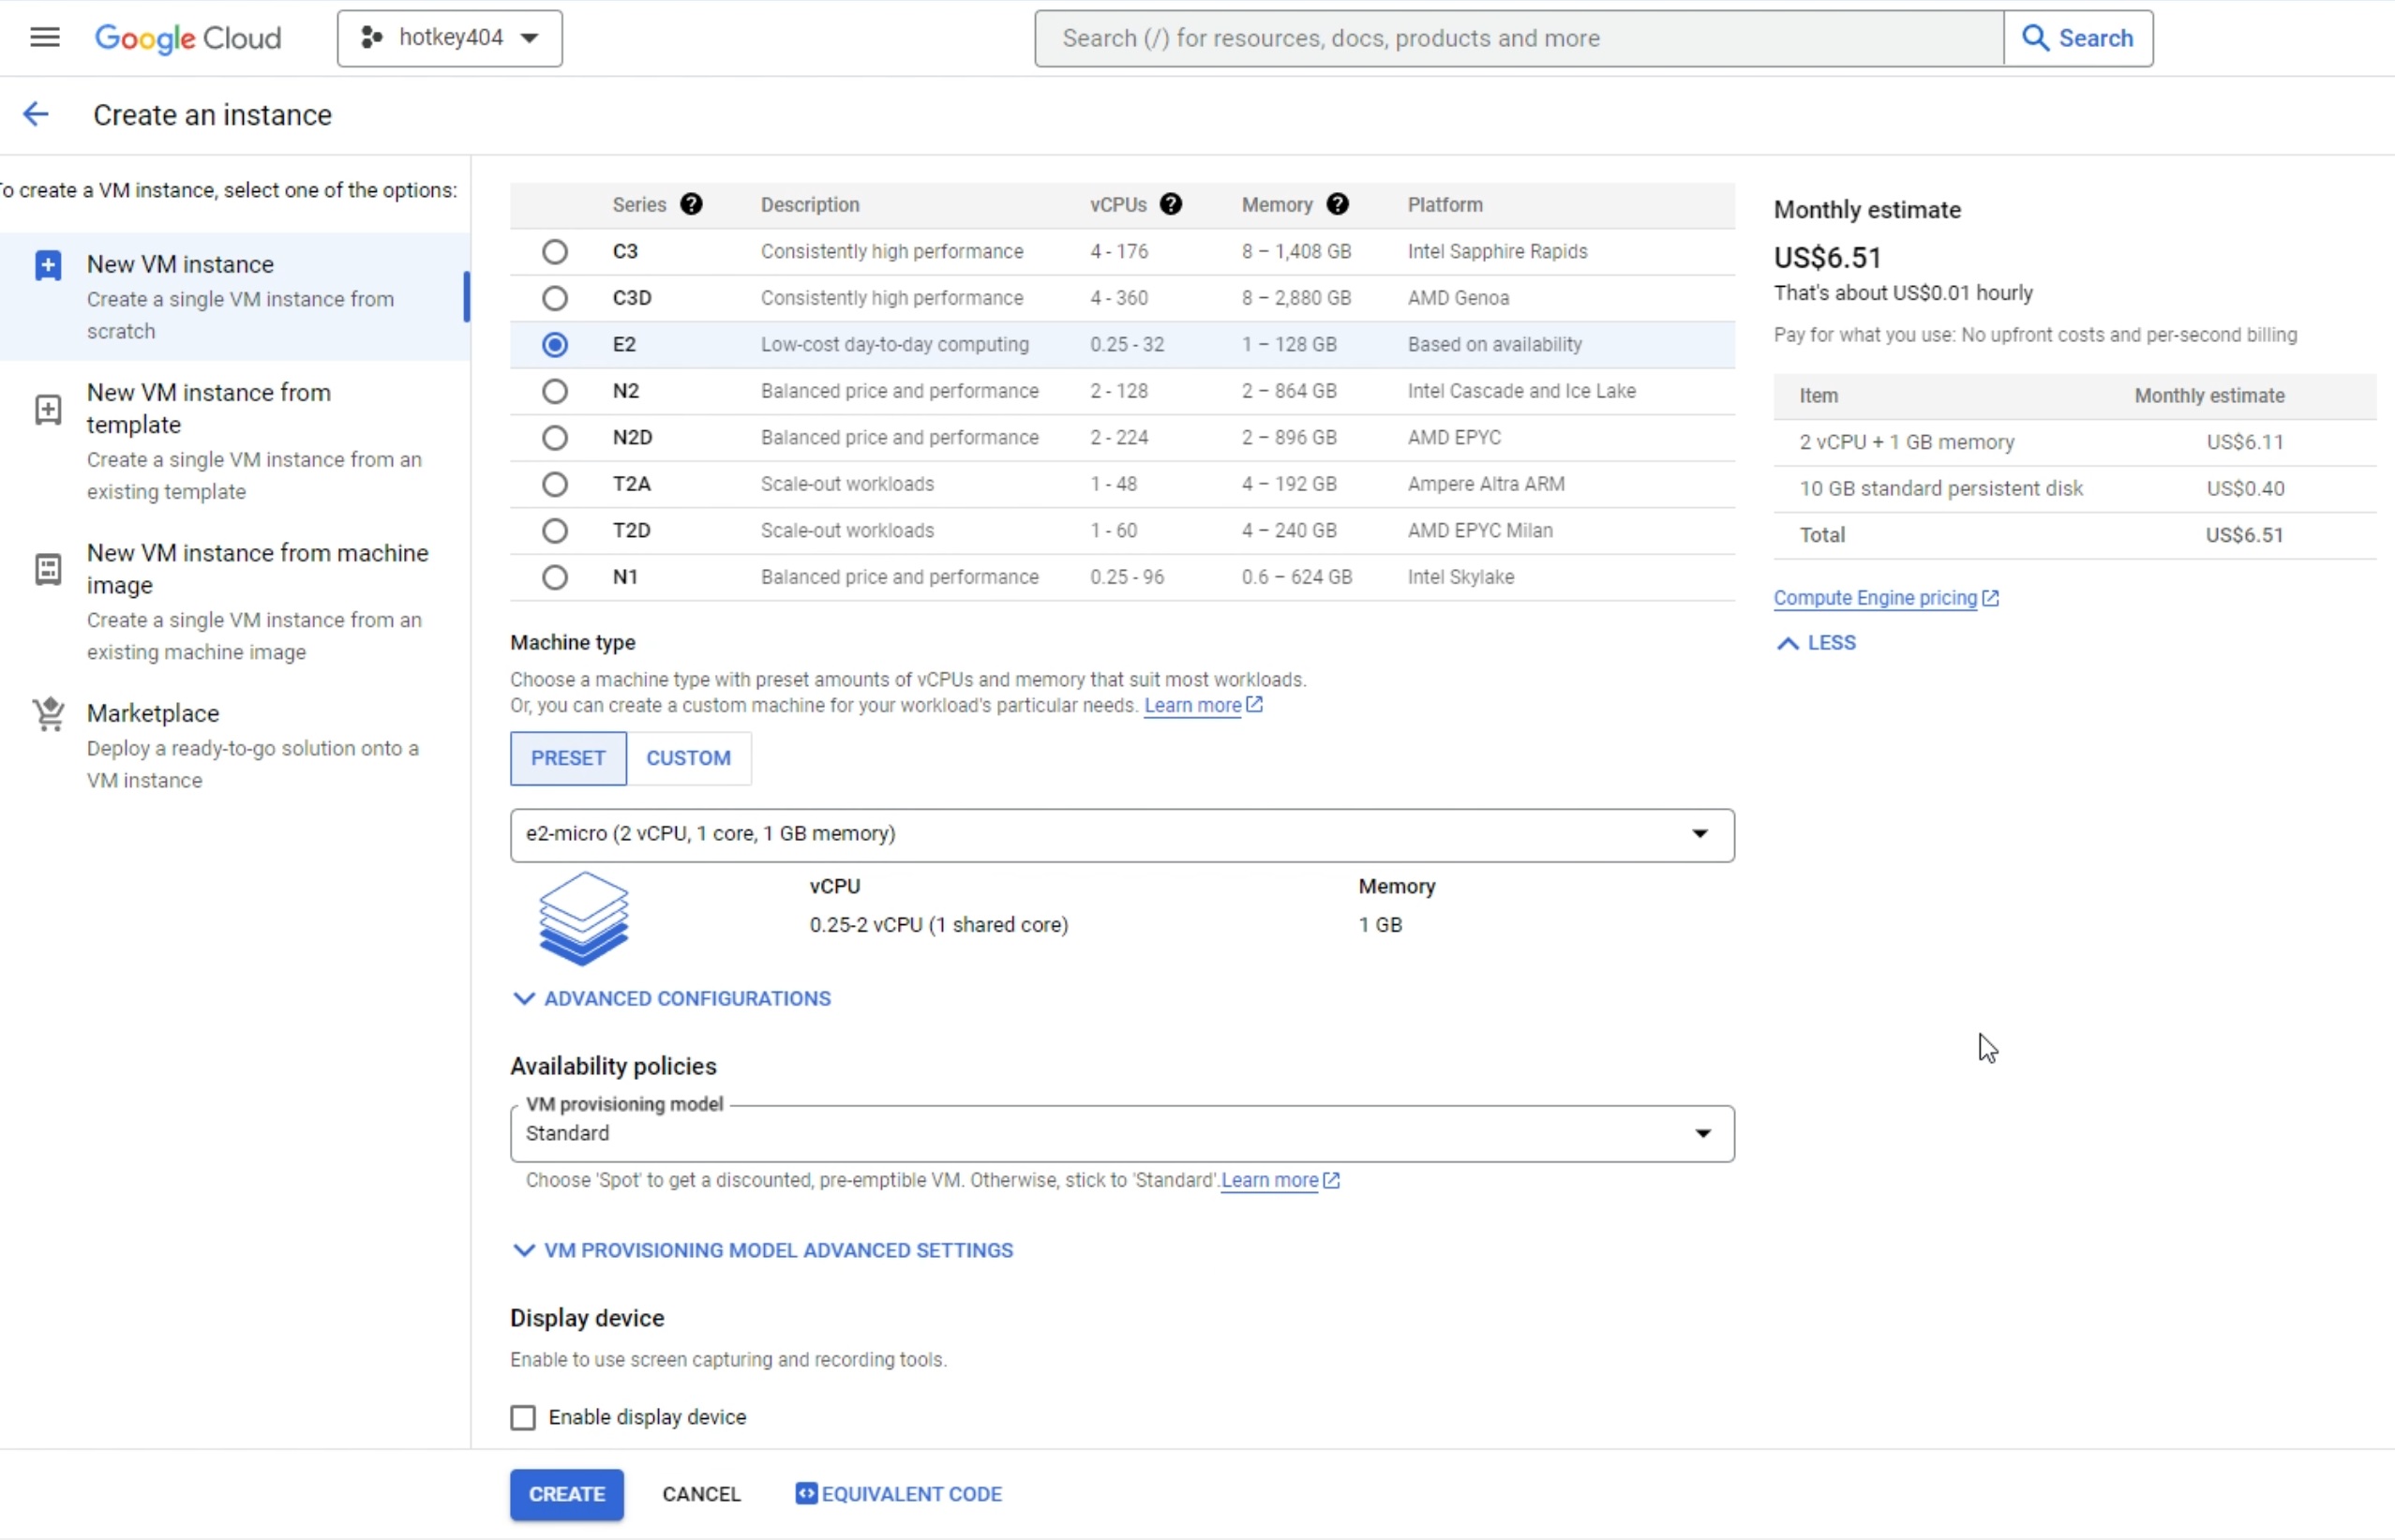
Boot Disk section, select the latest stable version of Debian: GNU/Linux 12 (bookworm). Of course, you can choose any other one. We also increase the disk capacity to 30 MB 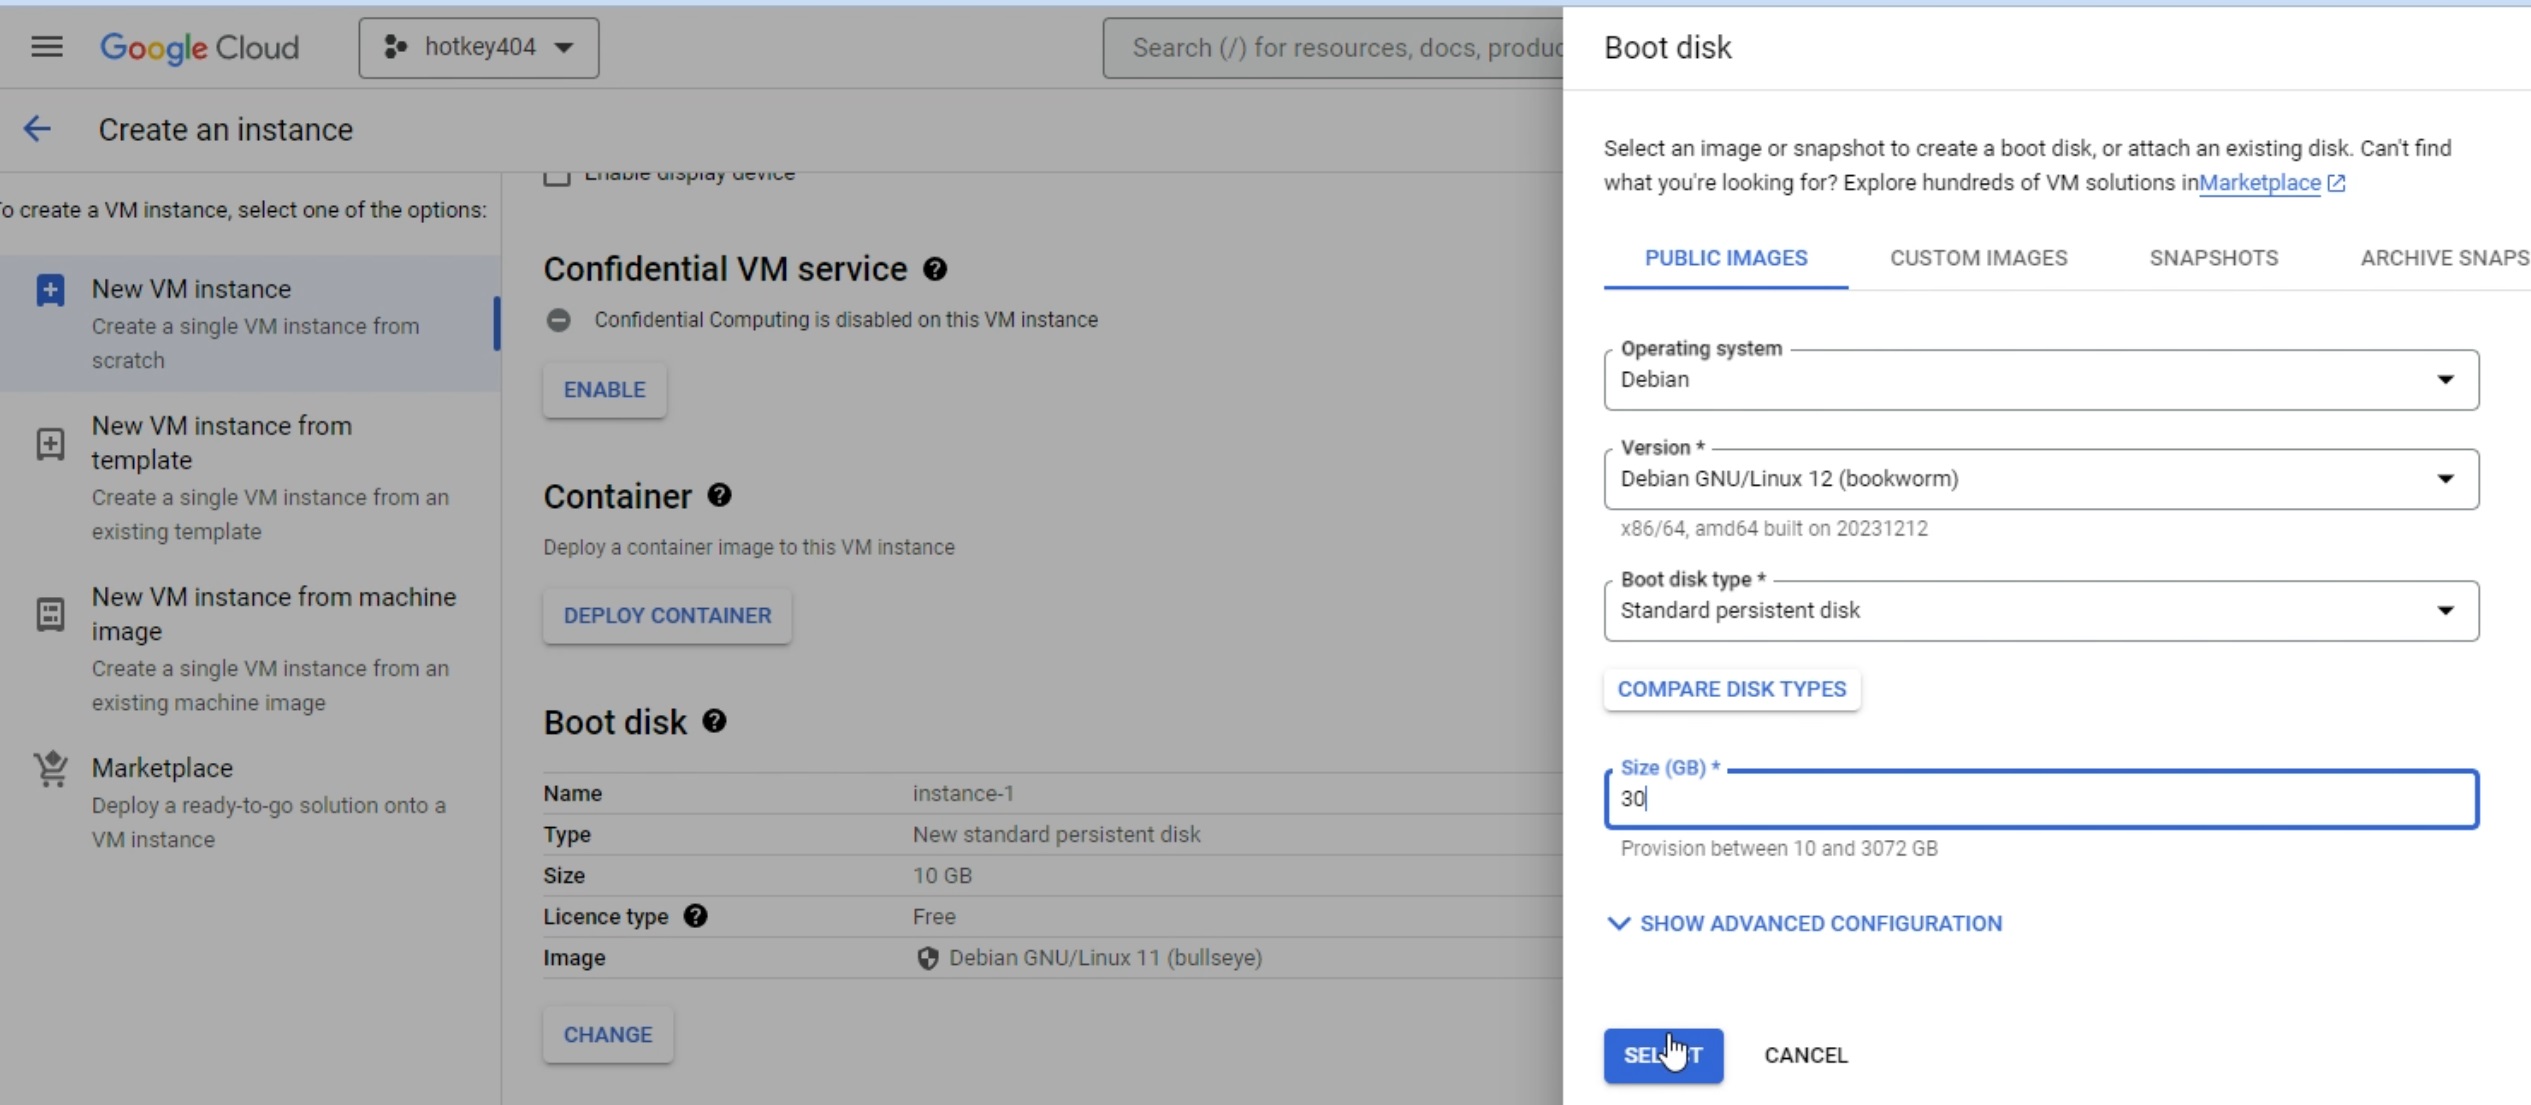
- Oregon:
us-west1 - Iowa:
us-central1 - South Carolina:
us-east1
Create“ 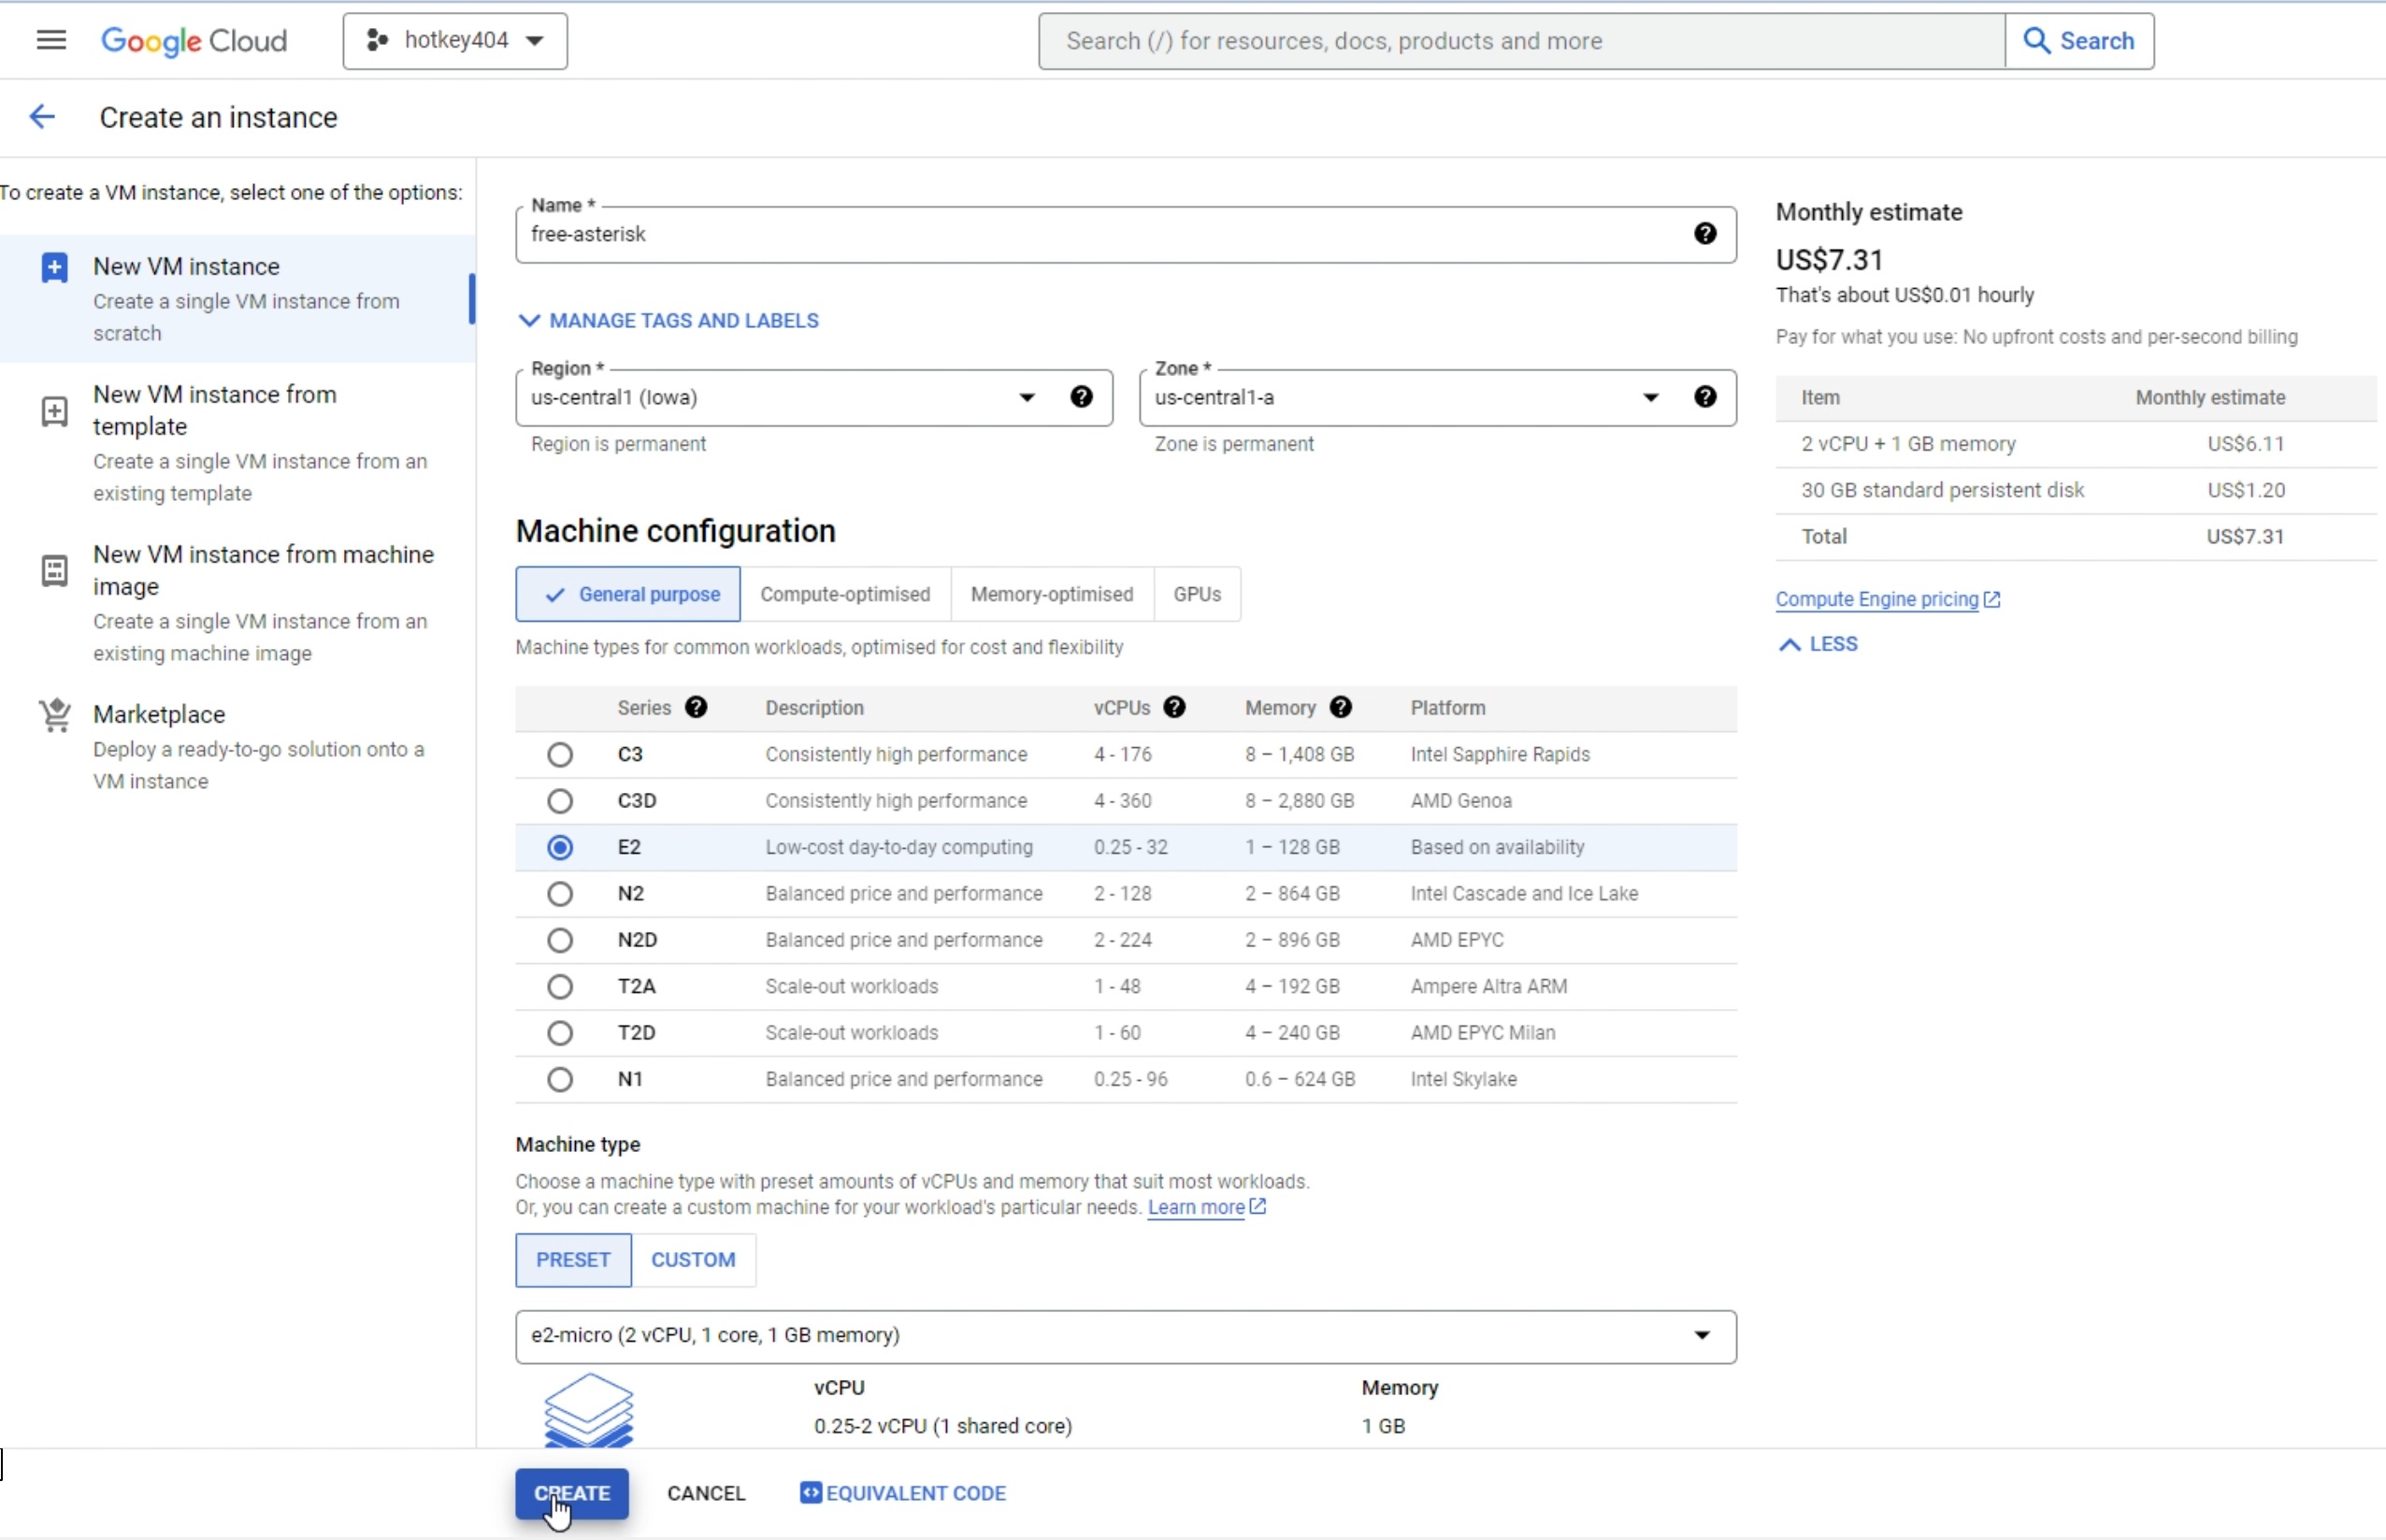
2) Login, update and upgrade
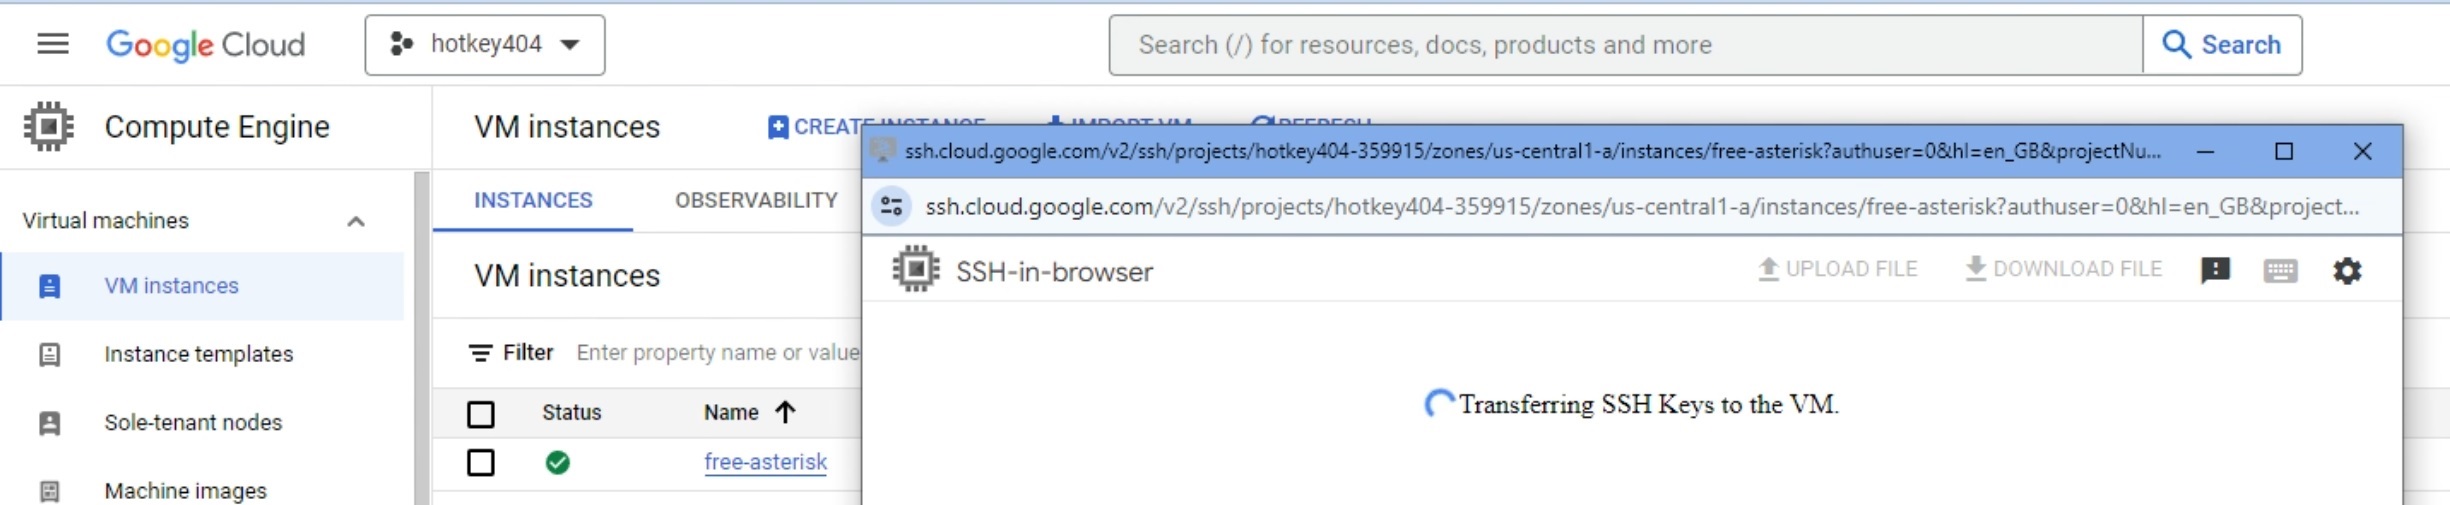
SSH button. Google Cloud uses its own SSH keys, which it transfers to the machine. 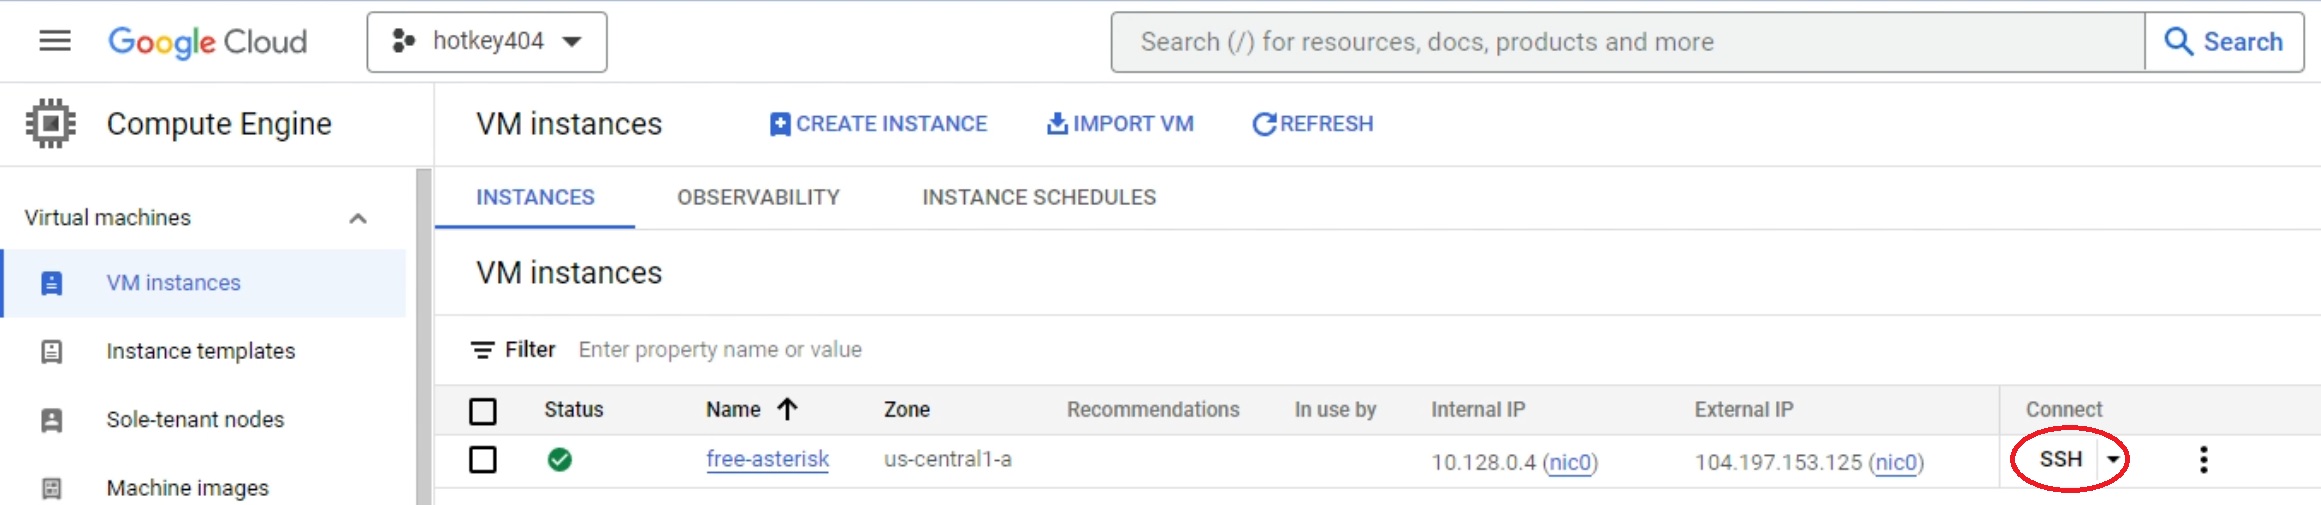
Authorize to allow the browser to securely connect to your virtual machine. 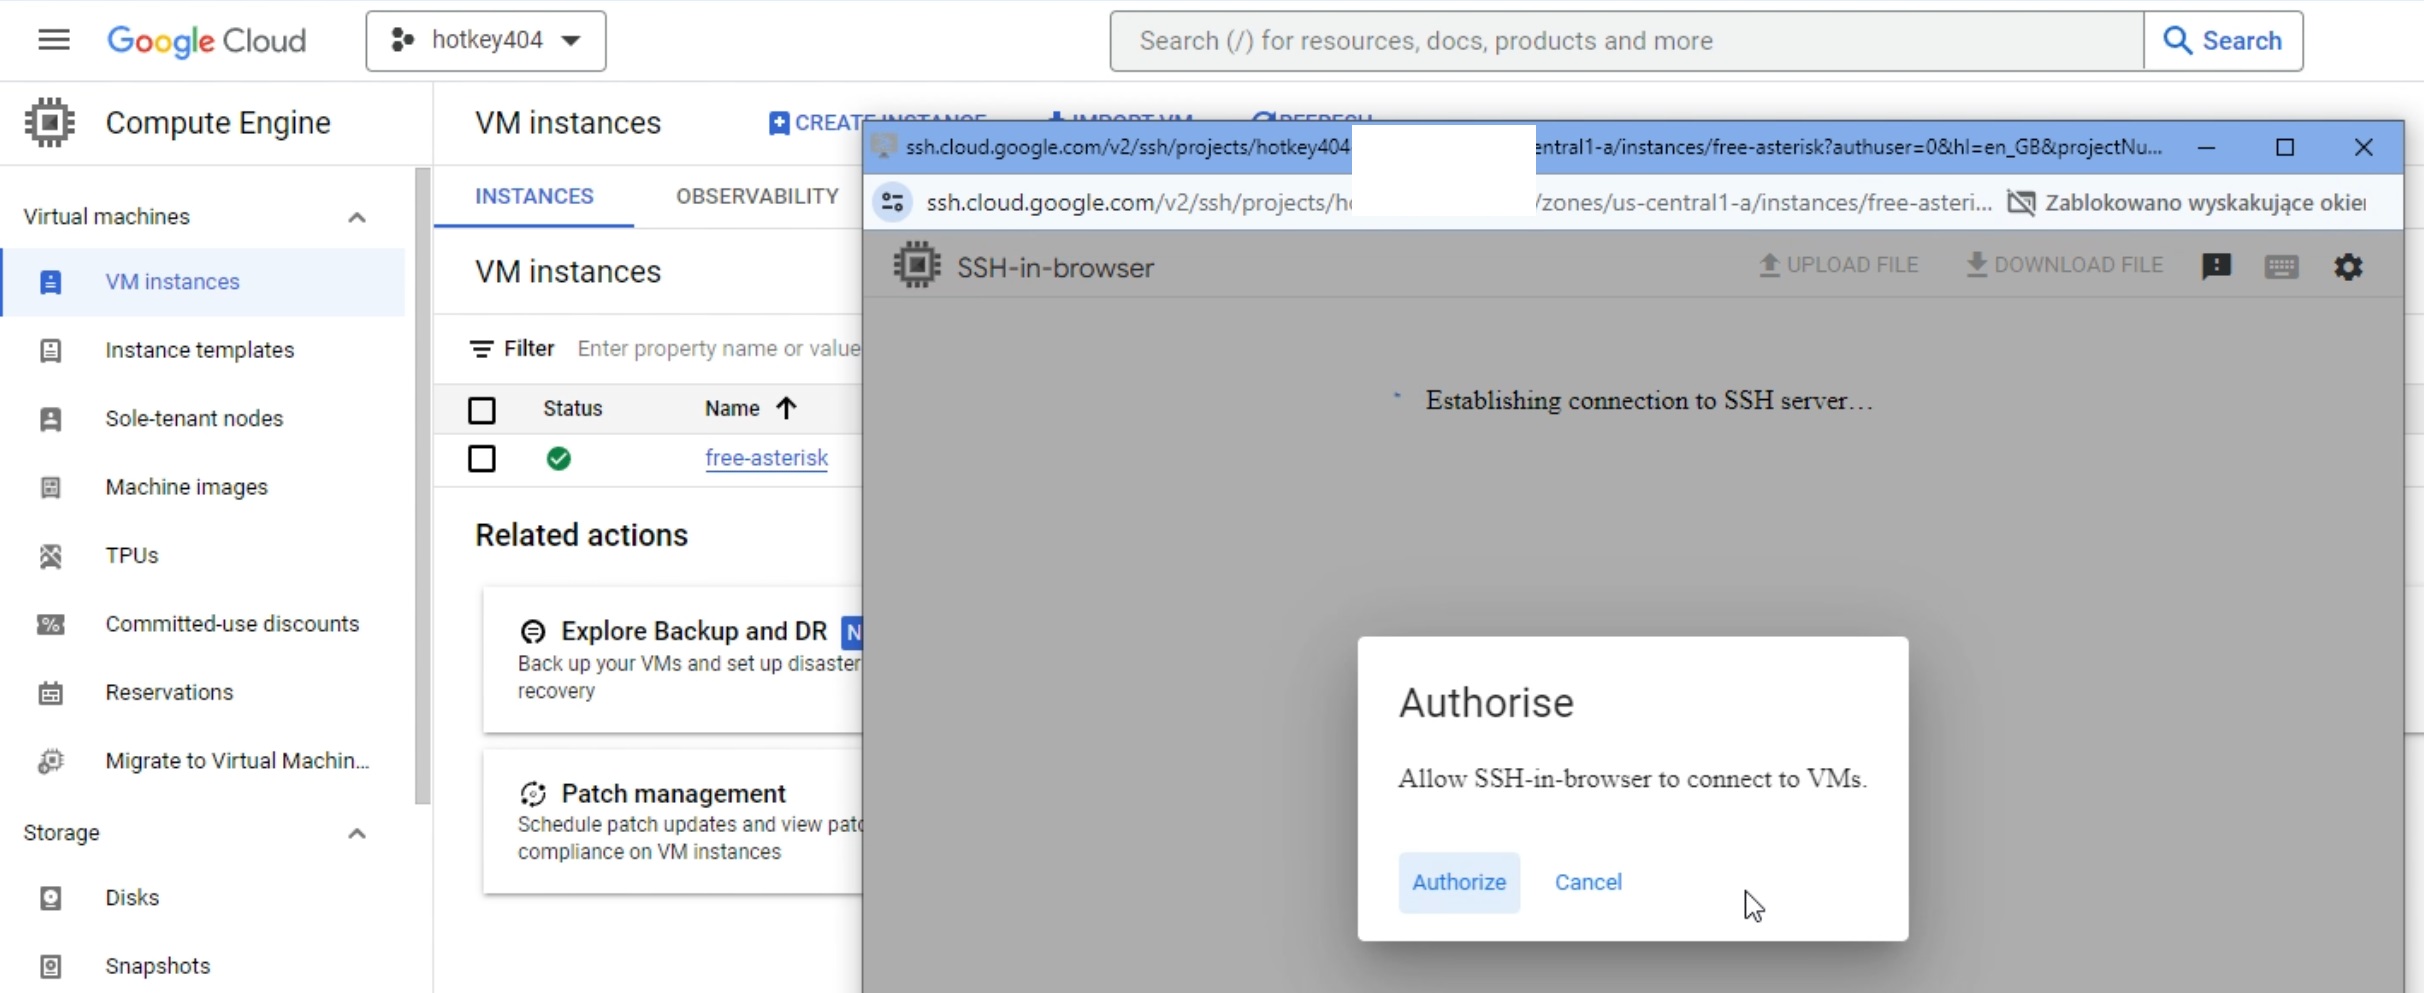
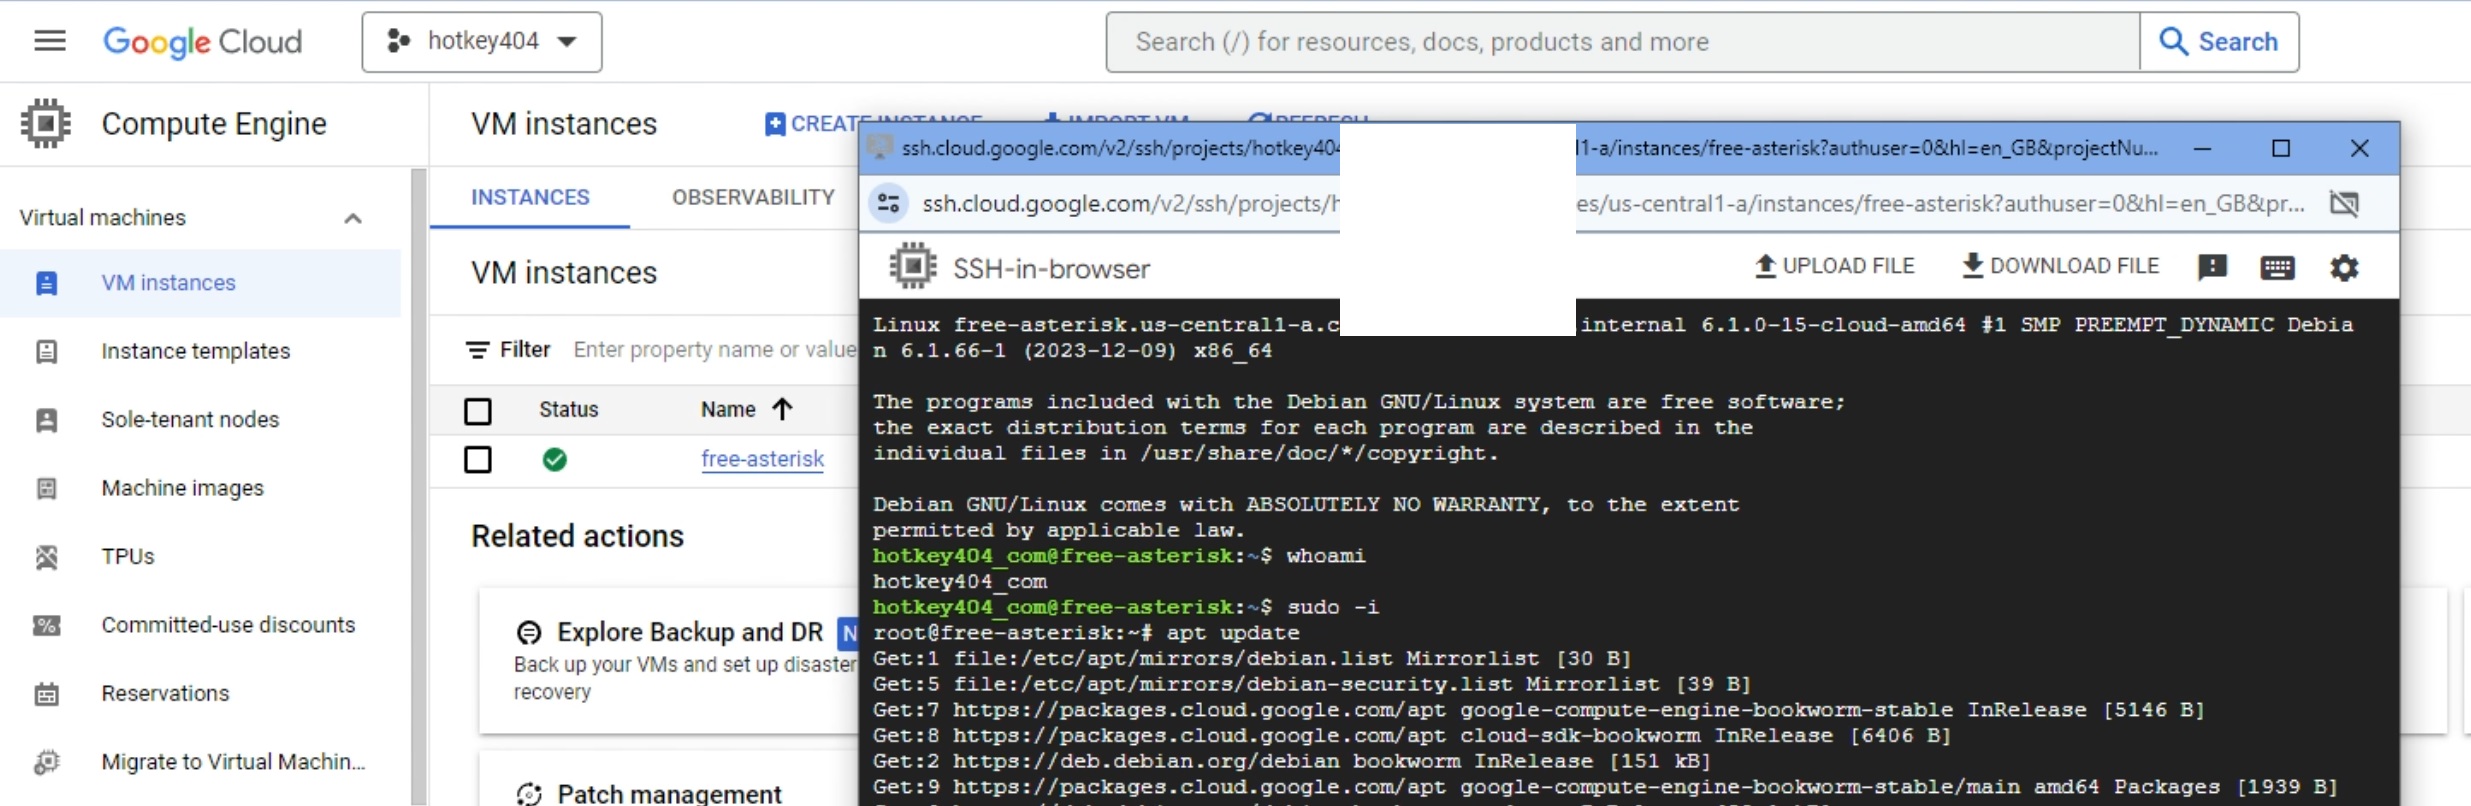
sudo -i
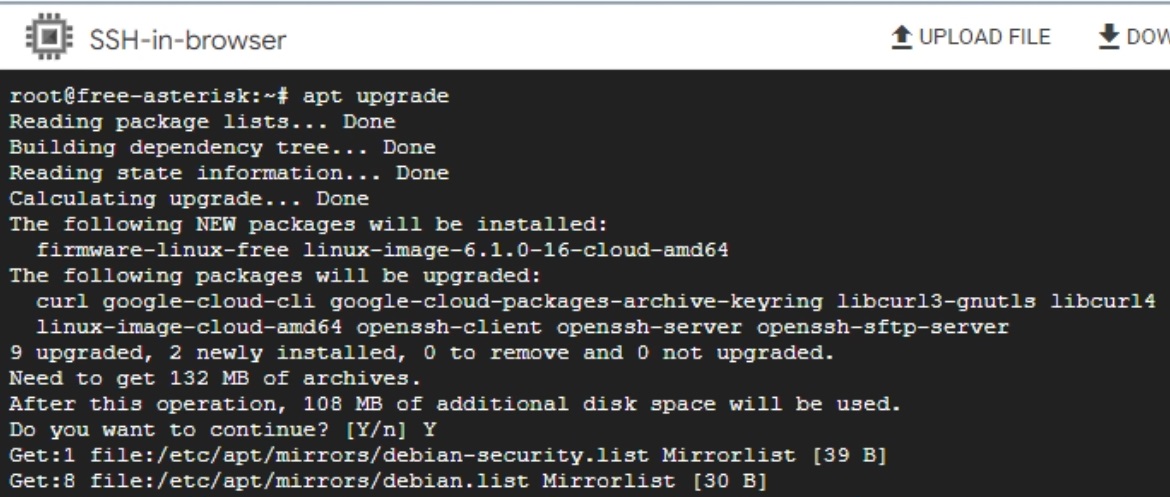
apt update
Then upgrade the system by clicking “y” to agree to the entire operation
apt upgrade
To make it easier to connect to the machine via an external ssh client, e.g. putty, add your public key to the authorize_keys file for your user in Google Cloud.
3) Free DNS
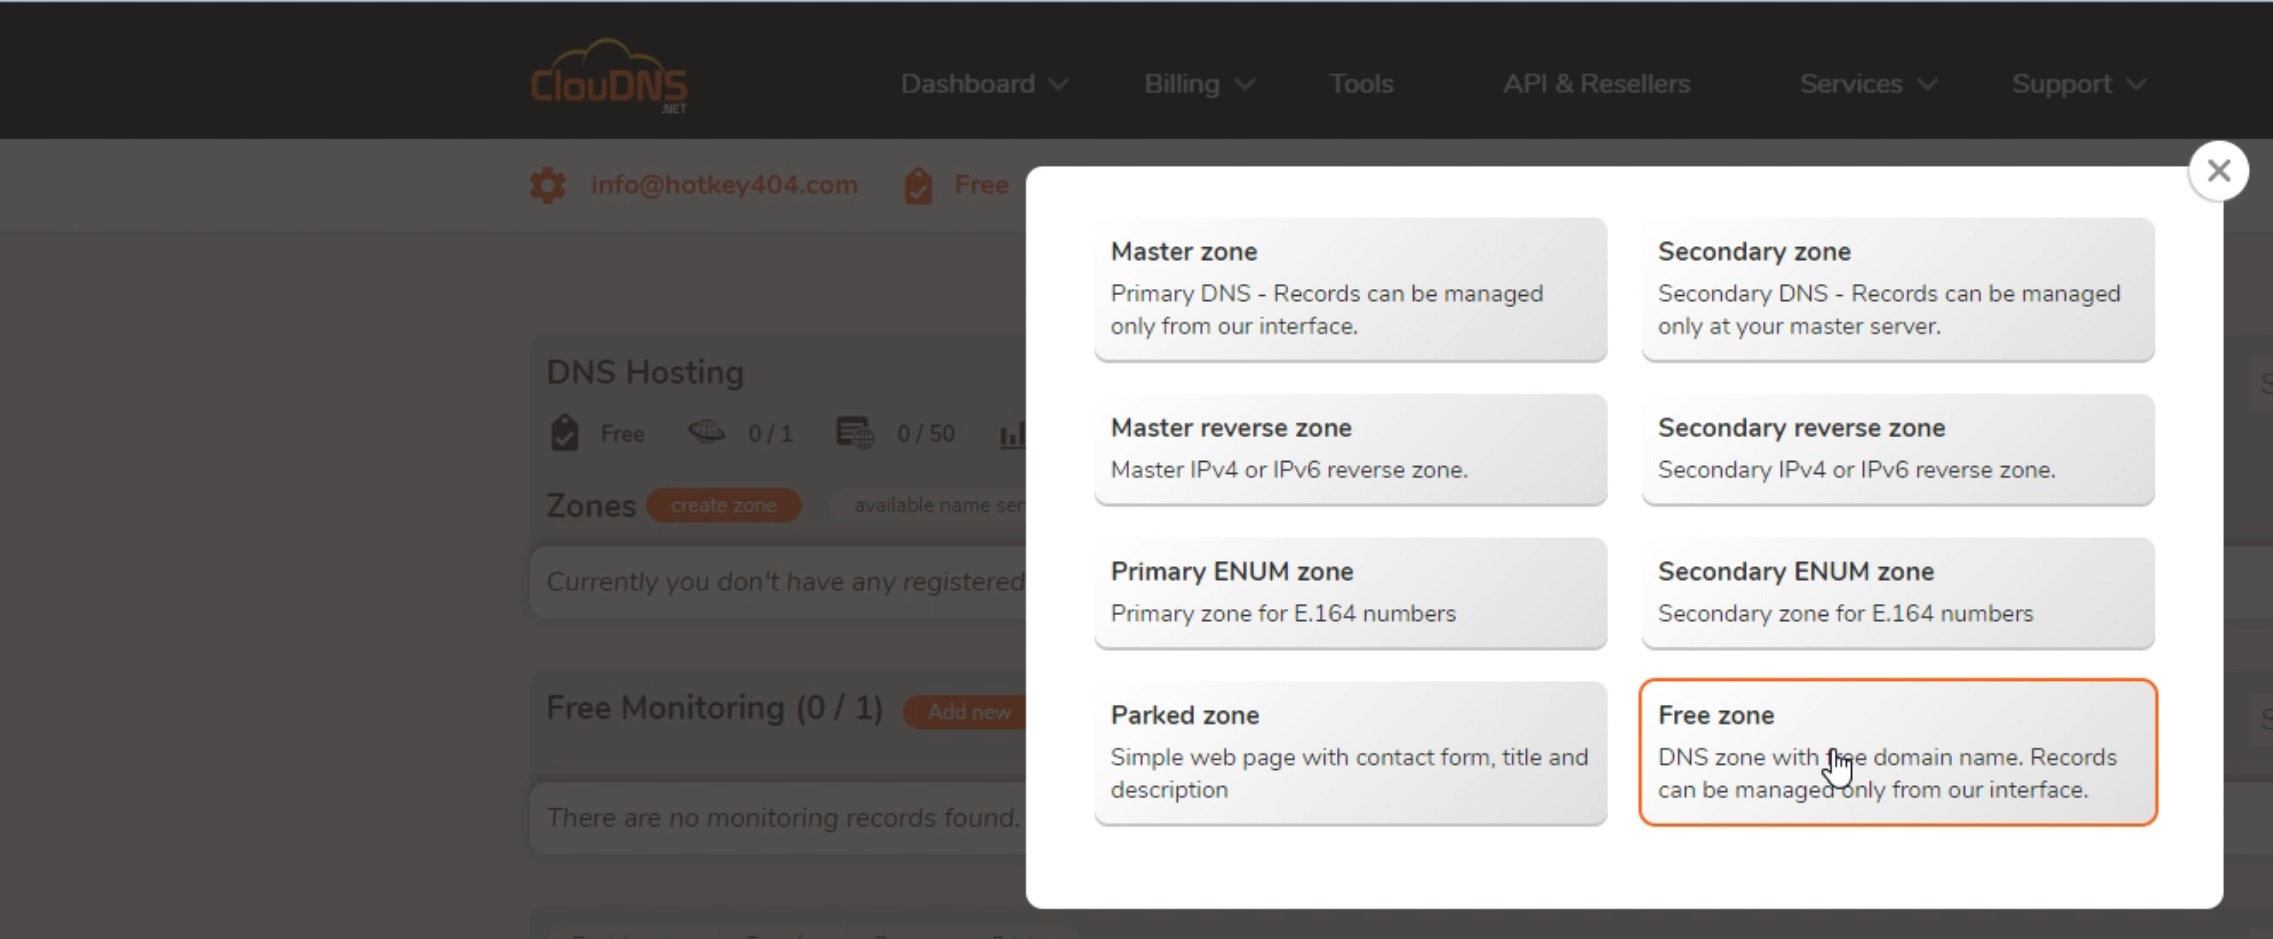
While waiting for the upgrade to be performed (it’s a slow machine, it took about 20 minutes), we will set up a free DNS. We need this because this free version of the machine receives a public IP address, but unfortunately it changes after each restart. On the website ClouDNS we have the free one we are looking for. So let’s go to create a free entry and click Free zone.
Domain name field, enter a friendly name and in the Enter your current IP address field our current IP address, which is visible in the Google Cloud panel. We can also select Activate Dynamic DNS immediately. Finally, click Create 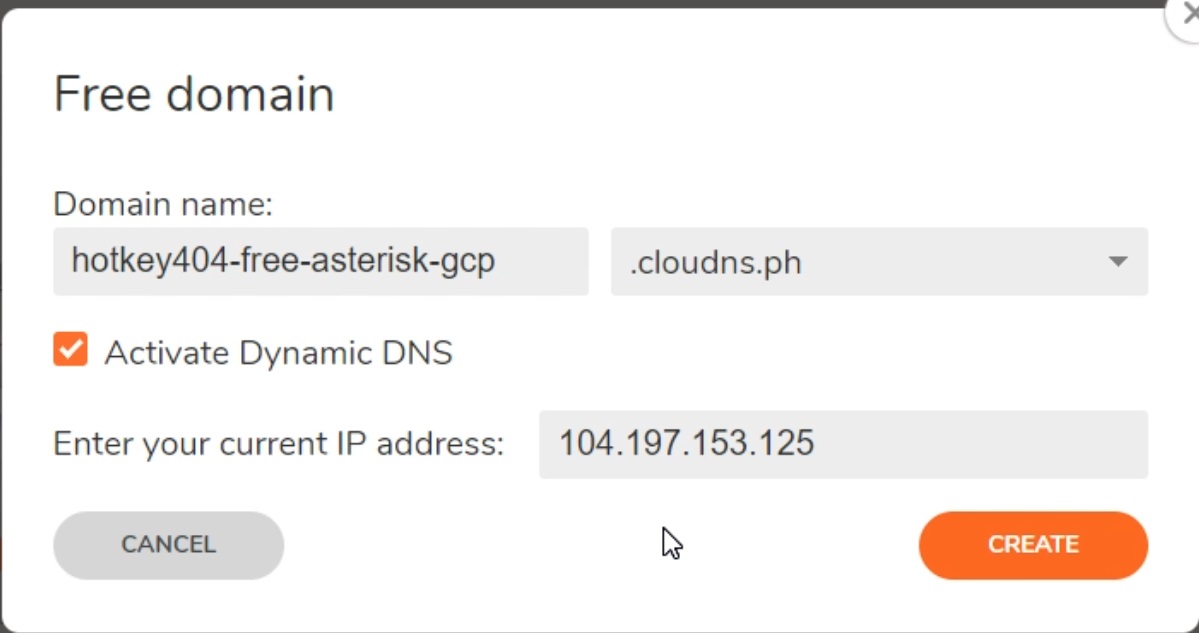
4) Asterisk installation
timedatectl set-timezone Europe/Warsaw

5) Firewall Configuration
Firewall > Create firewall rule and create the allow-sip rule. Its example configuration is in the screenshot below. 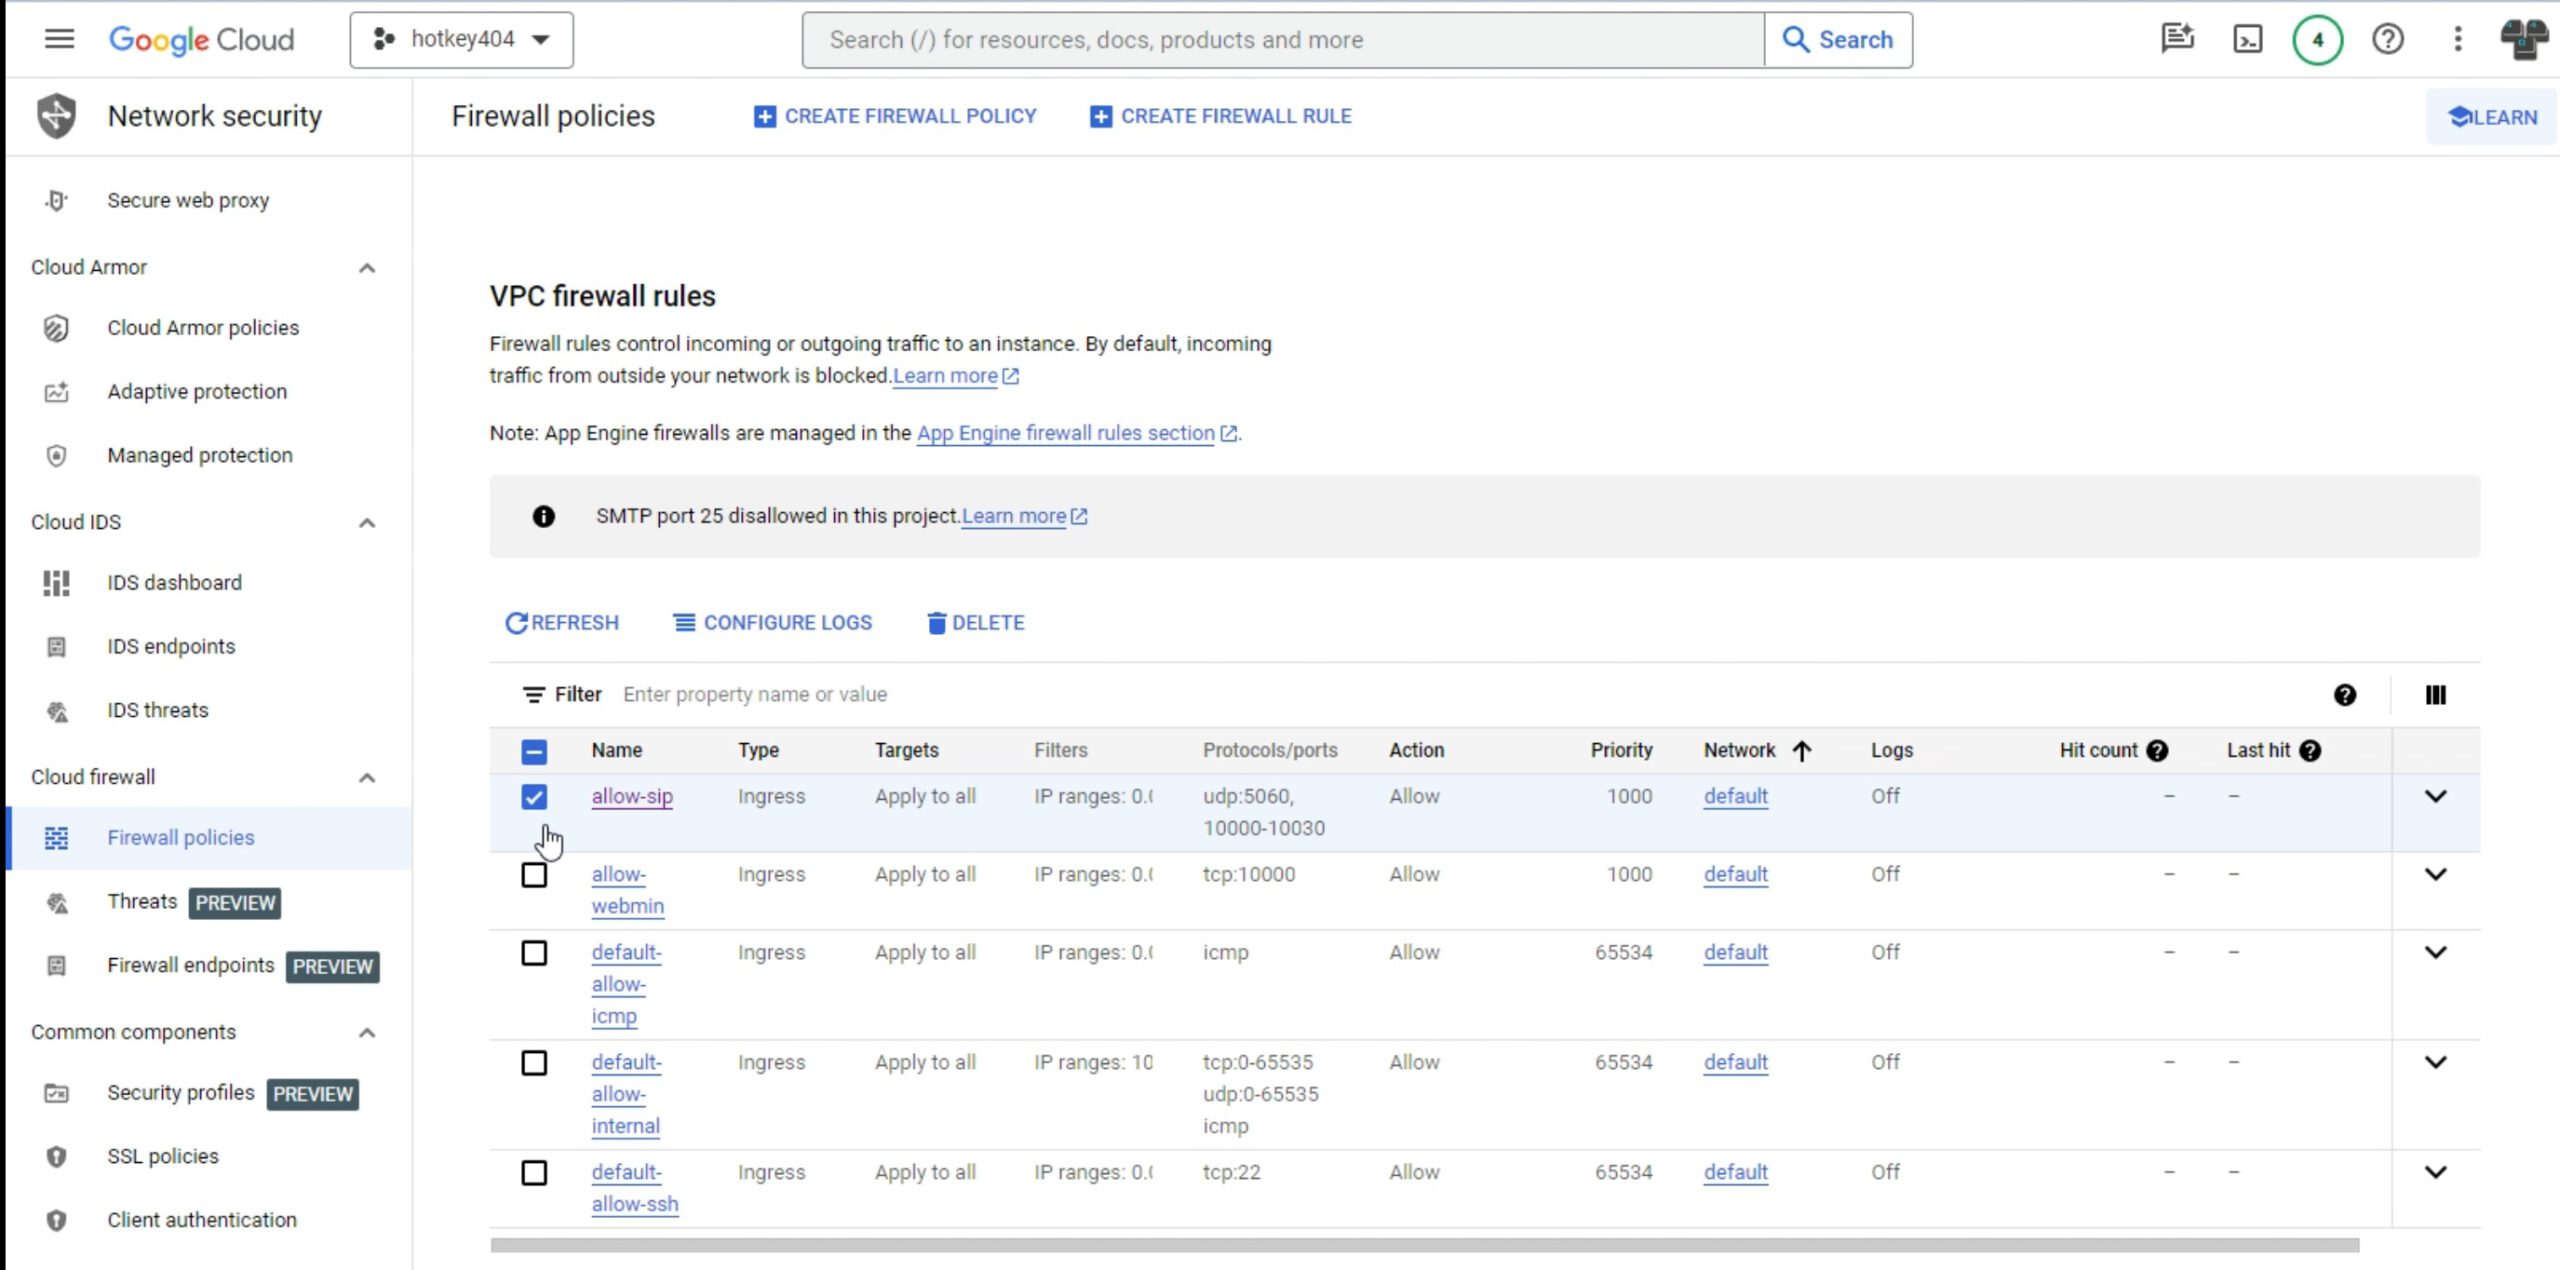
					cp /etc/asterisk/samples/rtp.conf /etc/asterisk
nano /etc/asterisk/rtp.conf
					rtpstart=10000
rtpend=10030
6) Dynamic DNS configuration
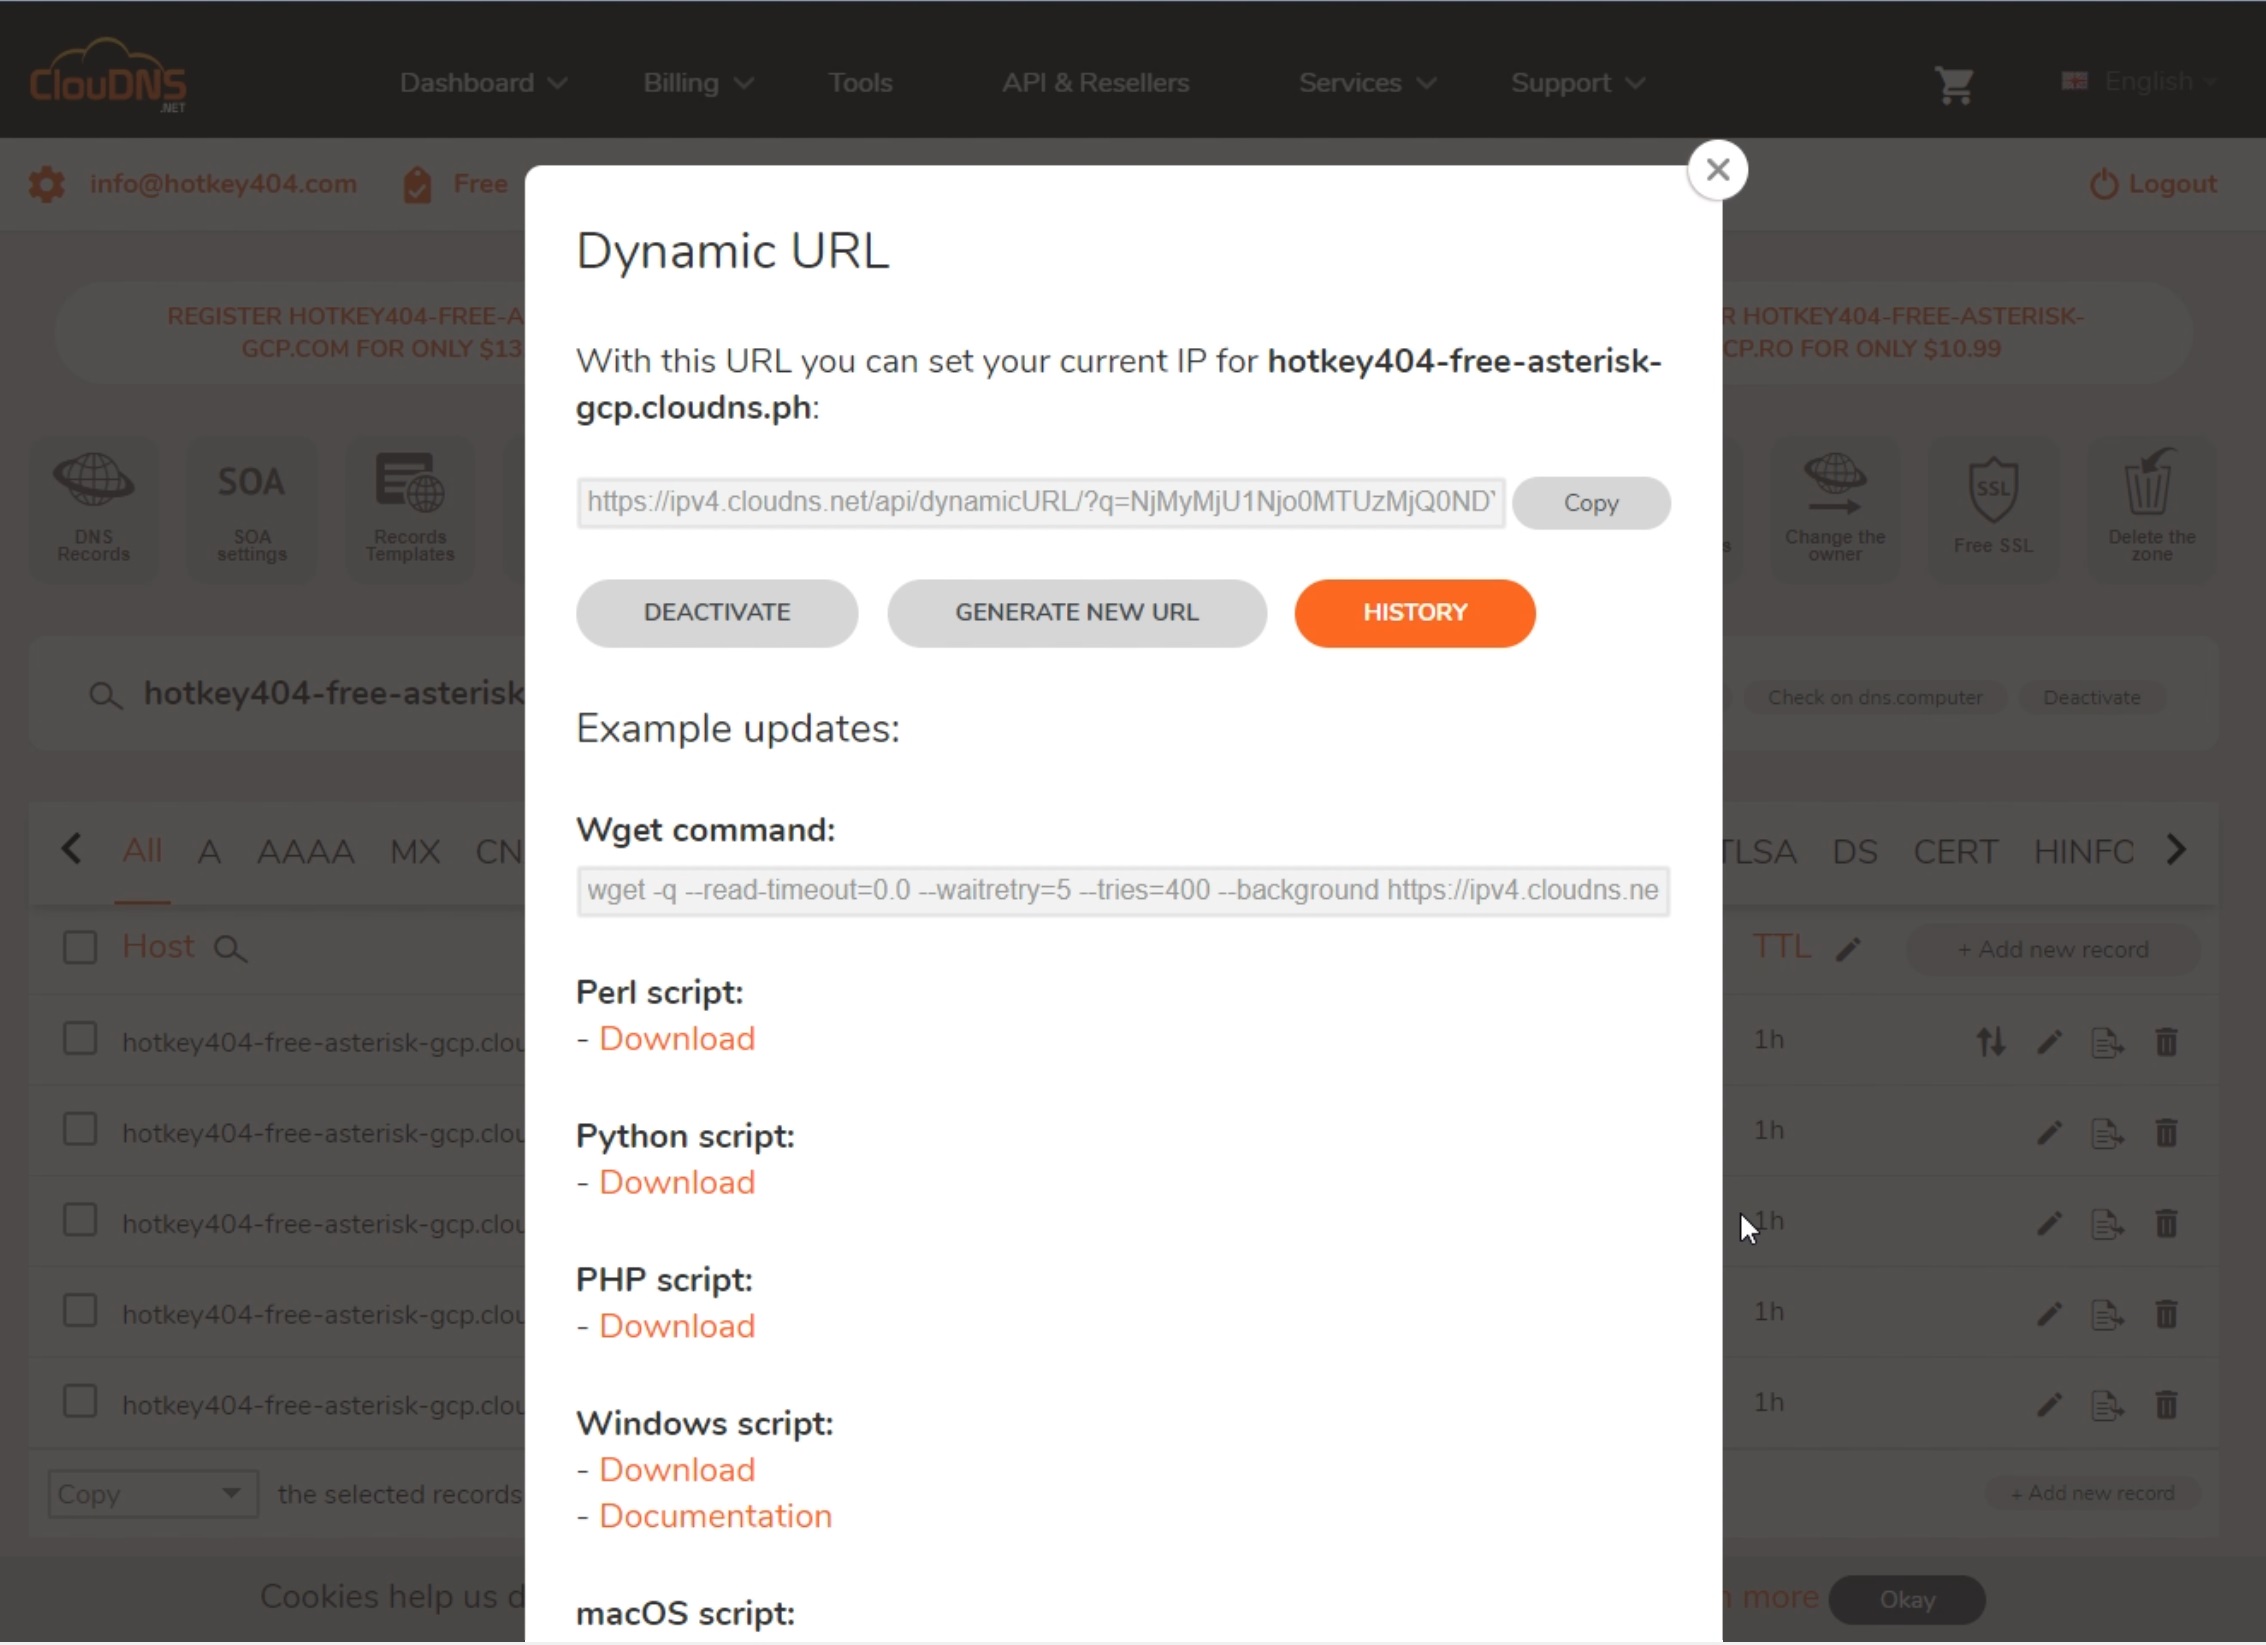
It is true that our switchboard is already recognized on the Internet by its name (FQDN), but unfortunately each time the machine is fully turned off, the IP address changes, so we would lose the ability to connect to the new IP address by name. ClouDNS-type services allow us to properly configure dynamic DNS. On the ClouDNS website, click on the two opposite arrows next to your free entry that we configured in point 3 (Active Dynamic URL)
ClouDNS website: https://www.cloudns.net/aff/id/698914/

poweroff). We then have a guarantee of almost constant access to our services via a specific FQDN address. In the next part we will describe it step by step. 7) Script updating the IP address change
cloudns_update.sh script to update our IP address
nano /var/tmp/cloudns_update.sh
					#!/bin/bash
curl -s https://ipv4.cloudns.net/api/dynamicURL/?q=paste the encoded value obtained from the ClouDNS website here

EXTERNALIP=$(curl https://ipecho.net/plain)
sudo sed -i "s/^external_media_address =.*$/external_media_address = $EXTERNALIP/" /etc/asterisk/pjsip.conf
sudo sed -i "s/^external_signaling_address =.*$/external_signaling_address = $EXTERNALIP/" /etc/asterisk/pjsip.conf
pjsip.conf file. pjsip.conf file, the lines of code that we intend to change with our script are commented out with a semicolon. They must first be uncommented (remove the semicolon) so that the sed -i command finds the correct string of characters to replace.
nano /etc/asterisk/pjsip.conf
We make changes in two lines
					external_media_address =
external_signaling_address =
chmod +x /var/tmp/cloudns_update.sh
We will now create a new website file that will be automatically launched every time the system is restarted.
nano /etc/systemd/system/cloudns_update.service
					[Unit]
Description=Update my External IP on Cloudns
After=network.target

[Service]
Type=simple
ExecStart=/var/tmp/cloudns_update.sh
TimeoutStartSec=0

[Install]
WantedBy=default.target
Now we will reload the system service to include the newly created service.
systemctl daemon-reload
Then we will add the service to autostart and run it.
					systemctl enable cloudns_update.service
systemctl start cloudns_update.service
Now, after turning off the machine and restarting it, we will see the new IP address there, and in our ClouDNS service the IP address will be updated.
poweroff
We start the machine from the Google Cloud interface.
8) Logging in your phone account
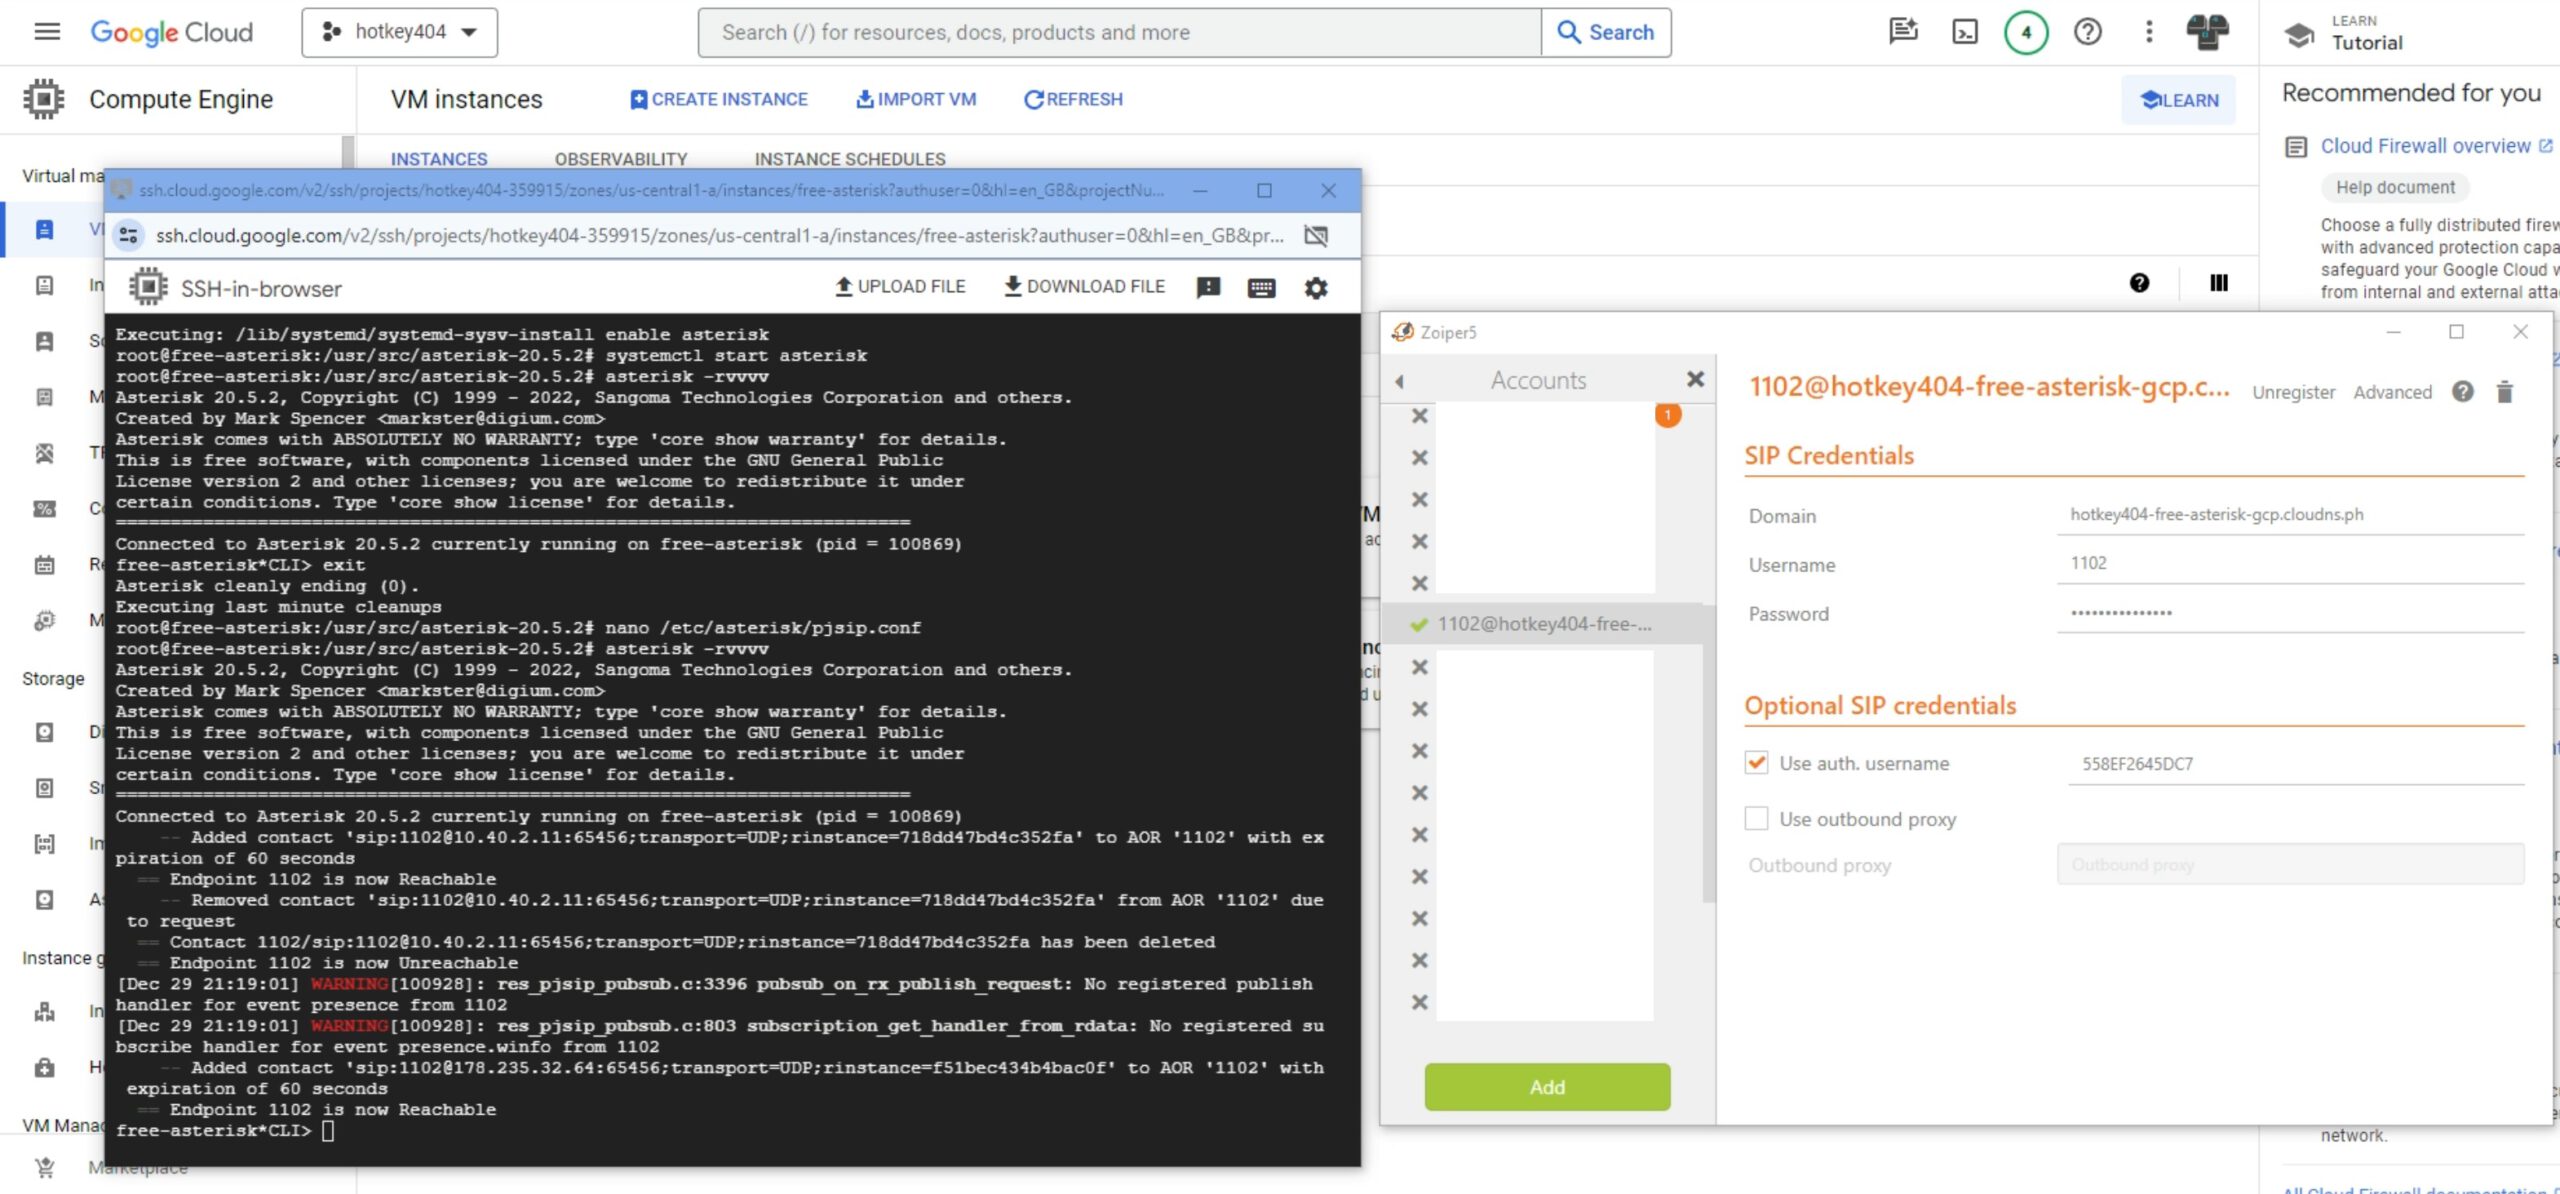
/etc/asterisk/pjsip.conf 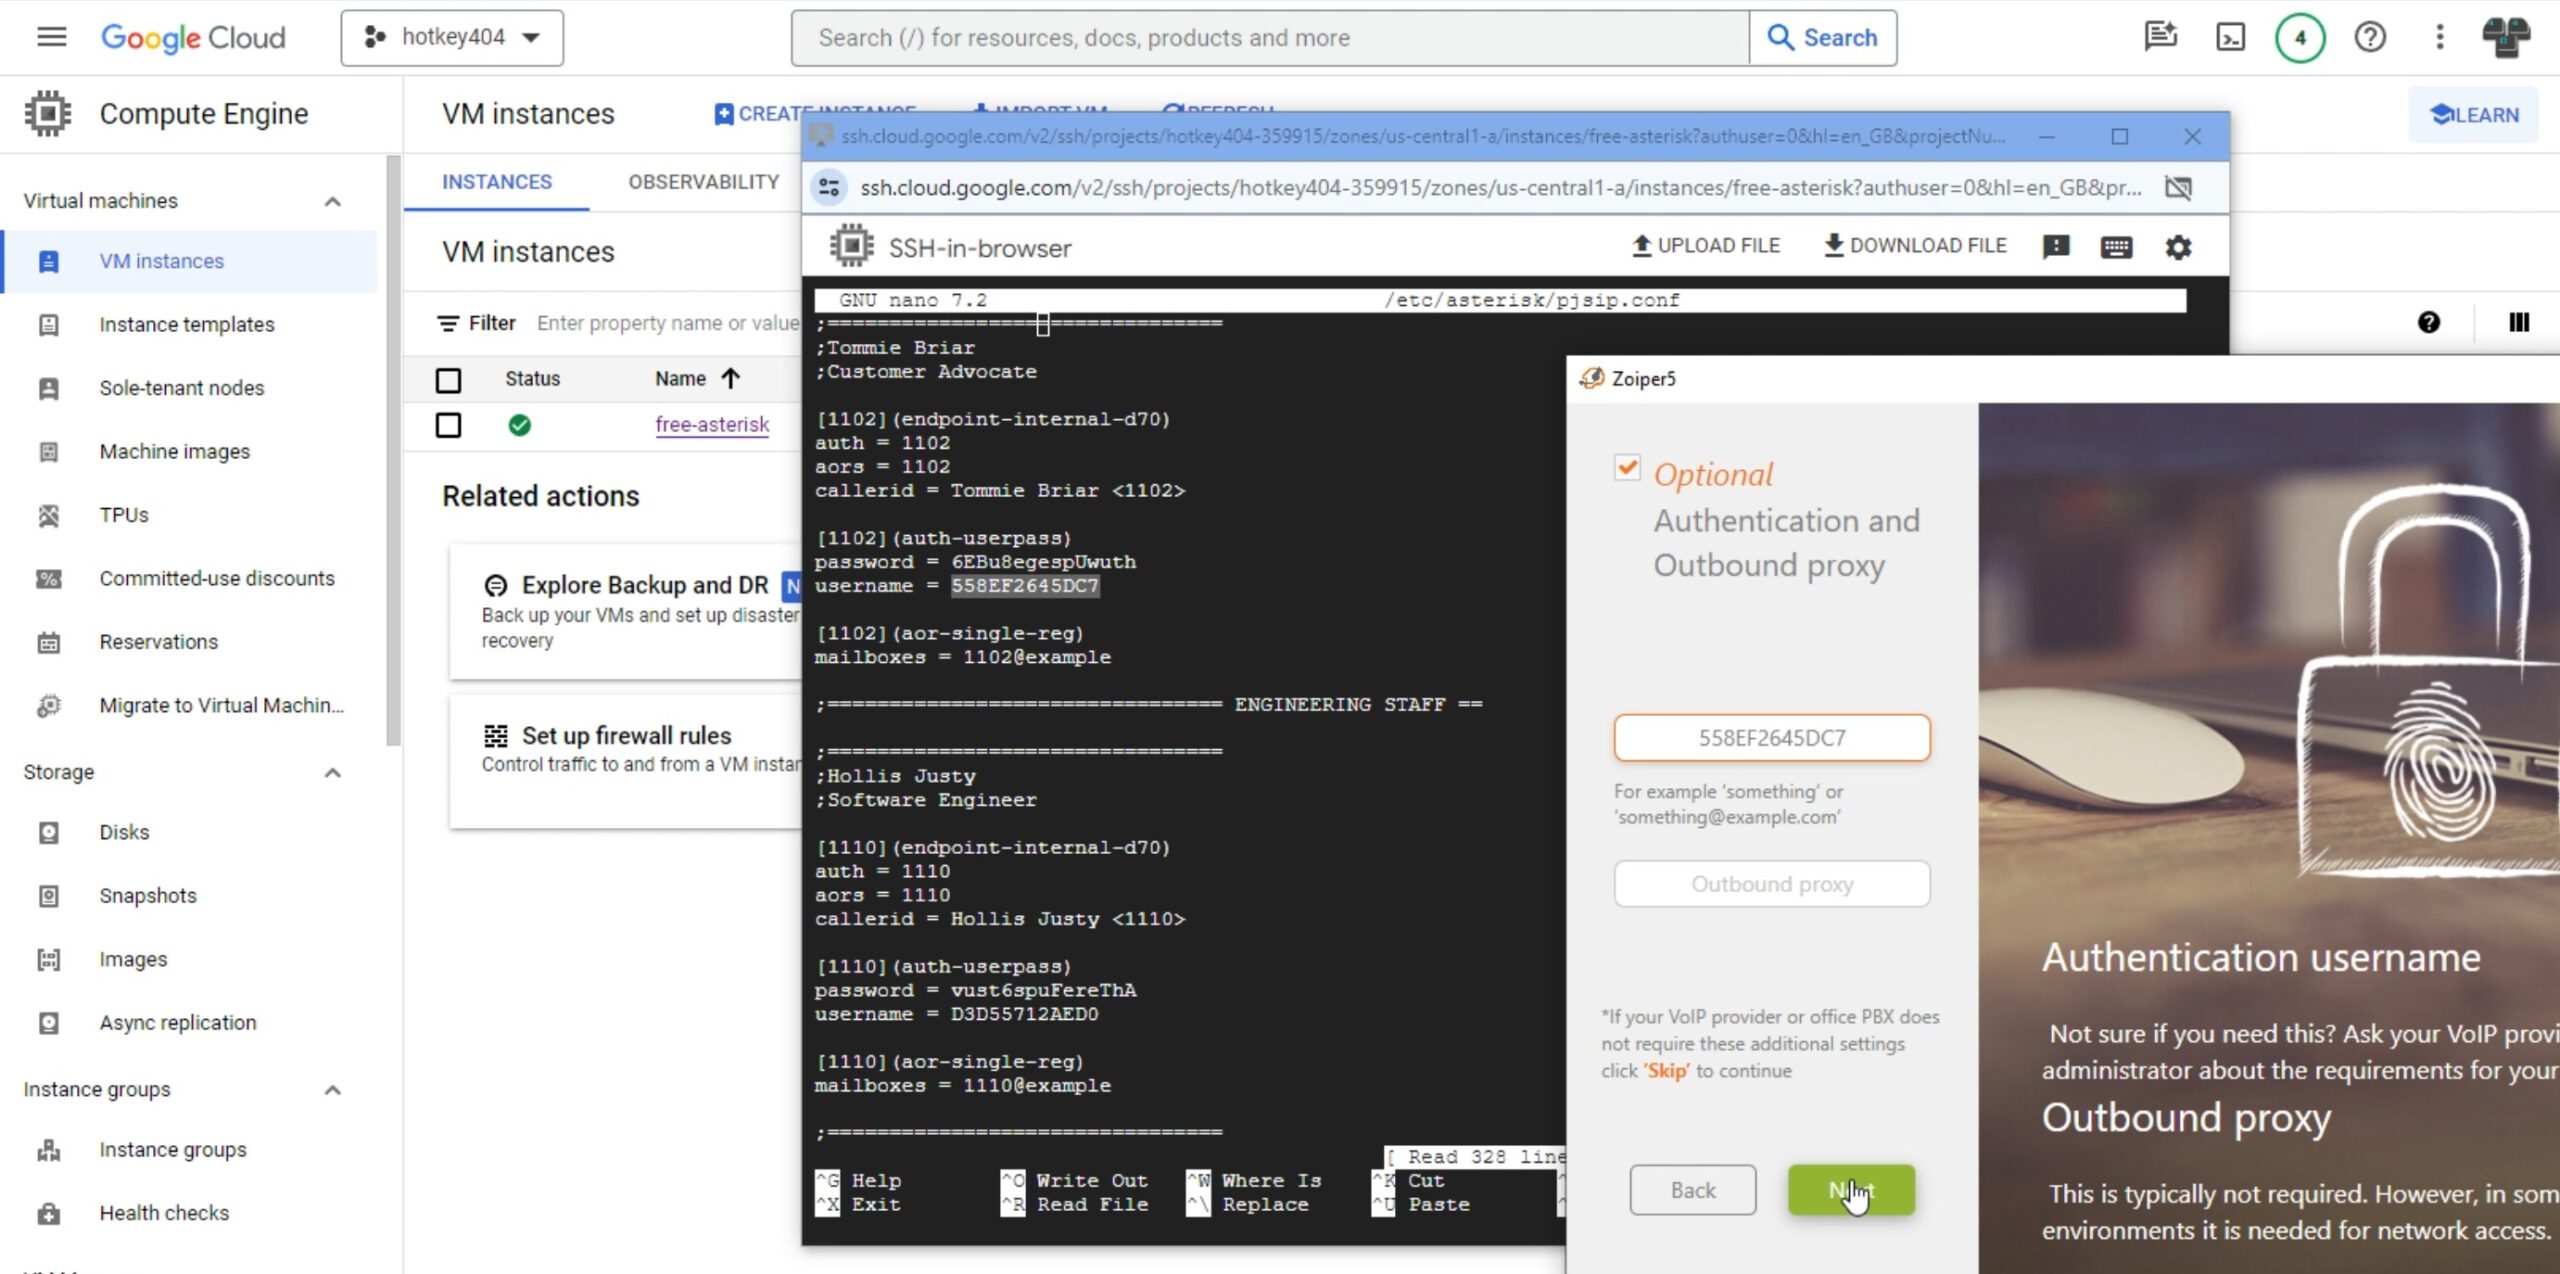
After a while, we will see that our telephone account will be correctly logged in and available.
You can fully enjoy your free phone system. Have fun!

If you would like to monitor everything that is happening on your PBX, try our proprietary VOIPERO software.
Setup only takes a few minutes and the system is currently completely FREE.
Read what our VOIPERO system can do in terms of live monitoring and reporting of VoIP systems based on Asterisk.