


OpenVPN is open source software that allows you to create encrypted VPN tunnels between devices, providing a secure way to communicate and access network resources.
In this post, we will show you how to create a safe tunnel to connect to an Asterisk. We will install a VPN server, certification authority and generate the necessary keys. Then we will configure the tool and make a test connection. Then we will use the tunnel to work with Asterisk, for example by logging in the phone.
Table of Contents
1) OpenVPN server installation
openvpn and easy-rsa
yum -y install openvpn easy-rsa
After successful installation, we will copy the OpenVPN server configuration file server.conf to another location where, for security reasons, we will set permissions for a user other than root. The Asterisk in the file name allows us to be independent of the version of the latest package.
cp /usr/share/doc/openvpn-*/sample/sample-config-files/server.conf /etc/openvpn/
2) Key generation
					cd /usr/share/easy-rsa/3.0.8/
./easyrsa clean-all
./easyrsa build-ca nopass
nopass option indicates that you do not want to use a passphrase for the master key. In normal cases, when creating a private key or certificate, you are usually asked to enter a password to secure the private key. Using nopass means that the private key will be saved without a password, which may be convenient, but may also be less secure because the private key is then less secure. In our example, we will forgo this additional security everywhere. This will later make it easier for us to automate the entire process in subsequent installations and automatic communication with our environment. Storing private keys without a password may be less secure because the private key is less secure. Therefore, it is important to take appropriate precautions, especially when dealing with private keys used to secure communications in production environments.
./easyrsa build-server-full server nopass
server” argument, which indicates the server name or identifier that will be used to name the generated certificates.
“nopass“: This option means that the private key that will be generated for the server will not be password protected. This may be convenient, but it may also involve some security risks, as we wrote about above.
Now we will generate the Diffie-Hellman parameters (da). This command may take some time to complete, so please be patient.
./easyrsa gen-dh
./easyrsa build-client-full client01 nopass
client01. This command will generate a client certificate and the public and private keys associated with that certificate. The “nopass” option, of course, indicates that the private key will not be password protected and will not require a password when in use.
All generated keys landed automatically in the pki subdirectory. We can take a look at them
ls -lR pki/

					mkdir /etc/openvpn/keys
cp pki/ca.crt /etc/openvpn/keys/
cp pki/dh.pem /etc/openvpn/keys/
cp pki/private/server.key /etc/openvpn/keys/
cp pki/issued/server.crt /etc/openvpn/keys/
3) OpenVPN server configuration
server.conf file copied from the installation directory, we will change the parameters pointing to the keys.
					sed -i 's|^ca ca.crt$|ca /etc/openvpn/keys/ca.crt|' /etc/openvpn/server.conf
sed -i 's|^cert server.crt$|cert /etc/openvpn/keys/server.crt|' /etc/openvpn/server.conf
sed -i 's|^key server.key.*$|key /etc/openvpn/keys/server.key|' /etc/openvpn/server.conf
sed -i 's|^dh dh2048.pem$|dh /etc/openvpn/keys/dh.pem|' /etc/openvpn/server.conf
sed -i 's|^tls-auth ta.key.*$|; &|' /etc/openvpn/server.conf
nobody user and group for the OpenVPN runtime. This means that OpenVPN will be run with nobody user and group permissions, which is good security practice to mitigate potential risks from access to administrative privileges if OpenVPN were to be run as a user with high privileges. To do this, we will uncomment existing proposals for such action in the configuration file.
					sed -i 's|^;user nobody$|user nobody|' /etc/openvpn/server.conf
sed -i 's|^;group nobody$|group nobody|' /etc/openvpn/server.conf

4) Launching and testing OpenVPN
systemctl enable openvpn@server.service
systemctl start openvpn@server.service
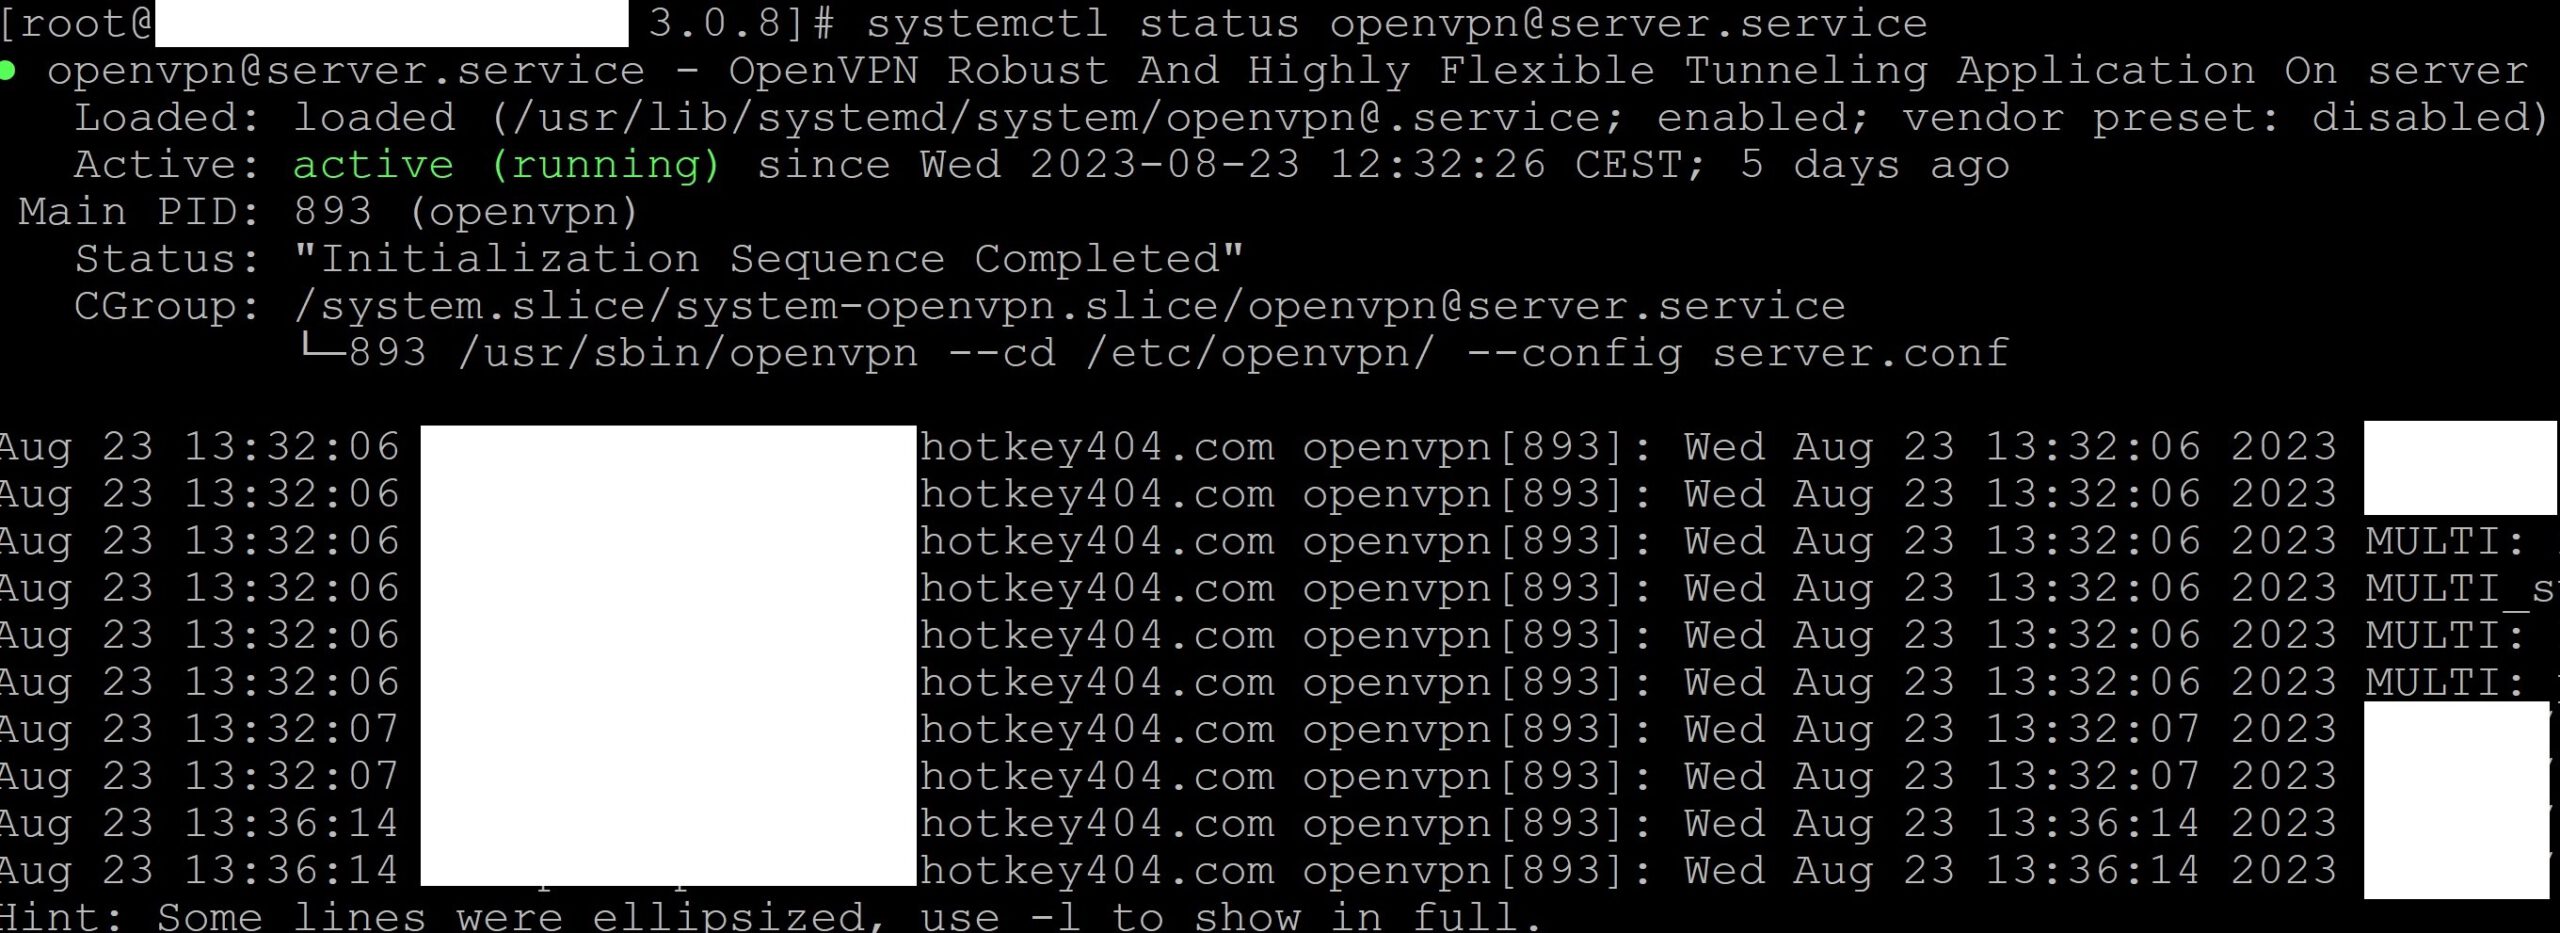
systemctl status openvpn@server.service
We will get a screen similar to the one below.
5) Connecting to the server using OpenVPN
ovpn extension with the following structure
					client
dev tun
remote N.N.N.N 1194 udp
cipher AES-256-CBC
data-ciphers AES-256-CBC
tls-cipher TLS-ECDHE-RSA-WITH-AES-128-CBC-SHA256
auth SHA1
nobind
resolv-retry infinite
persist-key
persist-tun
verb 0
auth-nocache
<ca>
-----BEGIN CERTIFICATE-----
//Here we paste the certificate from the file ca.crt //
-----END CERTIFICATE-----
</ca>
<cert>
-----BEGIN CERTIFICATE-----
//Here we paste the certificate from the file client01.crt //
-----END CERTIFICATE-----
</cert>
<key>
-----BEGIN PRIVATE KEY-----
//Here we paste the certificate from the file client01.key //
-----END PRIVATE KEY-----
</key>

5) Using an OpenVPN connection to work with the Asterisk system
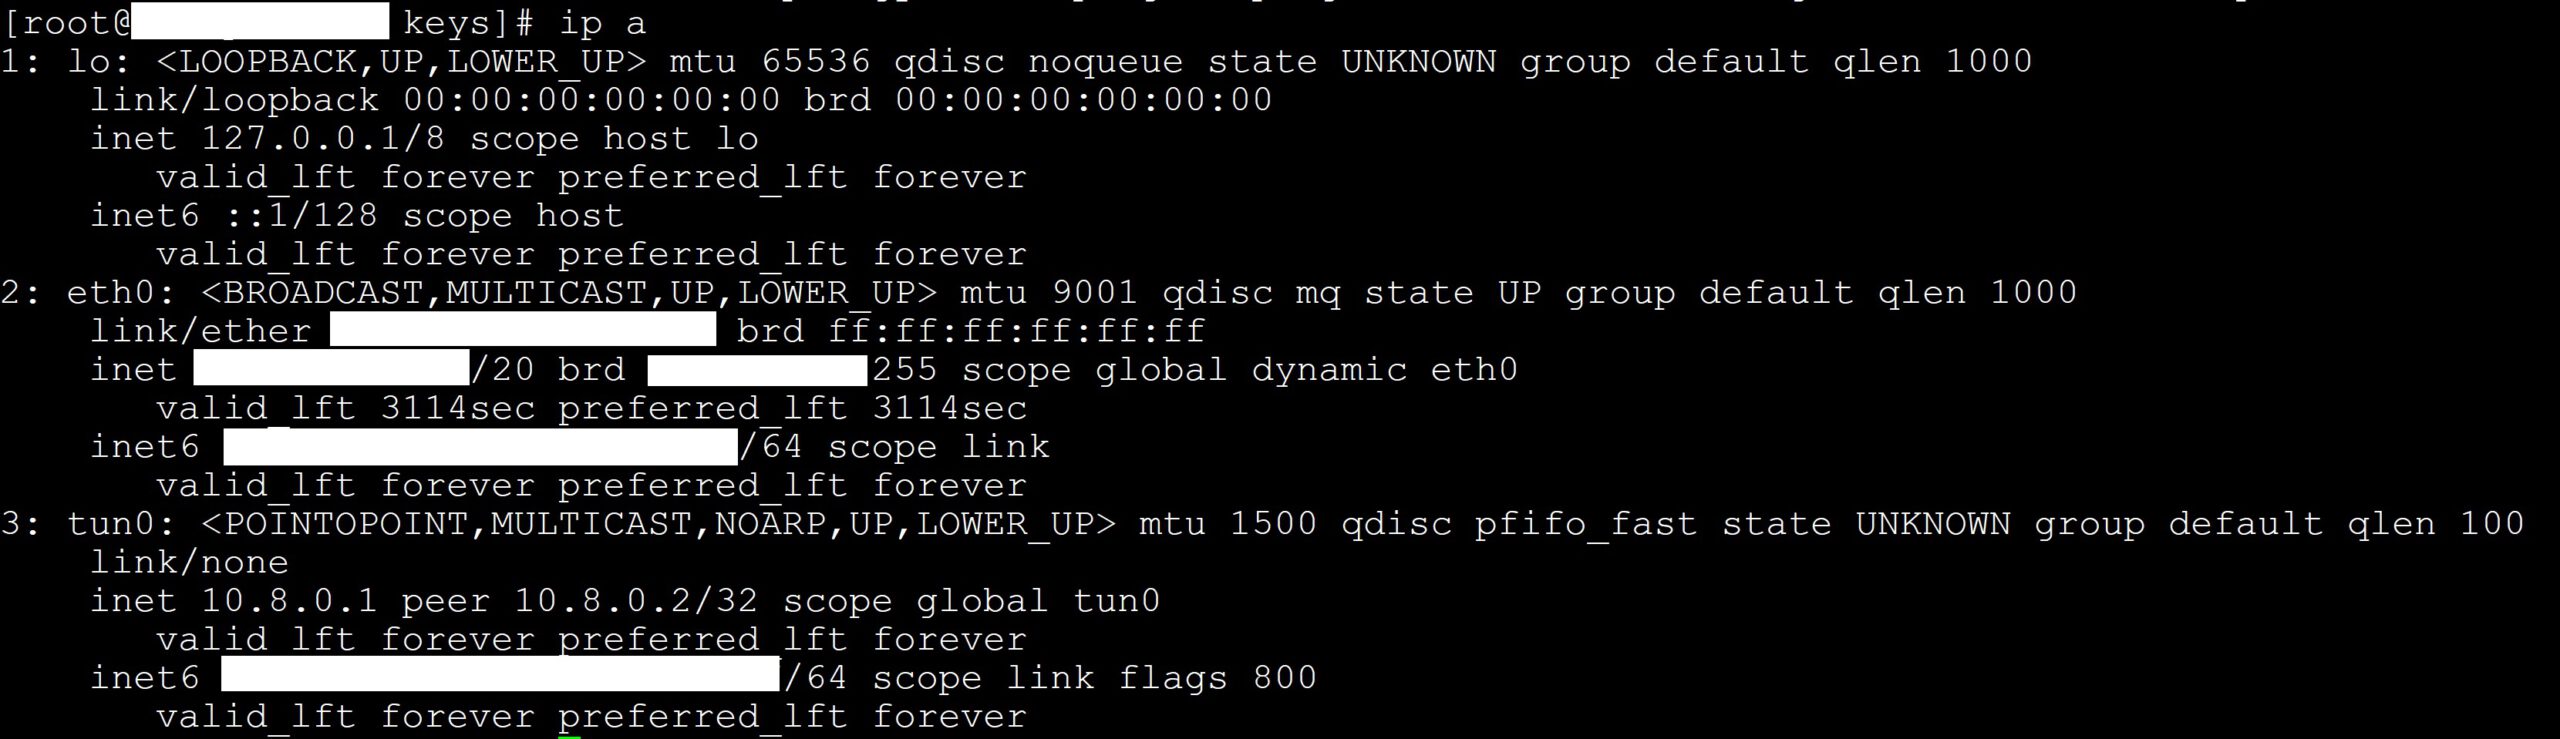
ip a
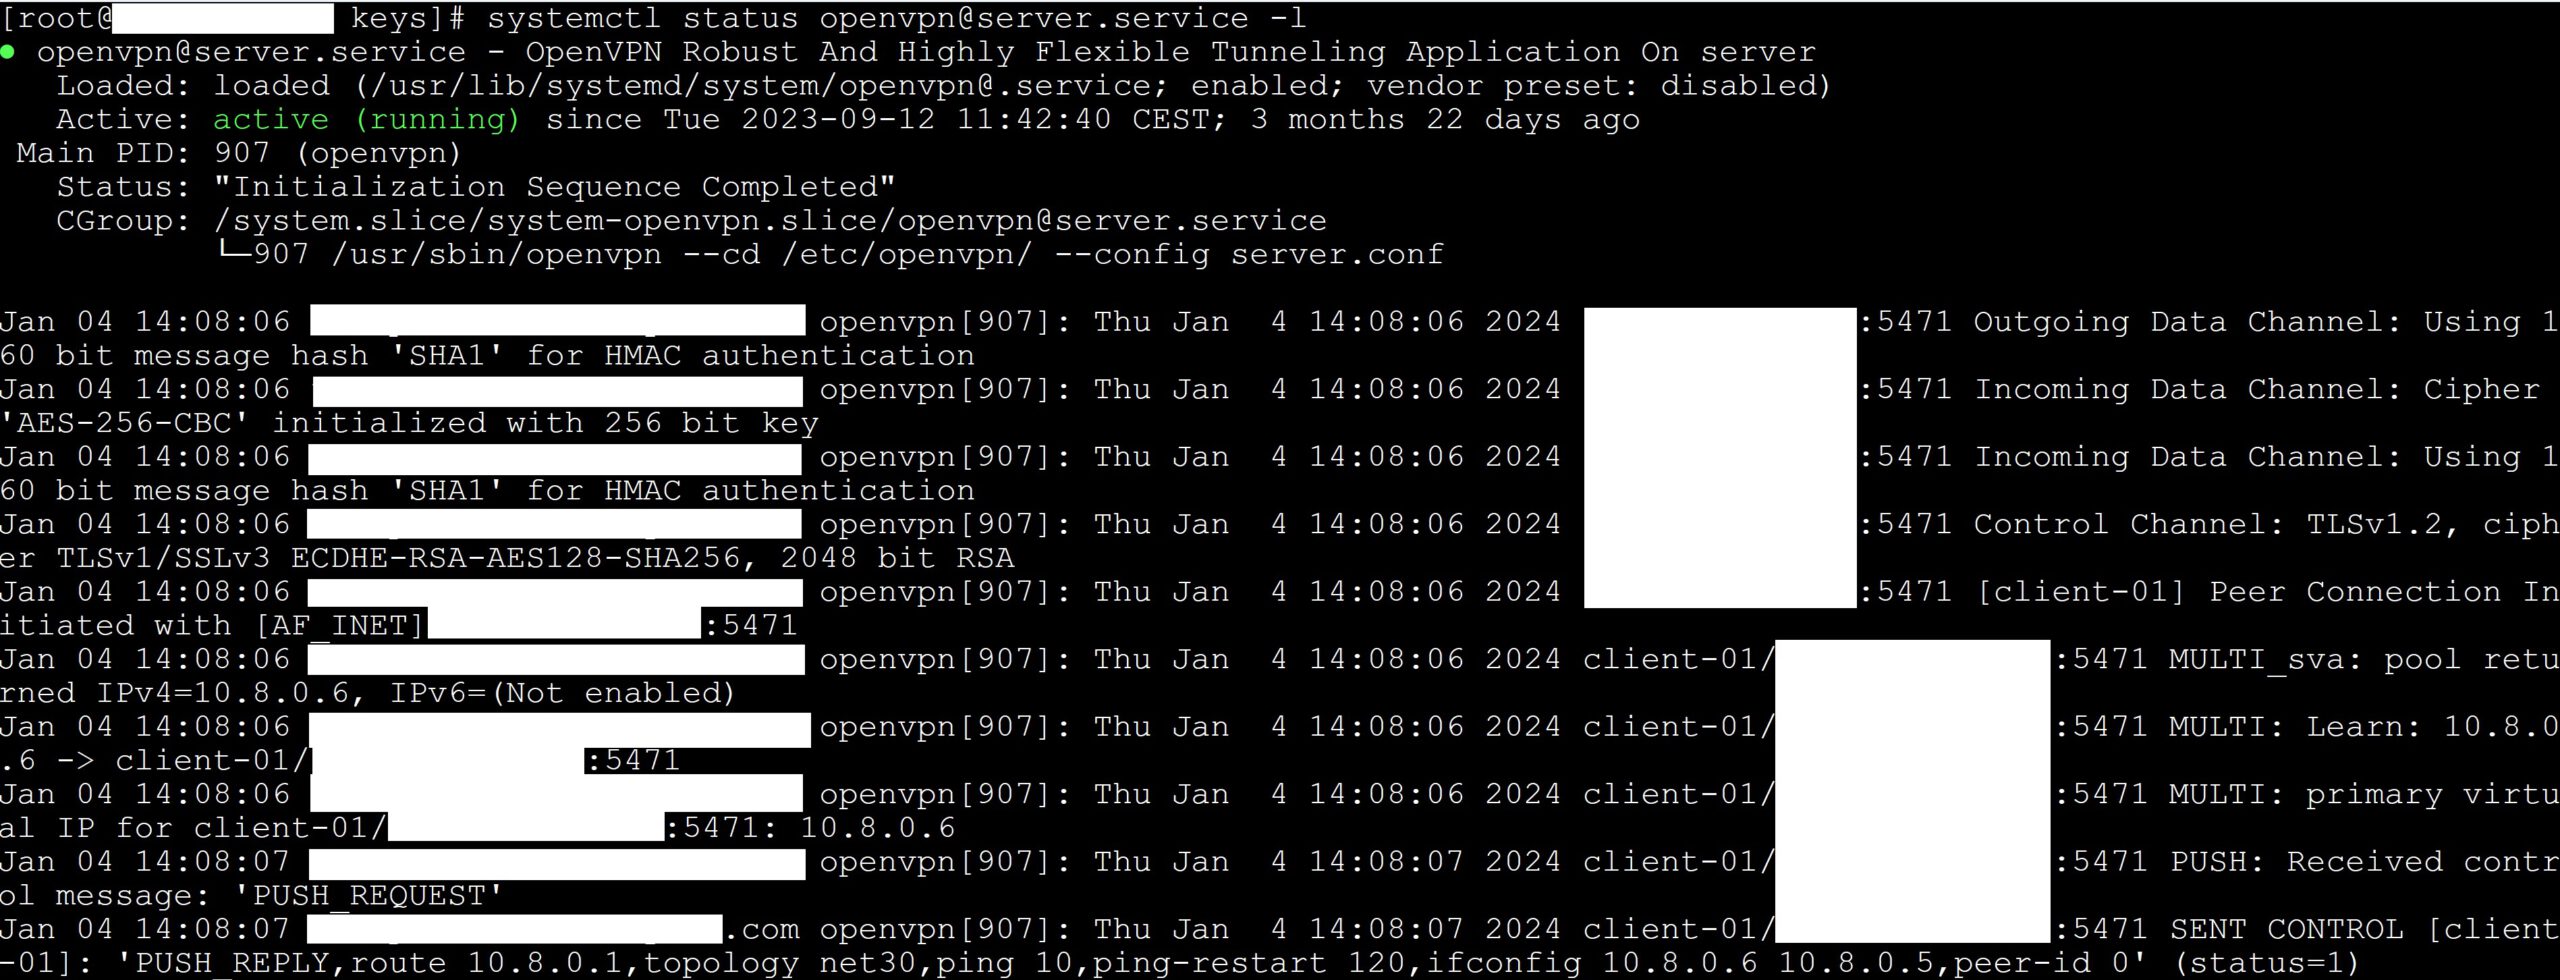
systemctl status openvpn@server.service -l

asterisk -rx "sip show peers"

Additionally, in the Asterisk logs we can see the activity that has just been performed.
tail -f /var/log/asterisk/messages

Do you know what is really happening on your PBX? Try our proprietary software VOIPERO.
Installation and configuration takes a few minutes and the system is currently available totally free
Find out what the VOIPERO system has to offer when it comes to reporting and live monitoring of VoIP systems based on Asterisk.