


Table of Contents
Hint
Instead of following all the instructions below, you can also use our installer file which installs Asterisk 20 from source.1) Prerequisites
root‘. Run ‘su‘ and enter your root password.
su
					dnf -y update
dnf -y install nano wget tar epel-release chkconfig libedit-devel
2) Disable SELinux
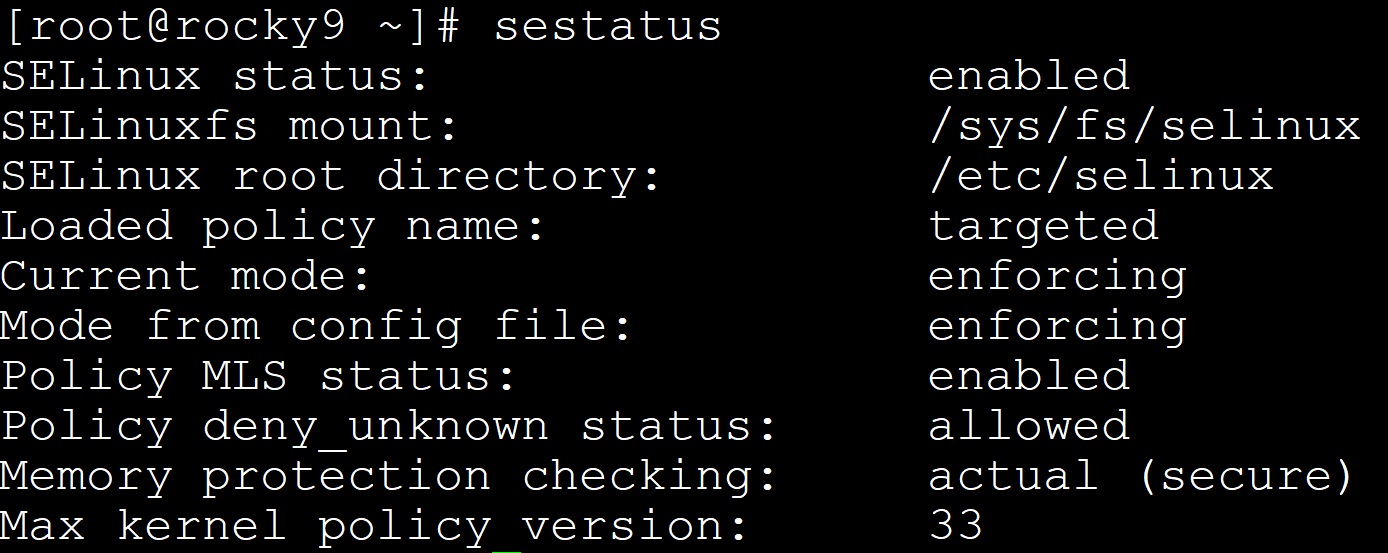
First, be sure to disable the Linux kernel security module – SELinux. If you don’t do it now, you will encounter problems later, e.g. with playing recordings.
The sestatus command will show the current SELinux status:
sestatus
/etc/selinux/config file
nano /etc/selinux/config
SELINUX=disabled
Hint
Instead of editing the/etc/selinux/config file, you can simply enter the command:
sed -i s/SELINUX=enforcing/SELINUX=disabled/g /etc/selinux/config
3) System restart
Only restarting the system is the way to permanently disable SELinux.
reboot
Hint
You can also hold off on restarting and temporarily disable SELinux with the command:
setenforce 0
sestatus

4) Configuring software dependencies
First, download the Asterisk sources. The/usr/src directory is a convenient place to store all your installations.
					wget http://downloads.asterisk.org/pub/telephony/asterisk/asterisk-20-current.tar.gz
tar zxvf asterisk-20-current.tar.gz
rm -rf asterisk-20-current.tar.gz
cd asterisk-20*/
contrib/scripts/install_prereq install
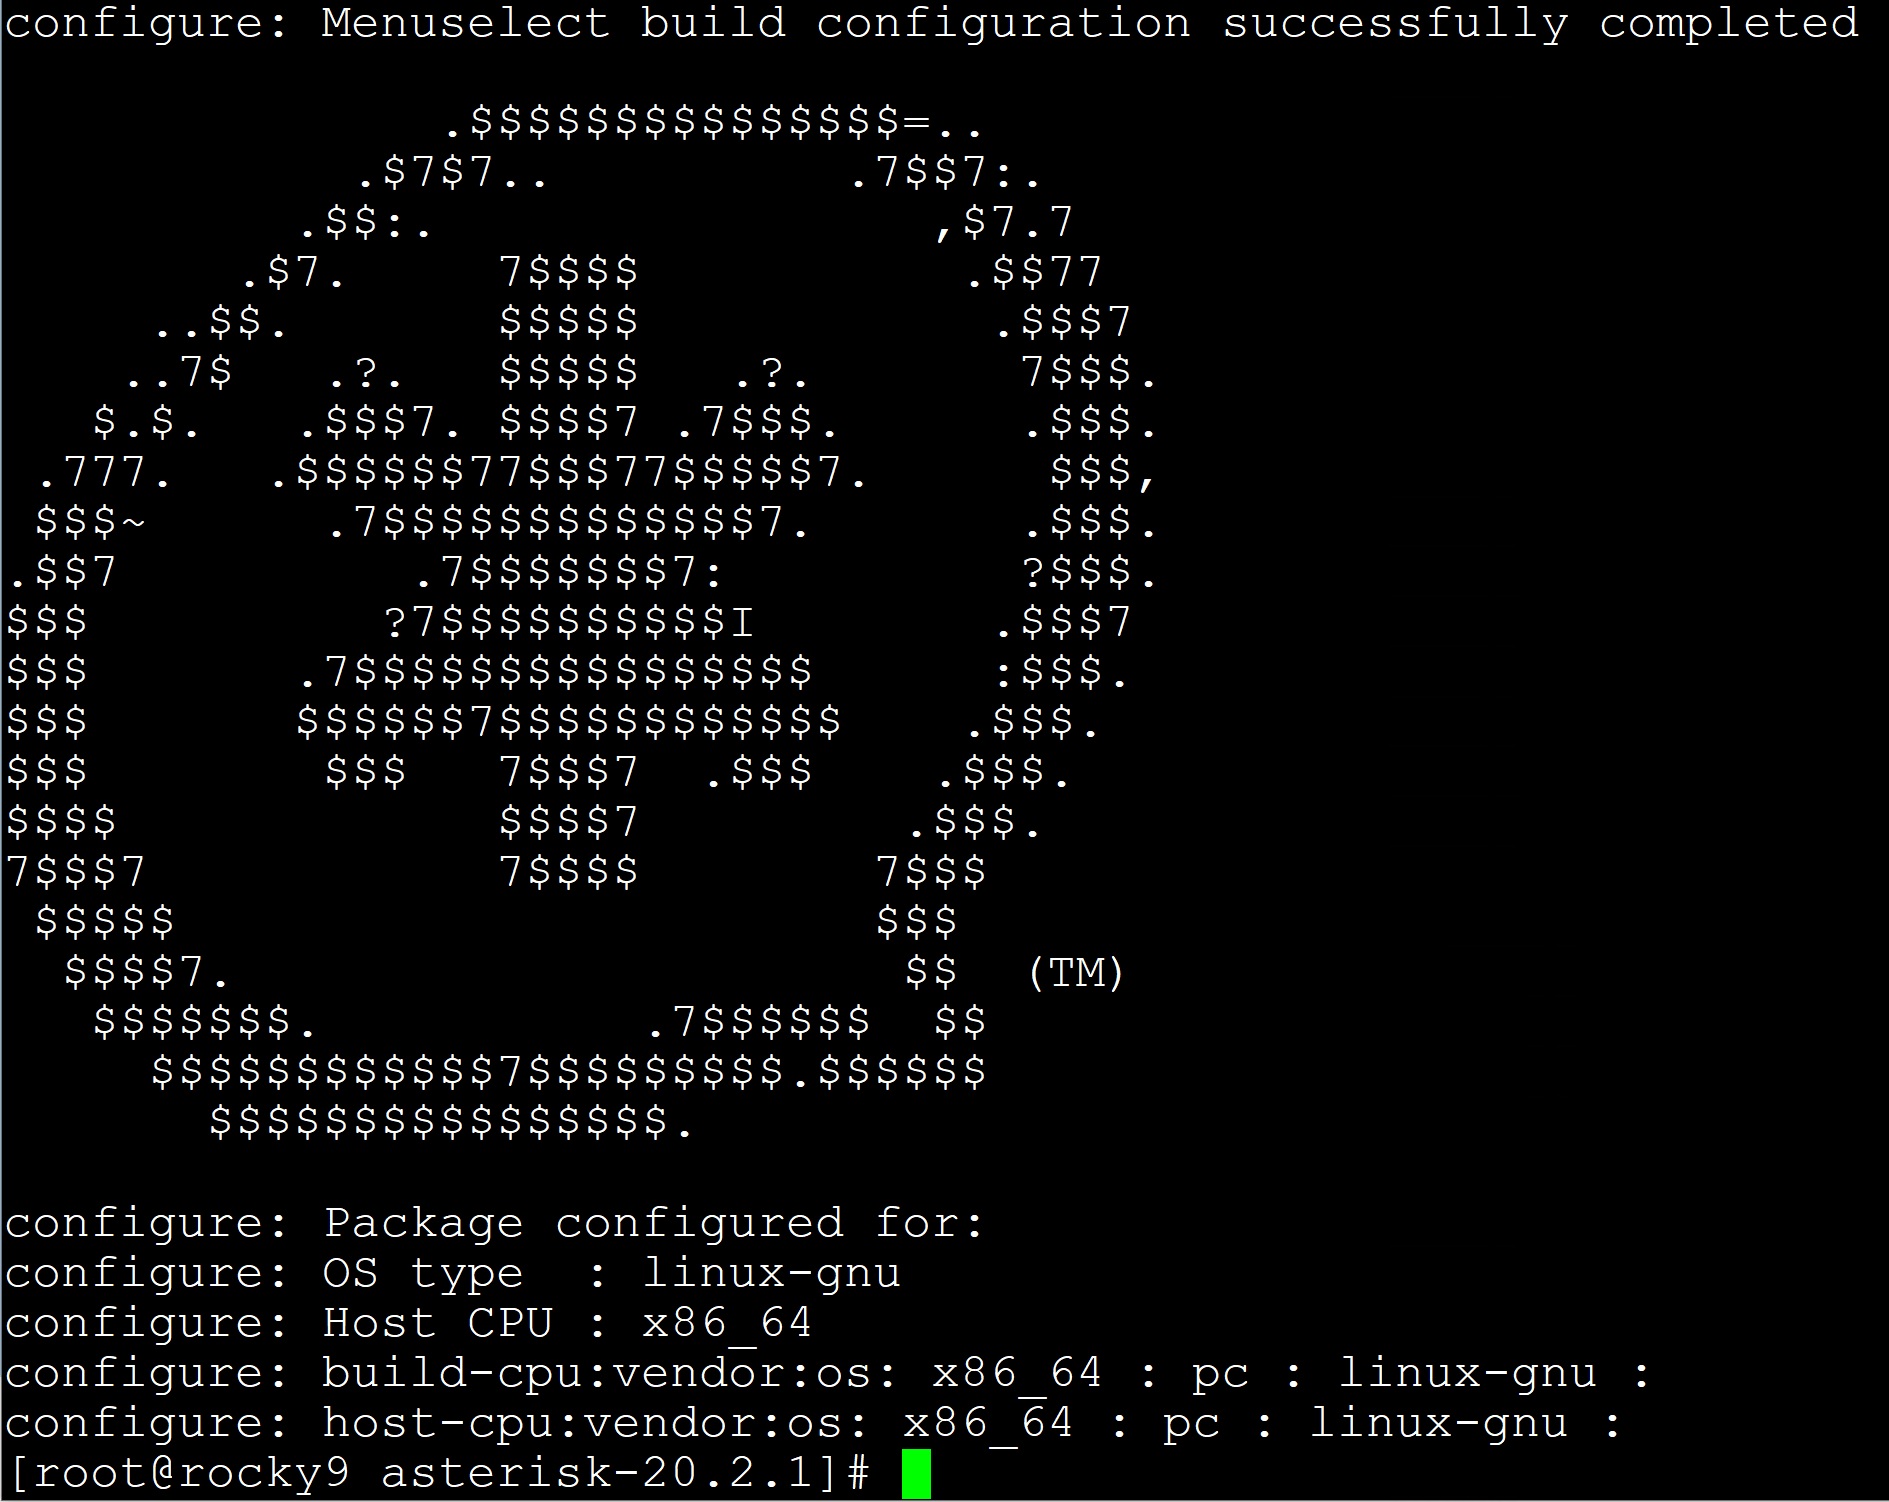
Finally, we can configure our asterisk for the final build.
Rocky 9 requires a 64-bit system, so we add the --libdir=/usr/lib64 option to configure the command.
Due to the fact that chan_pjsip requires some additional libraries, we add two more options --with-jansson-bundled --with-pjproject-bundled
Our configurator command will follow:
./configure --libdir=/usr/lib64 --with-pjproject-bundled --with-jansson-bundled

5) Compilation and installation
Now we can simply executemake command without parameters and compile the software. Of course, it is better to be able to choose additional options, functions, applications, codecs, so I suggest using make menuselect. It will display a menu where you can simply select what you need.
make menuselect
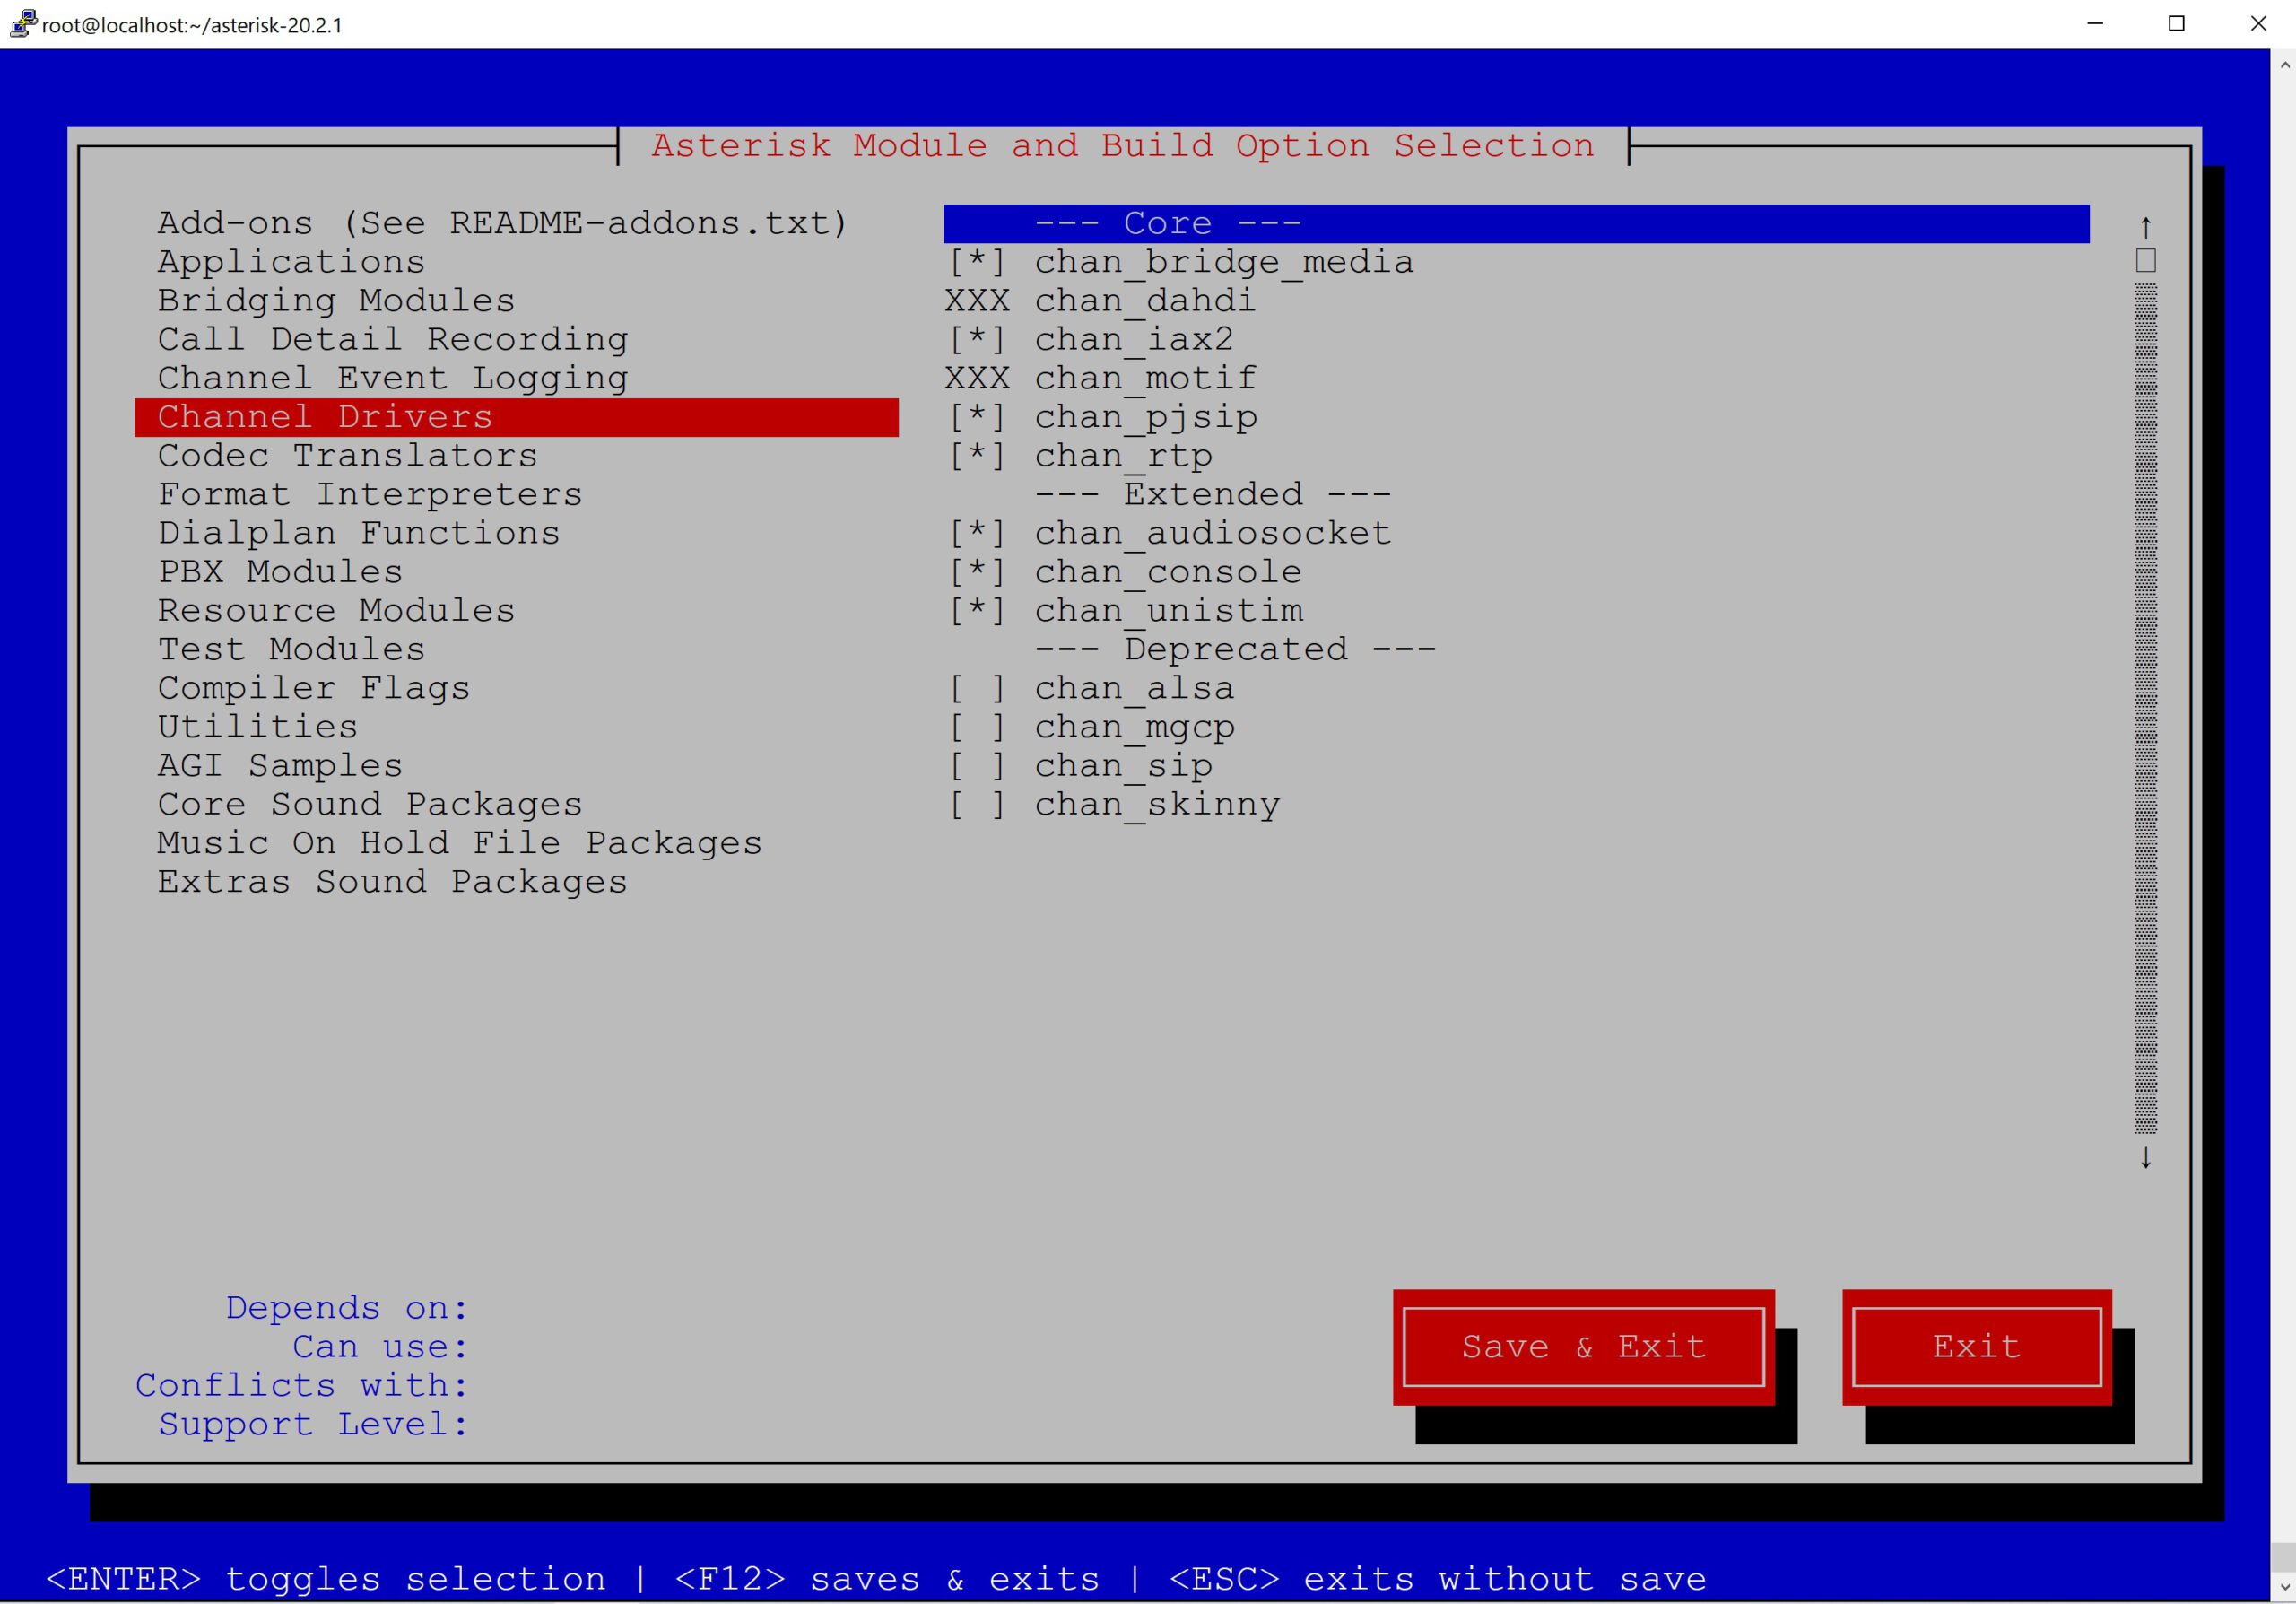
During the process, you can check or uncheck selected options, e.g. use ODBC instead of FILE storage for voicemail.
Sometimes the system will not allow you to select certain modules, but it also shows which dependencies are required.
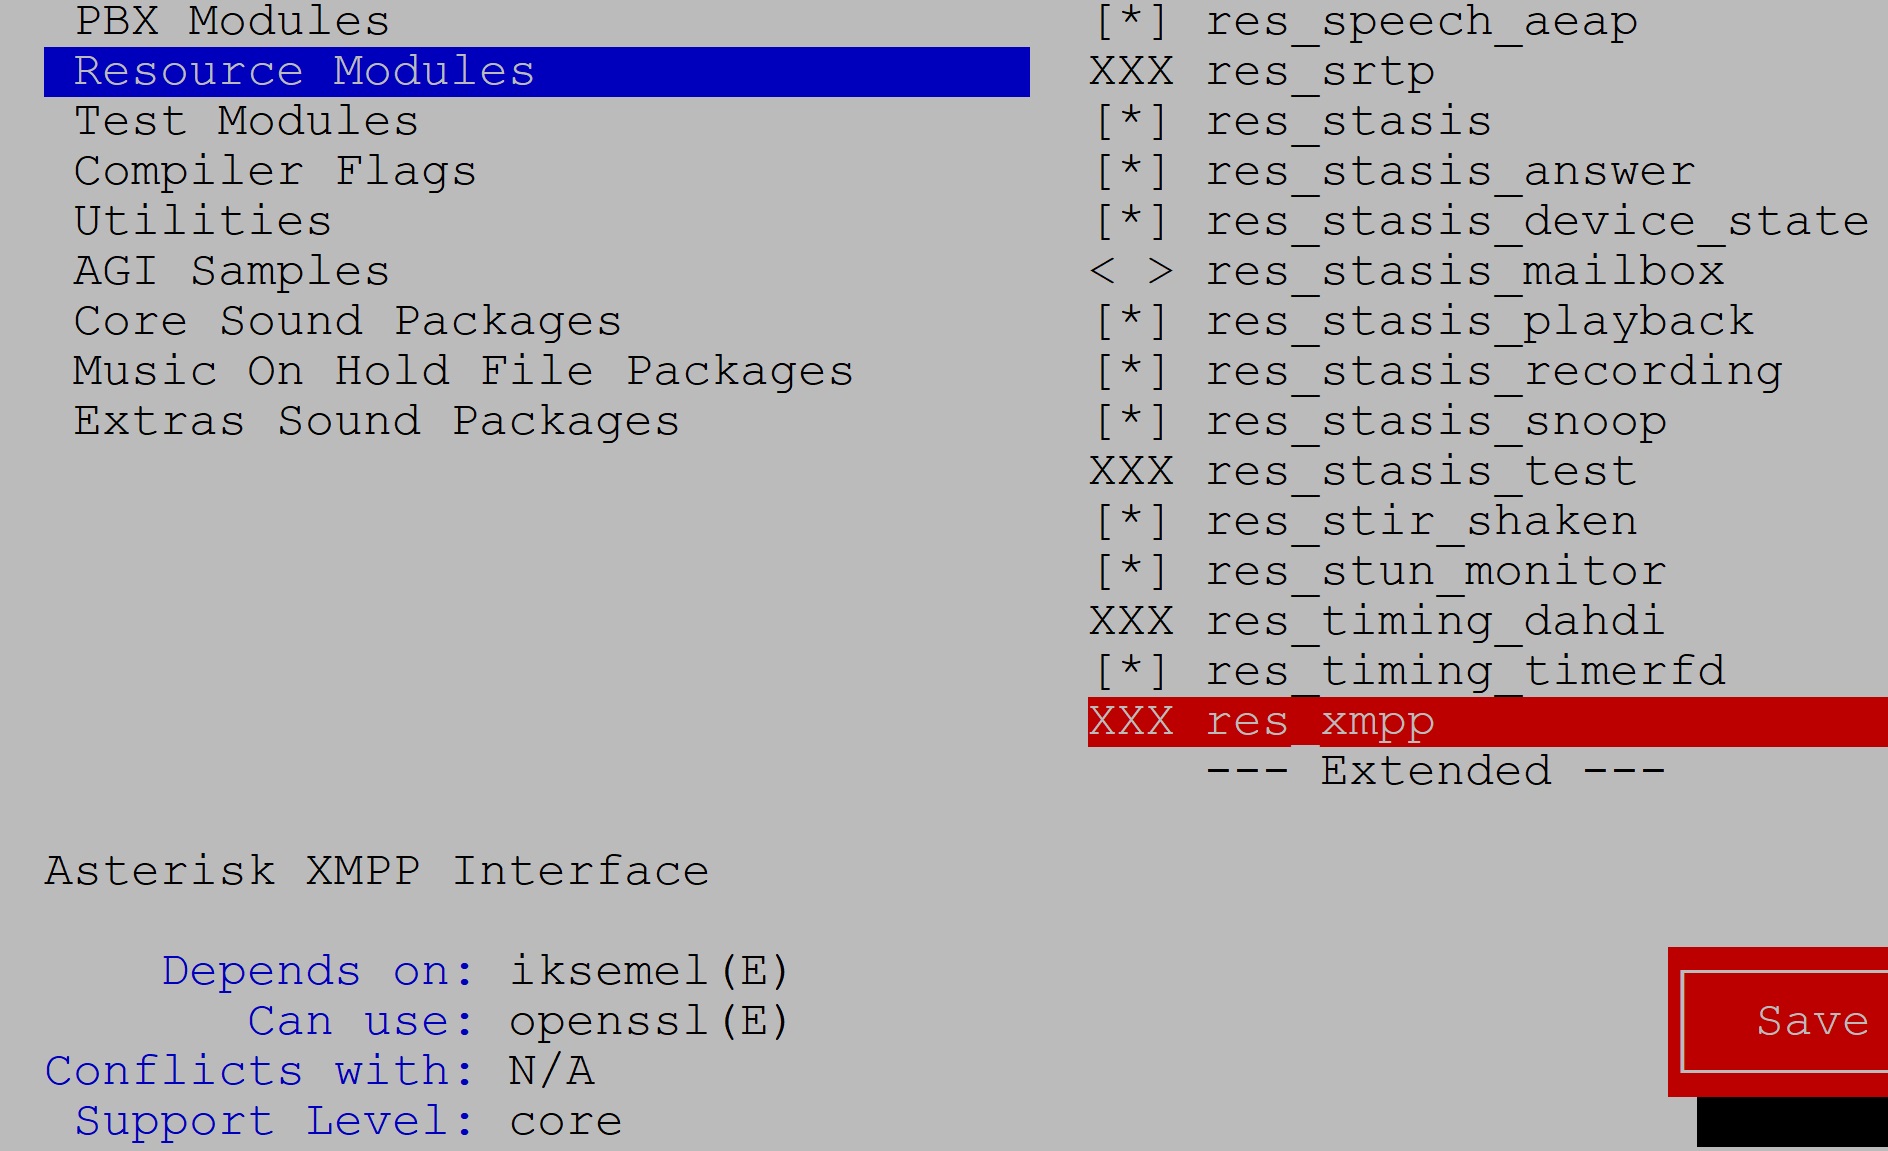
Save & Exit exiting the configurator. chan_mobile module to connect to Asterisk via bluetooth, you must first install bluetooth support in rocky 9 and then return to this configurator. Otherwise you will see an image similar to the one below. 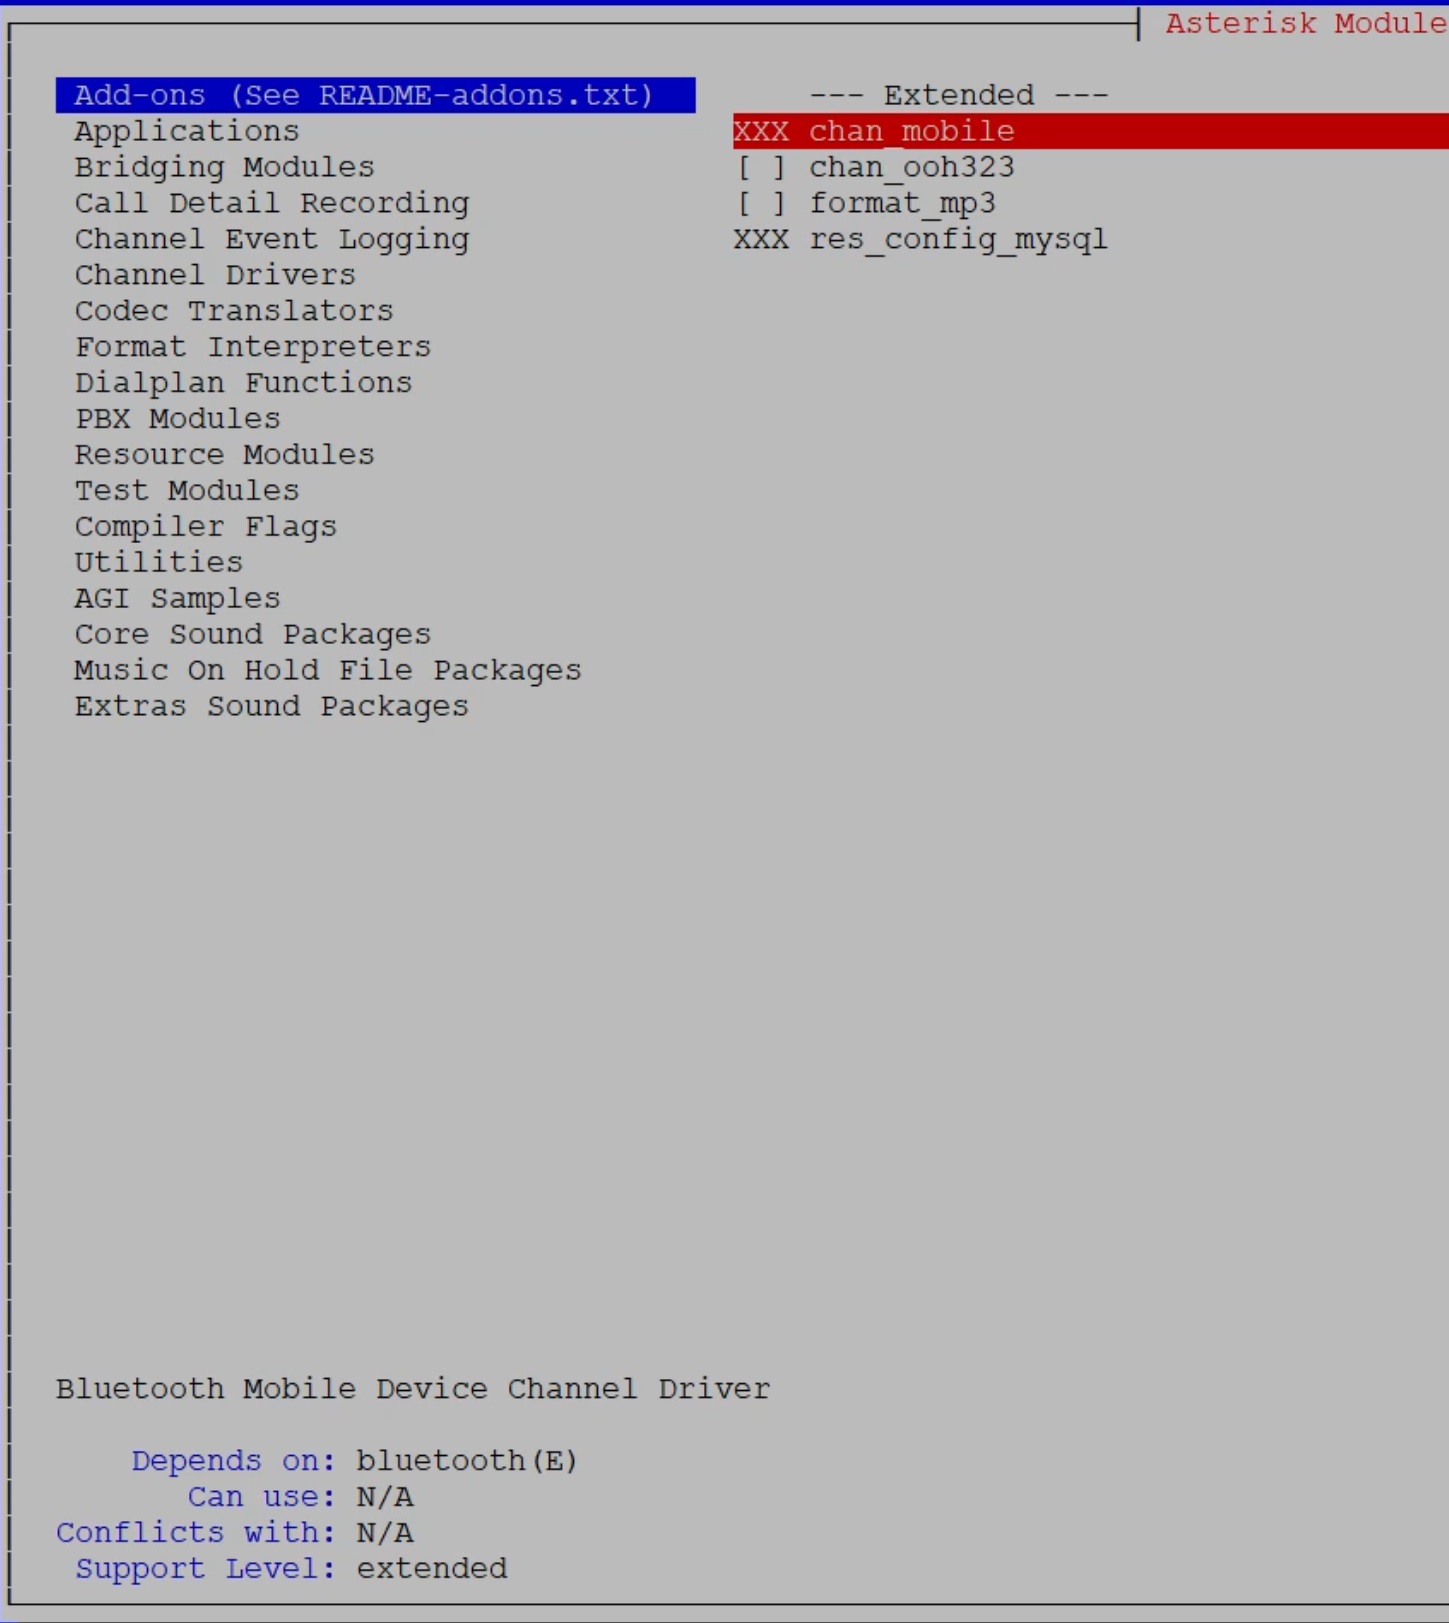
Connect your phone to RasPBX via Bluetooth (with chan_mobile)
We explain there how to connect to Raspberry Pi via Bluetooth using the chan_mobile module
make command itself and prepare for the actual installation. This and the next process may take several minutes.
make
The system will tell you what to do next. Executing make install will finally install Asterisk on your server.
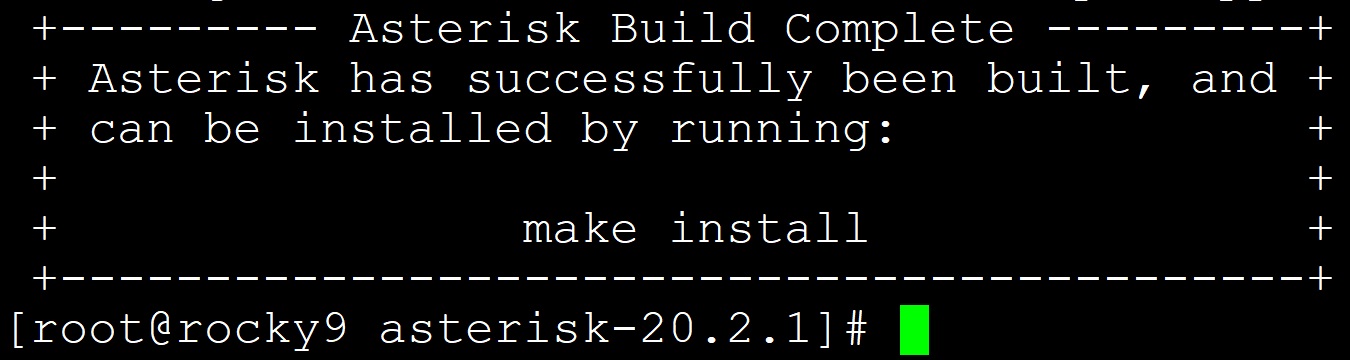
make install
make samples. This will create all documentation files.
make samples
/etc/asterisk/samples/) and create a basic configuration with make basic-pbx.
					mkdir /etc/asterisk/samples
mv /etc/asterisk/*.* /etc/asterisk/samples/
make basic-pbx
Asterisk is ready now (there is no information about it on the main screen). Unfortunately, there are no startup files yet. On CentoOS you can do make config, but Rocky 9 doesn’t understand it. We need to use systemd to manage the asterisk service. To do this, we will create the asterisk.service file and enter the necessary information into it.
					touch /usr/lib/systemd/system/asterisk.service
cat <<'EOF' >/usr/lib/systemd/system/asterisk.service
[Unit]
Description=Asterisk PBX and telephony daemon.
#After=network.target
#include these if asterisk need to bind to a specific IP (other than 0.0.0.0)
Wants=network-online.target
After=network-online.target network.target

[Service]
Type=simple
Environment=HOME=/var/lib/asterisk
WorkingDirectory=/var/lib/asterisk
ExecStart=/usr/sbin/asterisk -mqf -C /etc/asterisk/asterisk.conf
ExecReload=/usr/sbin/asterisk -rx 'core reload'
ExecStop=/usr/sbin/asterisk -rx 'core stop now'

LimitCORE=infinity
Restart=always
RestartSec=4

# Prevent duplication of logs with color codes to /var/log/messages
StandardOutput=null

PrivateTmp=true

[Install]
WantedBy=multi-user.target
EOF
Customize your Asterisk systemd service in CentOS
We explain in detail how to use service management using
systemd and what its benefits are 6) Starting Asterisk
Now you can add the asterisk service to the startup, start it and check its status.
					systemctl enable asterisk.service
systemctl start asterisk
systemctl status asterisk
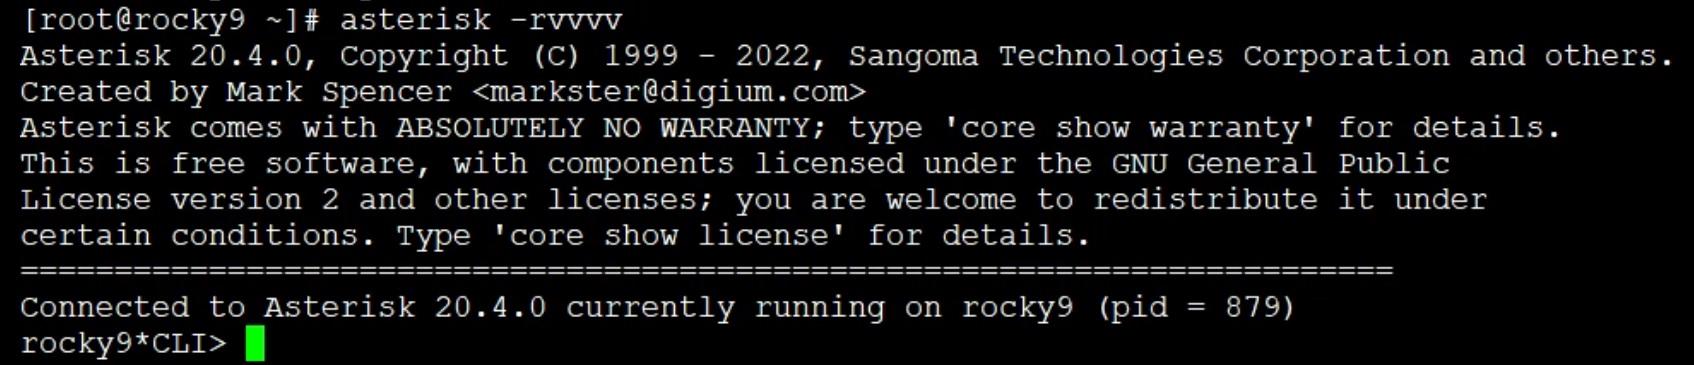
asterisk (pid XXXX) is running… then you have just started Asterisk! 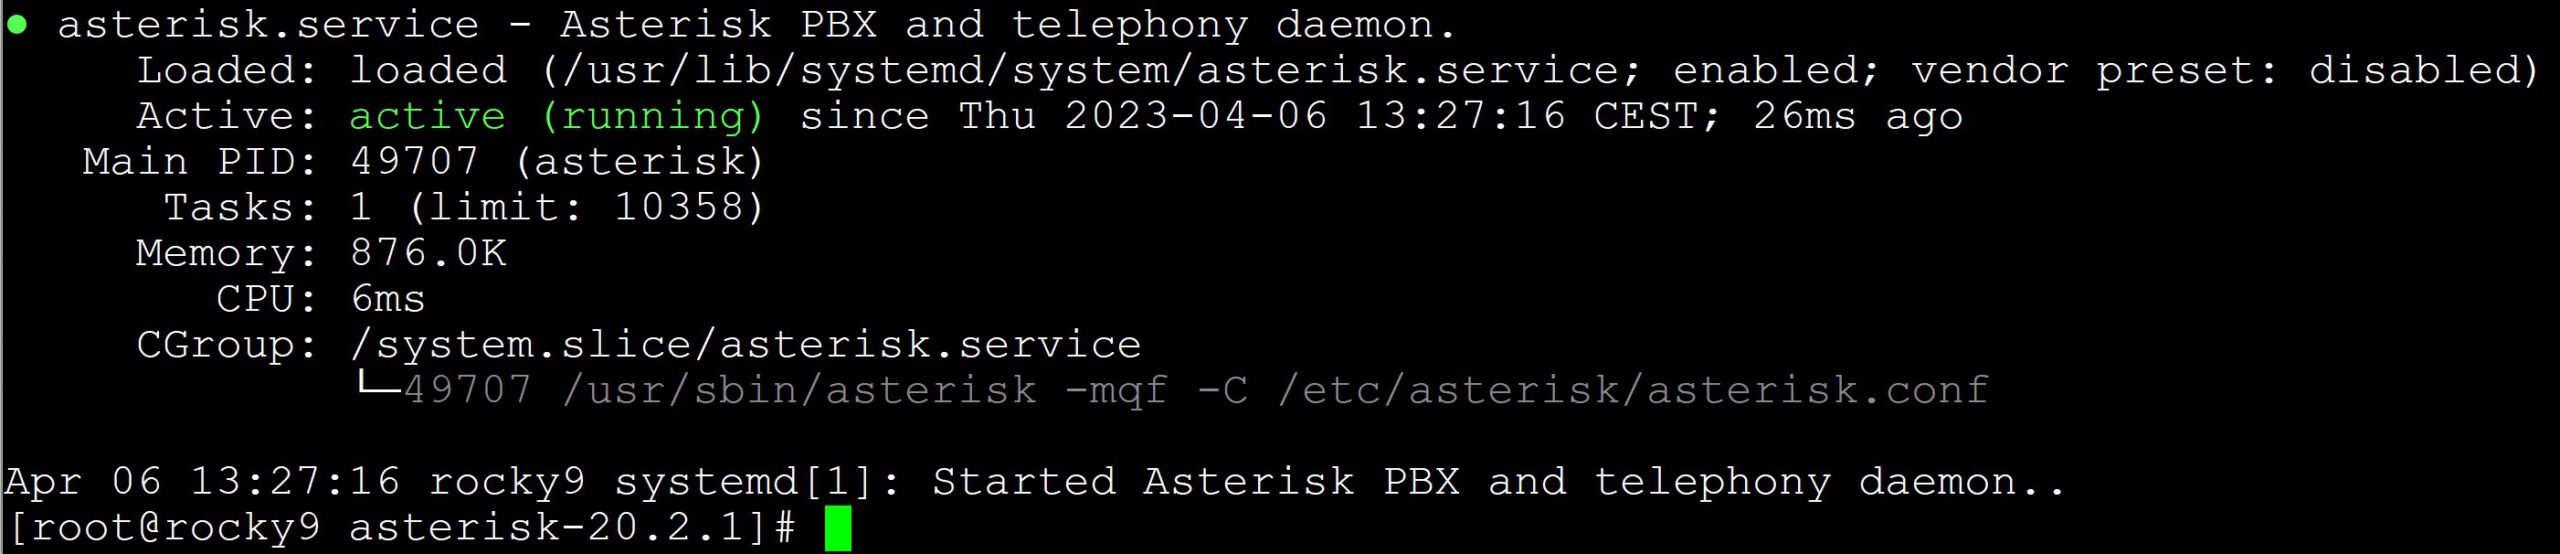
make config command and try to start the asterisk service, you will unfortunately receive an error:
Failed to start asterisk.service: Unit asterisk.service not found.
If you first try to add the Asterisk service to autostart and then want to run it, you will also get errors like:
Job for asterisk.service failed because the control process exited with error code.
Trying to invoke the asterisk console itself will also fail:
Unable to connect to remote asterisk (does /var/run/asterisk/asterisk.ct/ exist?)
Restarting the operating system will not be a universal cure this time. Checking the status of our service will show its unavailability 
make config. You should use systemd described in point 5 of this post
However, first remove the incorrectly created connections.
systemctl disable asterisk.service
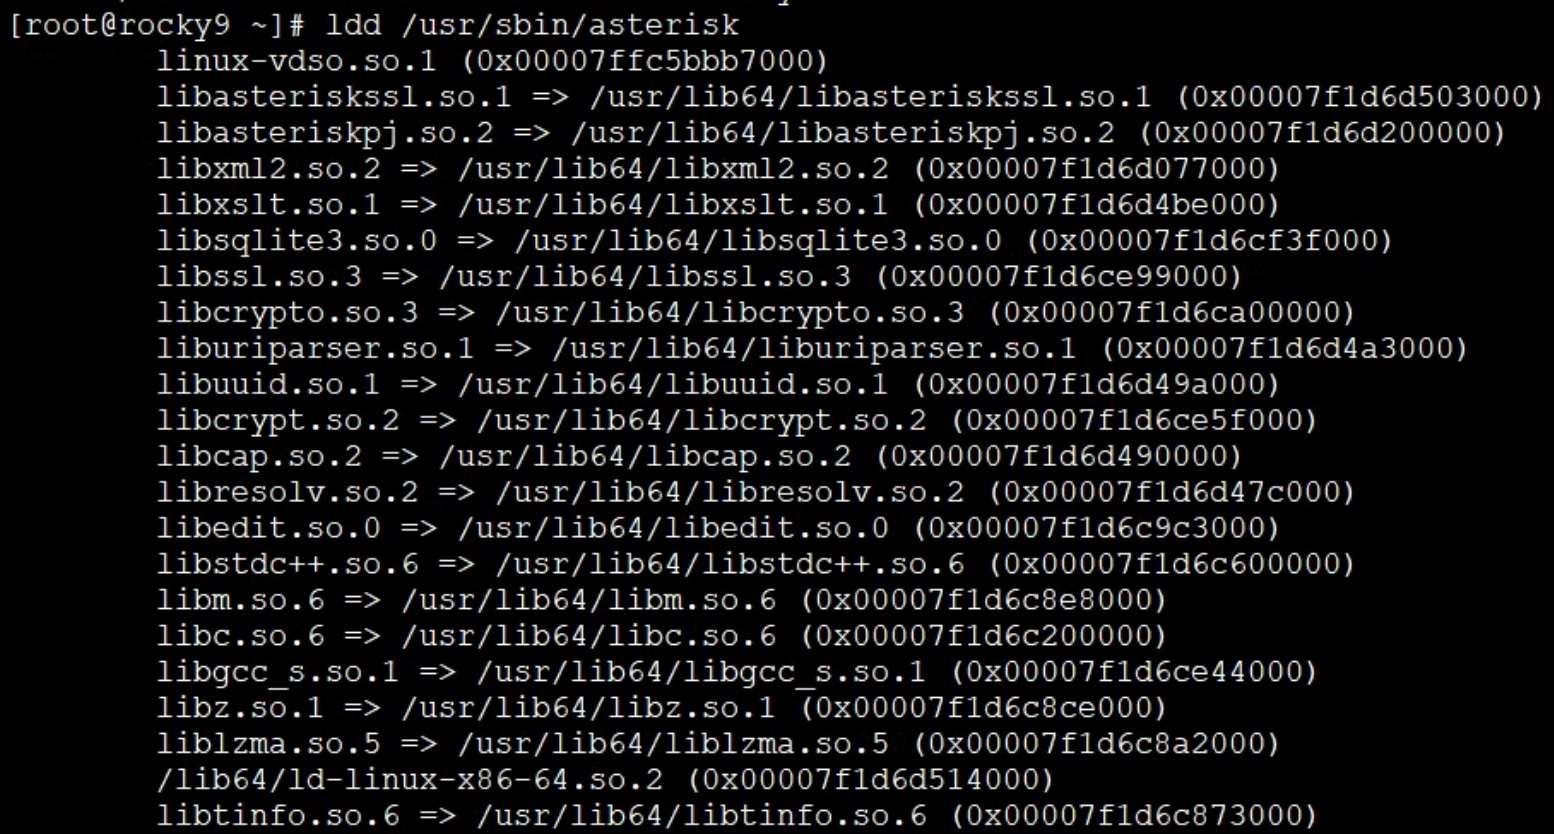
ldd /usr/sbin/asterisk
/etc/asterisk directory and view all the sample files.
					cd /etc/asterisk
ls

asterisk -r command and start working.
asterisk -r