If you would like to answer calls via the headset, you can pair your device with the chan_mobile module. Then we will show you how to add the appropriate extension in FreePBX.
Although the use of Bluetooth headphones is possible, due to the questionable stability and quality of the solution, we recommend treating this possibility more as a way to satisfy your curiosity and "Proof of Concept" than as a target solution in production environments. Well, unless you really want to ?
Table of Contents
1) Prerequisites
We will not write again that you need a power supply, SD card for your Raspberry Pi, or how to upload the system to the card. We’ll assume you have RasPBX already installed and configured.
If you do not already have the system mentioned above, we recommend following this guide (of course you can skip the installation of USB modems). In addition, it is also worth following this post, where you will find information on how to pair a phone via Bluetooth.
In this tutorial we will use the following hardware and software (these are options, not requirements):
- Raspberry Pi 4 with built-in Bluetooth adapter,
- Plantronics headset,
- operating system with Asterisk 16, chan_mobile.so and hcitool
As we mentioned in the previous post, you may have already seen some other material that suggests that bluetoothctl is best for pairing devices. And it’s true that you can pair your bluetooth device this way. But this software can be more useful if you connect a mouse or keyboard, for example, and bluetoothctl is not used to pair chan_mobile devices.
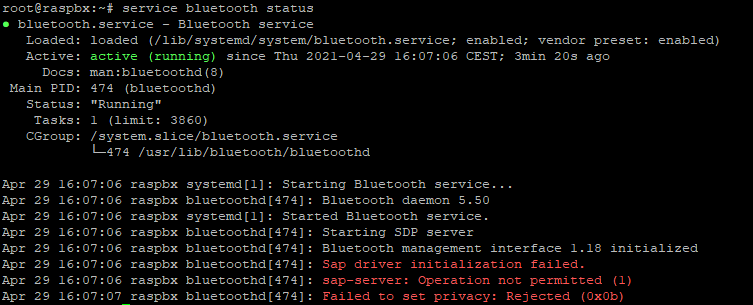
First, make sure that the Bluetooth service is working properly and start it with the service bluetooth start if necessary.
service bluetooth status
2) Preparing chan_mobile.conf
In a perfect world, we would log into the Asterisk console (asterisk -r) and load the module with module load chan_mobile.so. However, we do not have a properly configured file at this stage, so we will get an error Errors reading config file chan_mobile.conf. Not loading module..
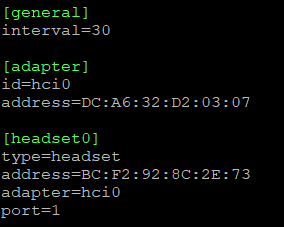
In the basic configuration, chan_mobile.conf will contain three sections:
- [general] – global settings such as refresh time for connected devices
- [adapter] – information about the Bluetooth adapter that will wirelessly connect to phones and/or headphones
- [headset] – information about the device that will be connected to the adapter
We can literally fit everything in a few lines.
					[general]
interval=30 ; the number of seconds between attempts to connect to devices
[adapter]
id=hci0     ; adapter name (can be any name, but must be unique)
address=AA:BB:DD:CC:EE:FF  ; the MAC address of the adapter
[headset0]
type=headset  ; information that this device is a handset
address=00:11:22:33:44:55  ; phone's MAC address
adapter=hci0  ; adapter used for connection (as above in the [adapter] section)
port=1        ; rfcomm port number (from the mobile search command)
First, let’s define our Bluetooth Adapter. We will do it with the command:
hcitool dev
One adapter allows connection to only one device. If you want to connect e.g. two headphones, you need two adapters.
We will add the result of this command in a moment to our chan_mobile.conf file. However, it is worth writing down the MAC address of our Bluetooth transmitter/receiver somewhere. If more devices are detected, we can add one or more adapters to Asterisk.
Next up will be detecting the device we want to connect to. Enable “discovery” on the handset, then search for devices with:
hcitool scan
This command may take a little longer and may need to be executed several times to find our device. Depending on your location, you may find more devices. For example, if you do the tests in your office, the adapter can detect all your and your colleagues’ smartphones, headphones, and smartbands.
Select the device you want to connect from the list and remember its MAC address.
If you haven’t created chan_mobile.conf yet, now’s a good time. It is worth remembering that it has the right “owner”.
					touch /etc/asterisk/chan_mobile.conf
chown asterisk: /etc/asterisk/chan_mobile.conf
Let’s enter all the information obtained into the file.
The only variable that we are not able to determine at the moment is the port, so we can enter “1” to start. We’ll change that in a moment.
We can now go back to the Asterisk console. If the file contains all the necessary configuration, incl. information about the adapter and handset, we will be able to load the module correctly. Below is the list of commands that we want to execute in the console (asterisk -rvvv):
					module load chan_mobile.so
mobile search
An explanation of the commands used:
- module load chan_mobile.so – loading the module for handling mobile channels
- mobile search – discovering Bluetooth devices
- mobile show devices – display a list of connected devices
The mobile search command will detect our headphones and show the port that we can update in the chan_mobile.conf file.
As you can see in the example above, we detected two headphones for the test, but only use one.
At this stage, we can restart the Asterisk to apply the settings.
asterisk -rx 'core restart now'
Then (in the Asterisk console) we will perform mobile search again to pair our handset. Remember that pairing on the handset must be active.
The mobile show devices command will show us information about the connected device.
mobile show devices
3) Adding custom extension
Our handset is already paired, so we can add the extension in FreePBX.
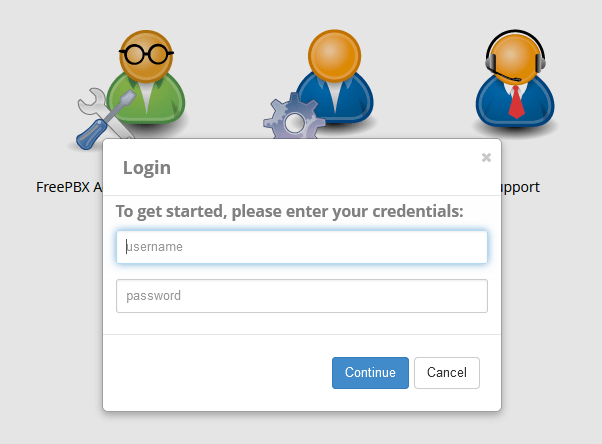
Let’s log into the FreePBX system via a browser.
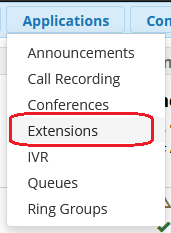
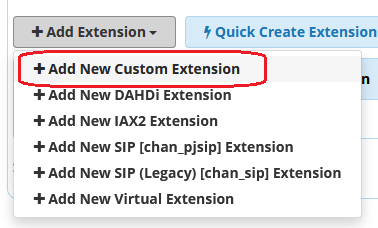
Select “Extensions” from the top “Applications” menu. On the “Extensions” page, add a new extension number and select “Add Custom Extension”.
In the first tab “General”, at least in the minimum necessary configuration, we are interested in two fields. Below are some sample values with descriptions:
- User Extension: 200 (the extension number to call to call this user)
- Display Name: name (the CallerID name for calls from this user will be set to this name; enter the name, NOT the number)
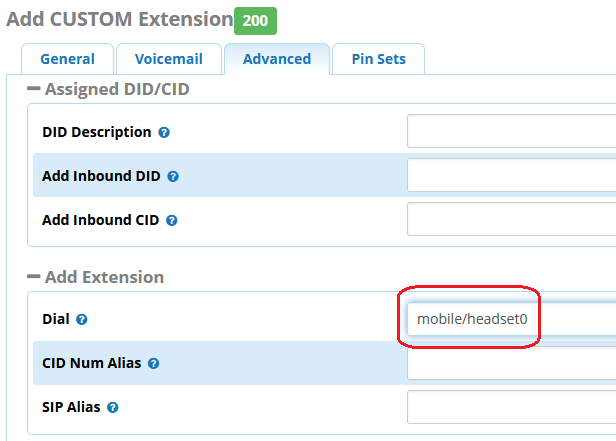
In the third “Advanced” tab, define the text string that will be responsible for making connections with the handset. It consists of two parts: the type of channel and the device for making connections. Most often Dial will look like this:
Dial: mobile/headset0
The first variable (for connections to headphones) will always be mobile, followed by the name of the handset that we defined in chan_mobile.conf.
After entering this data, save the configuration using the “Submit” button, which is usually located in the lower right corner of the screen.
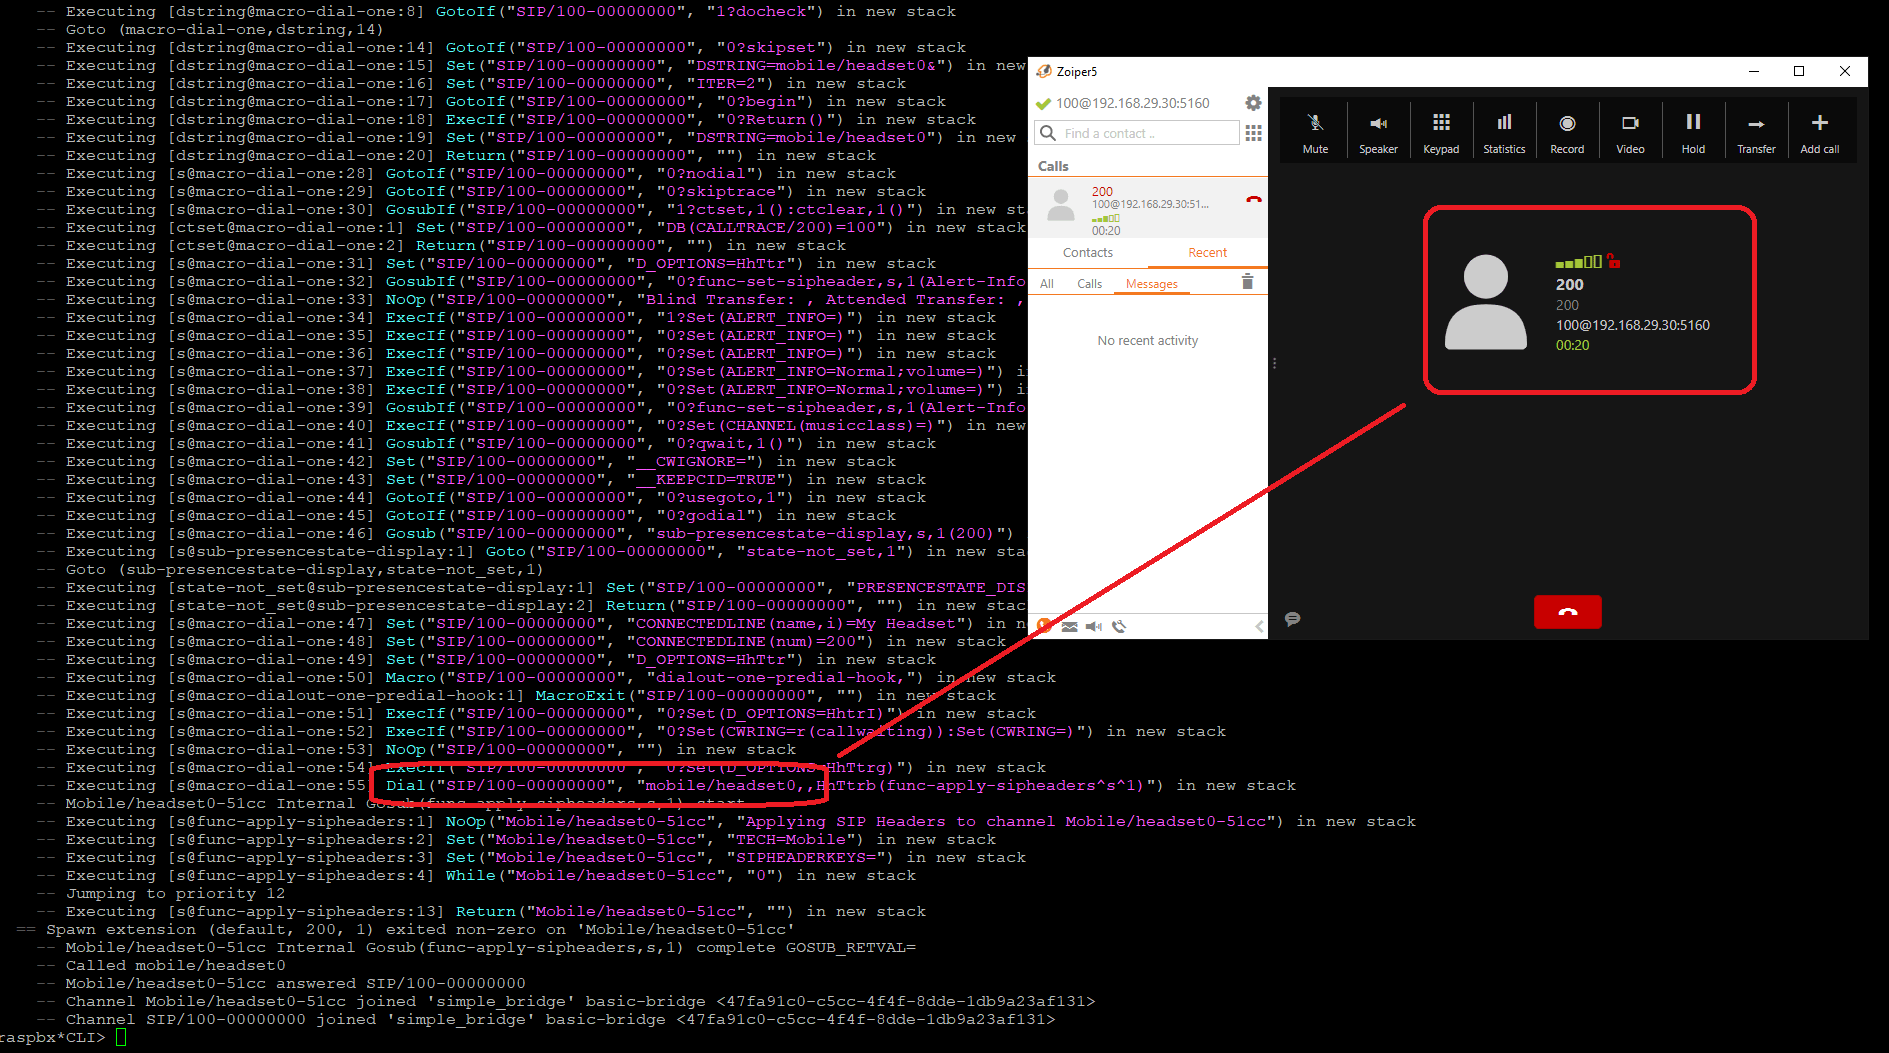
Then it only remains to approve everything with “Apply” and you can now answer incoming or internal calls on your Bluetooth handset.
If you would like to get information about everything that is happening on your PBX, try our proprietary VOIPERO software.
The system arleady has launched and now is completely FREE. Setup takes only a few minutes.
Read what our VOIPERO system can do in terms of live monitoring and reporting of VoIP systems created on Asterisk.


