NAS (Network Attached Storage) servers are a very convenient way to store and share photos, videos and other files. A homelab NAS is essentially a small computer with one or more hard drives and connected to your router. Thanks to this, it is able to communicate with any equipment connected to the home network and share files outside. You’ll be able to access your media library and files from anywhere. OpenMediaVault is a Debian-based NAS server. Combines SSH, (S)FTP, SMB/CIFS, DAAP, Rsync, BitTorrent support. Thanks to its modularity, it is possible to extend its functionality using plug-ins. This is a free solution that you can easily use on the popular Raspberry Pi, which we will convert into a homelab NAS.
Table of Contents
1) Required hardware and software
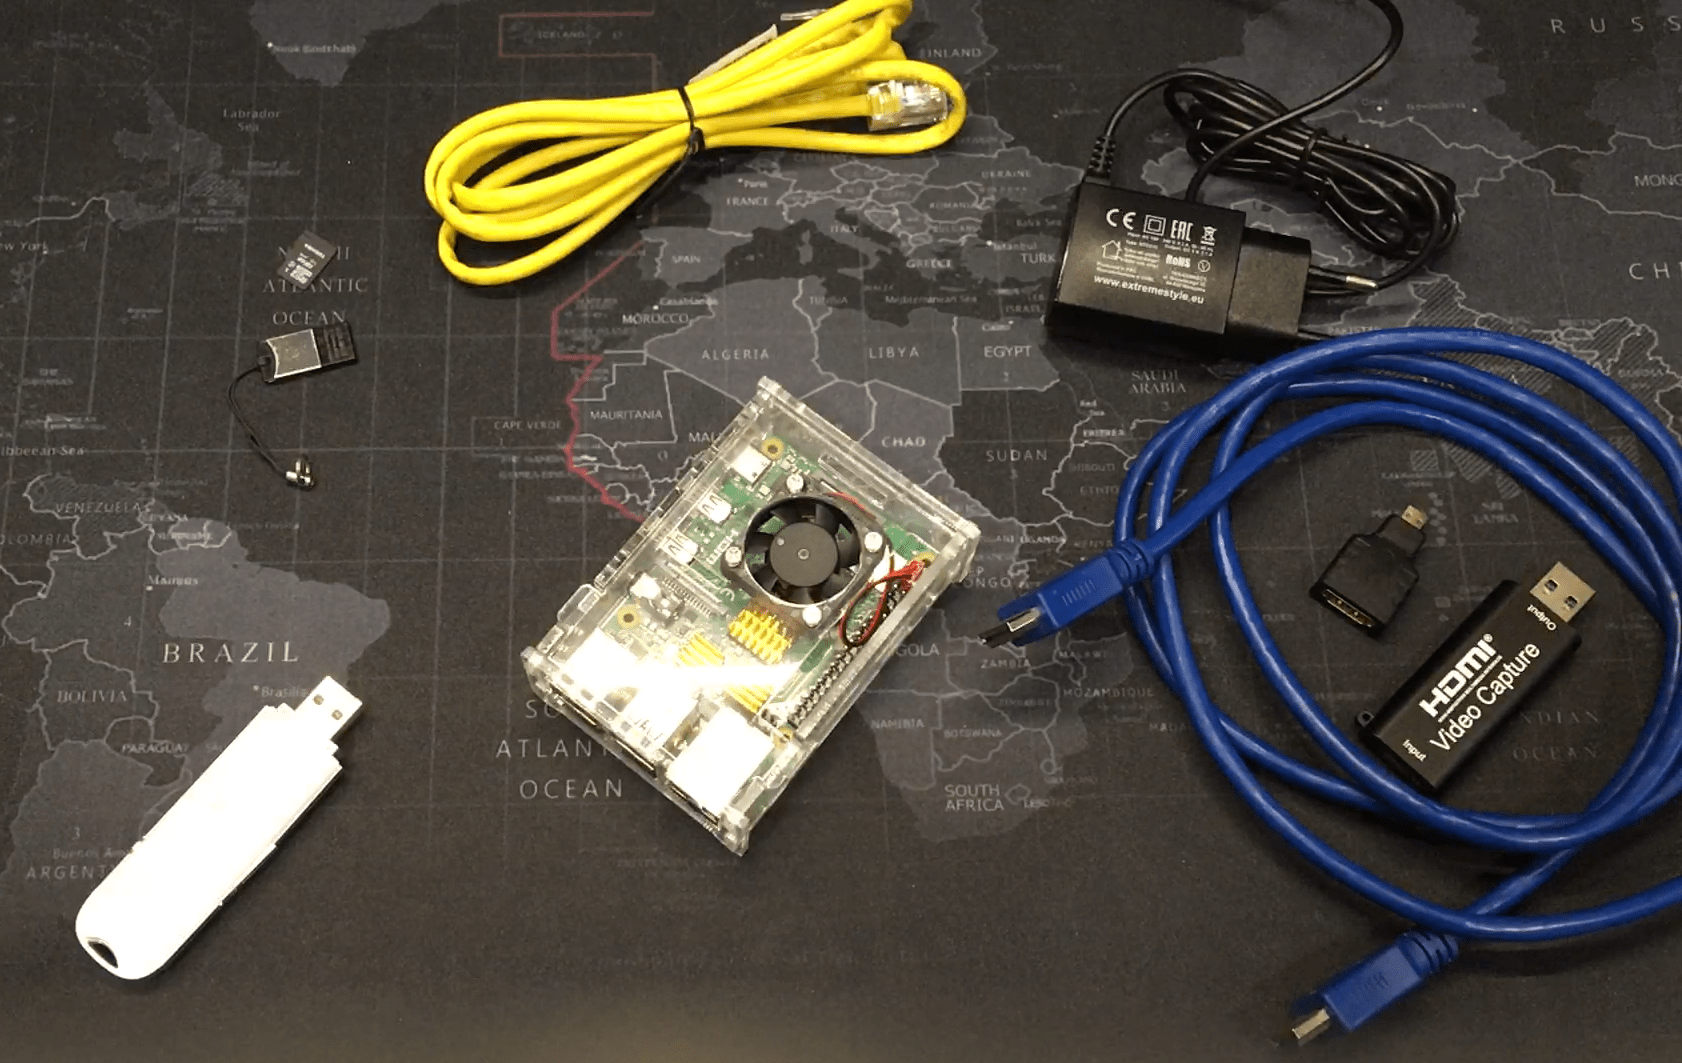
Below you will find a list of everything that I used to prepare and install OMV5 on our Raspberry.
HARDWARE:
- Raspberry Pi 4 2GB RAM
- Power supply USB-C 3.1A
- 16GB MicroSD card
- MicroSD-USB adapter
- HDMI cable
- MicroHDMI-HDMI adapter
- ethernet patchcord
SOFTWARE:
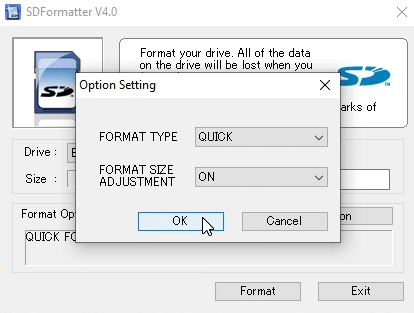
- SDFormatter (https://www.sdcard.org/downloads/formatter/) – formats microSD card
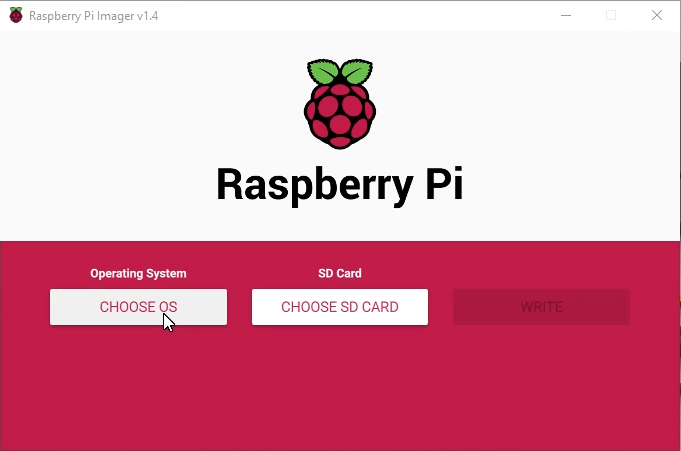
- Raspberry Pi Imager (https://www.raspberrypi.org/software/) – install OS onto the card
EXTERNAL DRIVES (optional)
- any kind of USB flash drive
- external HDD/SSD
First, let’s plug in the microSD card and wipe the card using SDFormatter to remove all hidden partitions (if any exist).
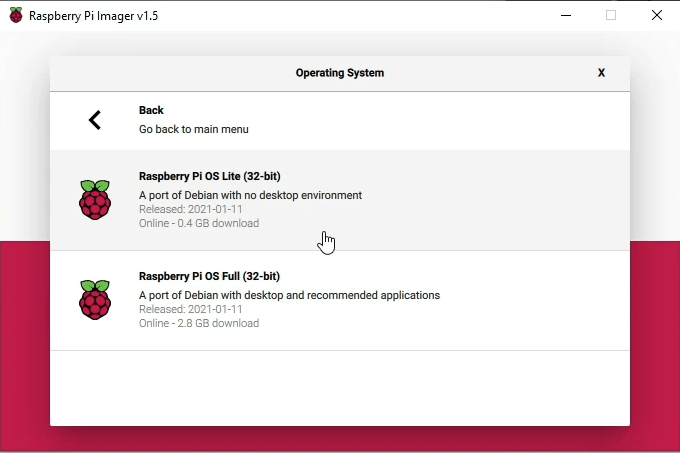
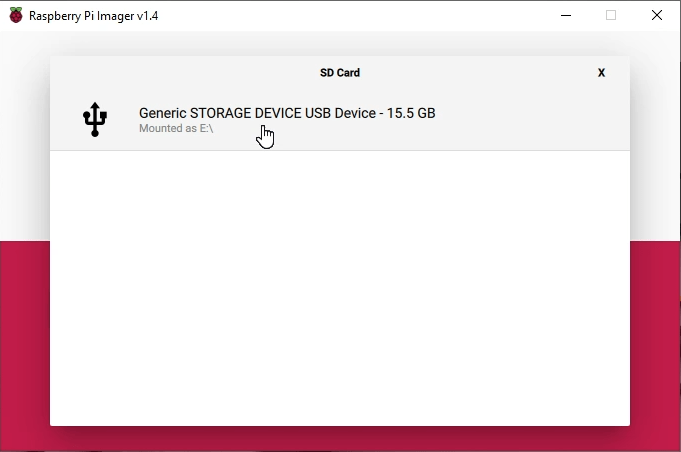
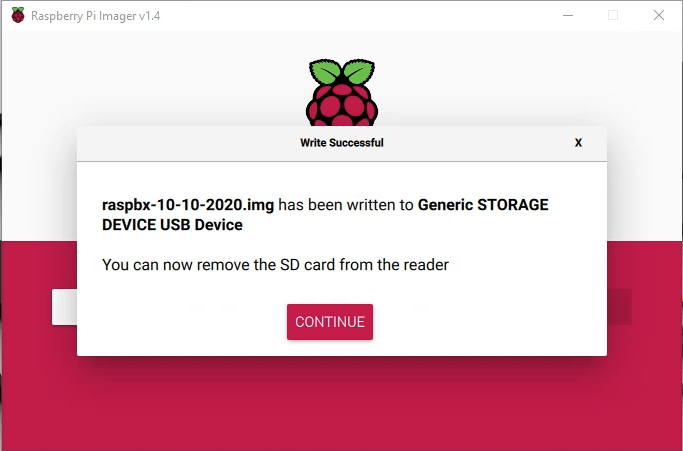
Then install the Raspberry Pi OS Lite (32-bit) using the Raspberry Pi Imager. You’ll find it inside “Raspberry Pi OS (other)” submenu.
Select from the list the device to which you want to upload the system.
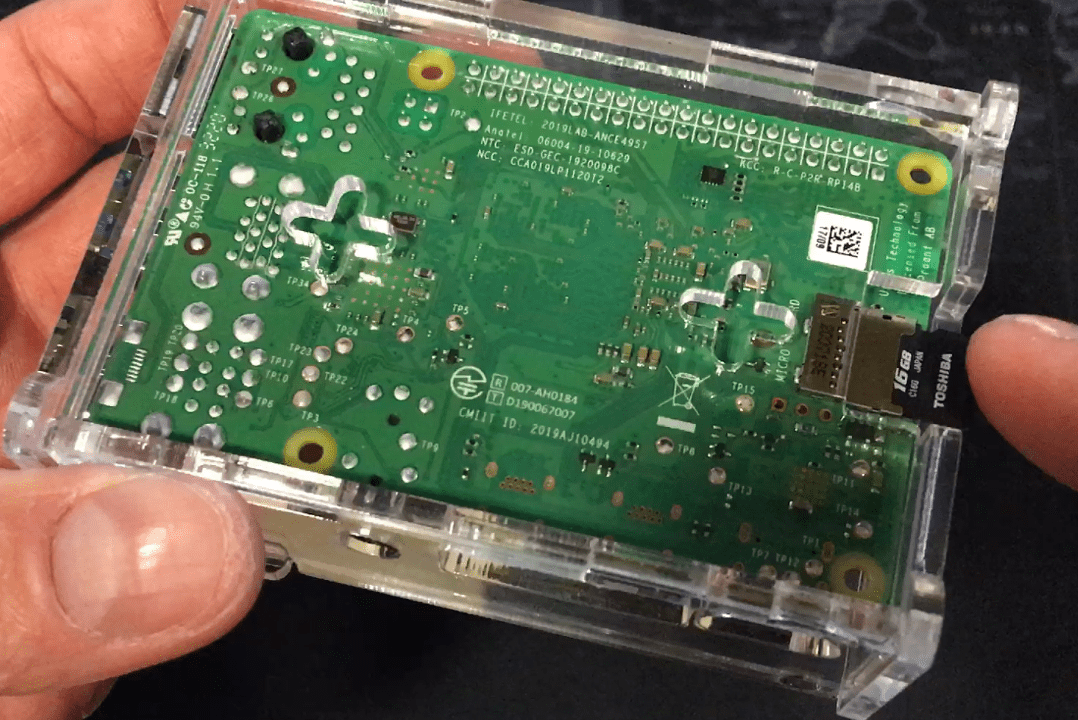
After successful installation, let’s mount the card into our Raspberry.
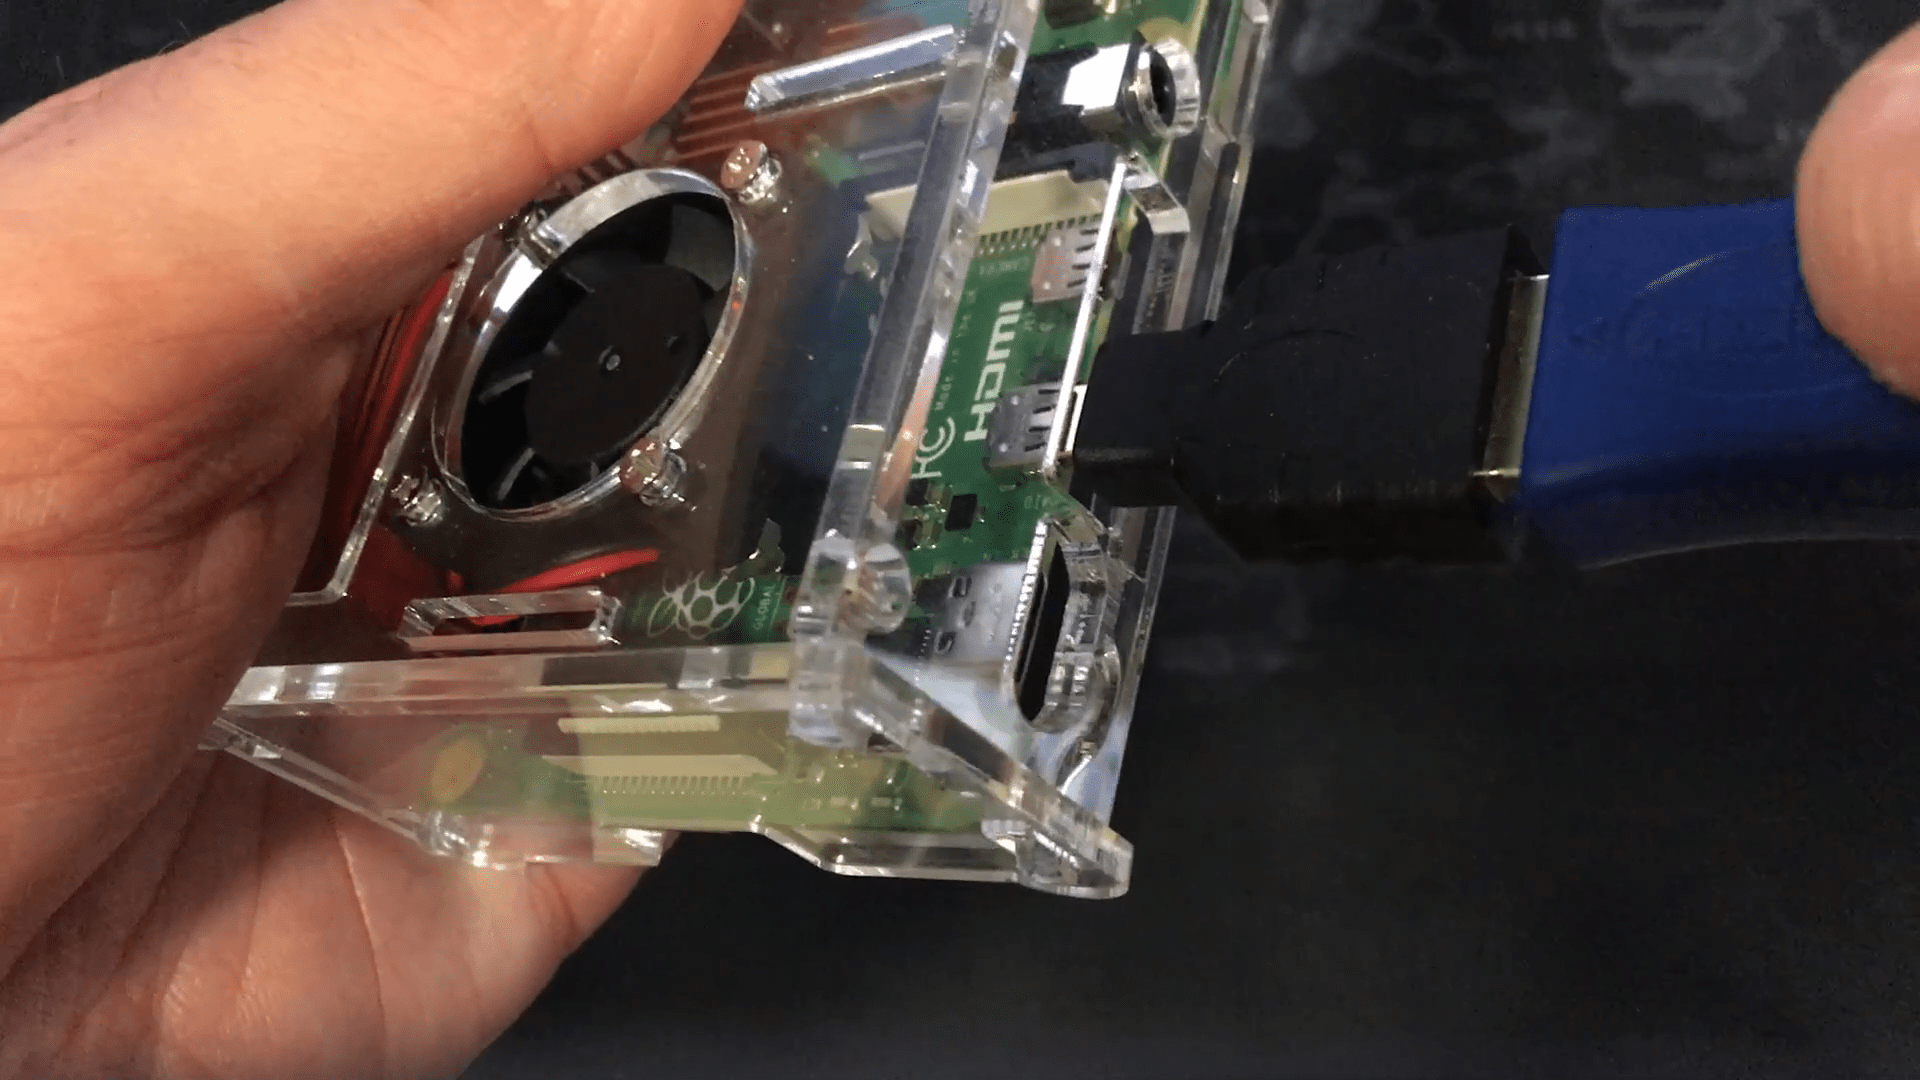
Finally, we can connect all other components: USB modem, HDMI (using an adapter), network connection, power supply and a USB keyboard.
Under normal circumstances, it is enough to connect HDMI to the monitor. However, we will use the FullHD HDMI grabber to capture the image on our device.
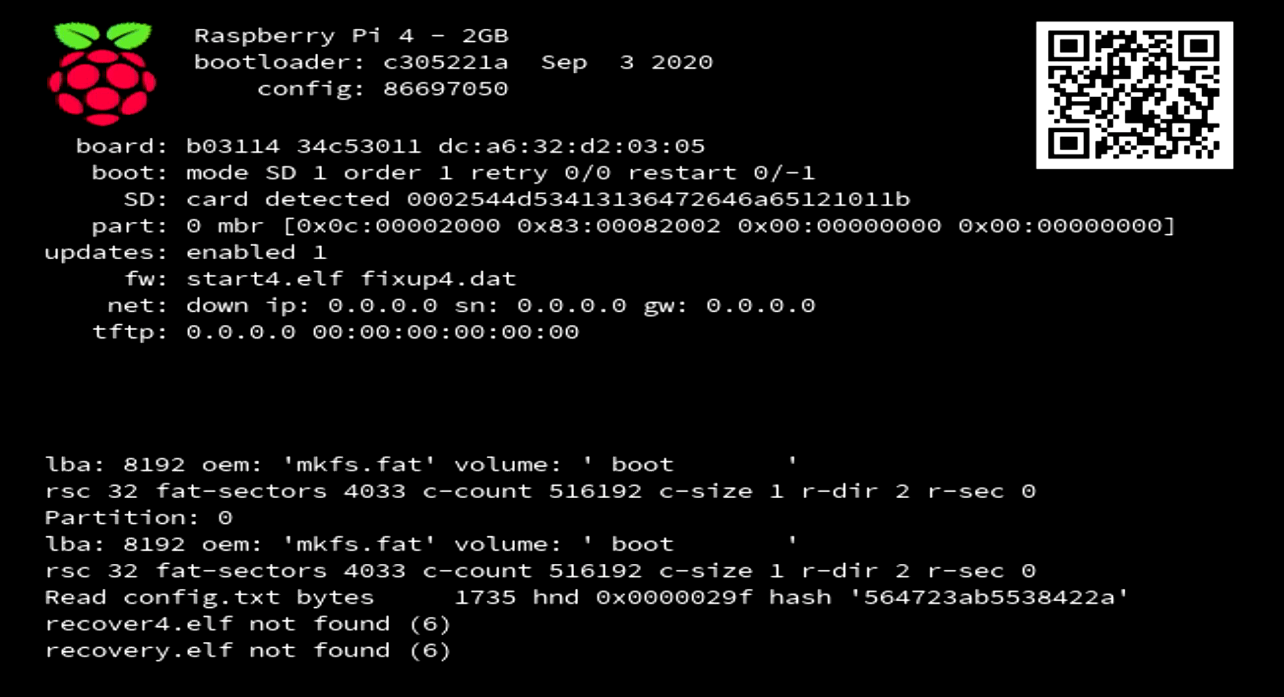
Finally, we will see the system boot. After loading the image from the card, we will be able to log into the operating system.
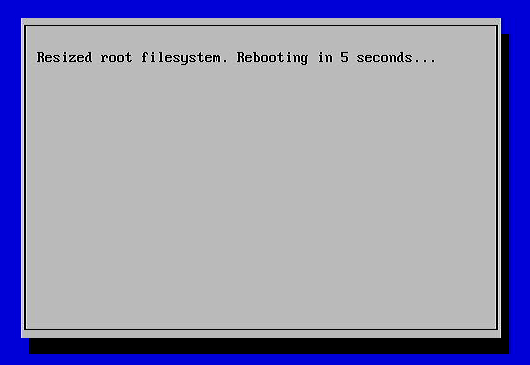
What is really nice that the image will automatically adjust partitions size at first boot.
2) Software installation and configuration
First, let’s log into the system. We can do it directly (keyboard + monitor) or by logging in using the SSH client. In both cases, the default login details are identical:
- user: pi
- password: raspberry
We will not write here about all security policies, time zone settings, GPIO ports, etc …
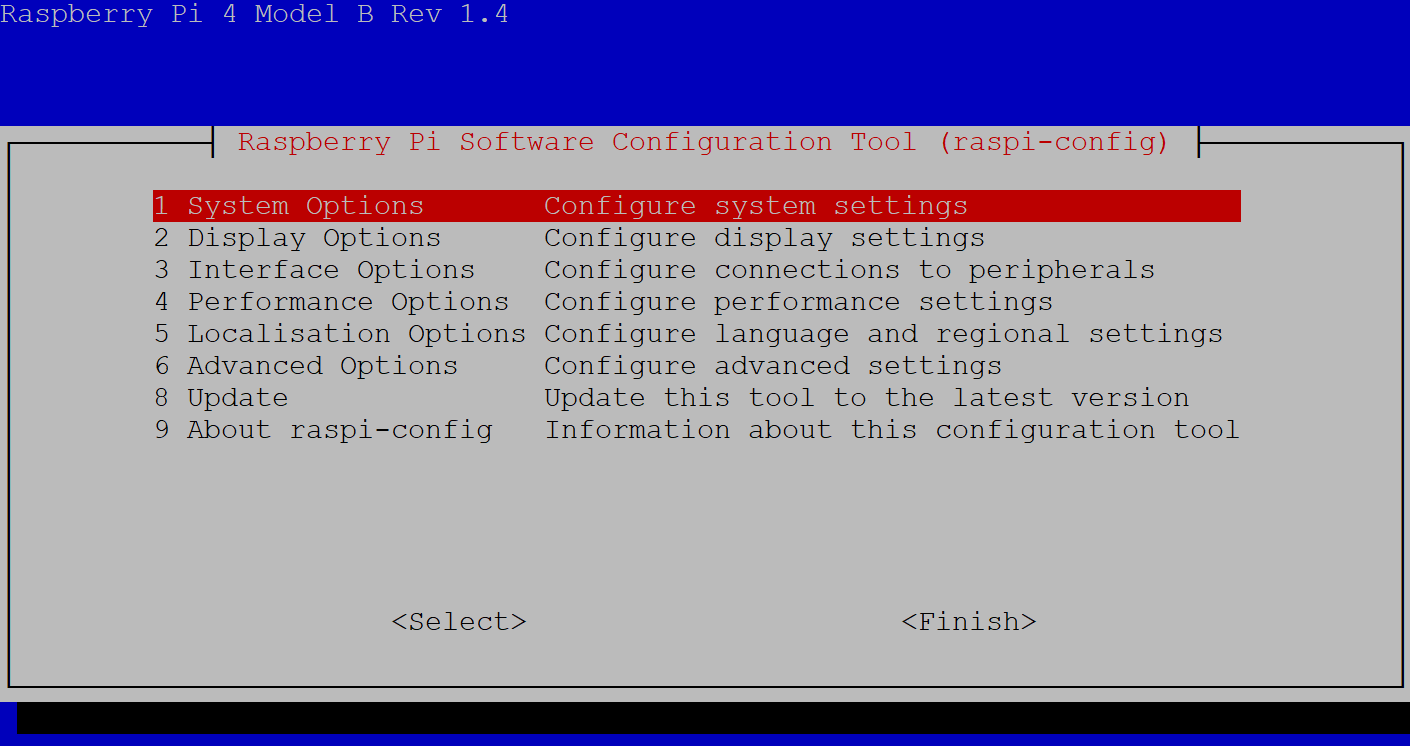
However, I recommend running at least the raspi-config command and going through options like password change, etc…
We can now execute the main command, which will install OpenMediaVault plugin.
sudo wget -O - https://github.com/OpenMediaVault-Plugin-Developers/installScript/raw/master/install | sudo bash
The installer will automatically reboot the device.
Actually, that was the only command you need to execute …. it’s as simple as that.
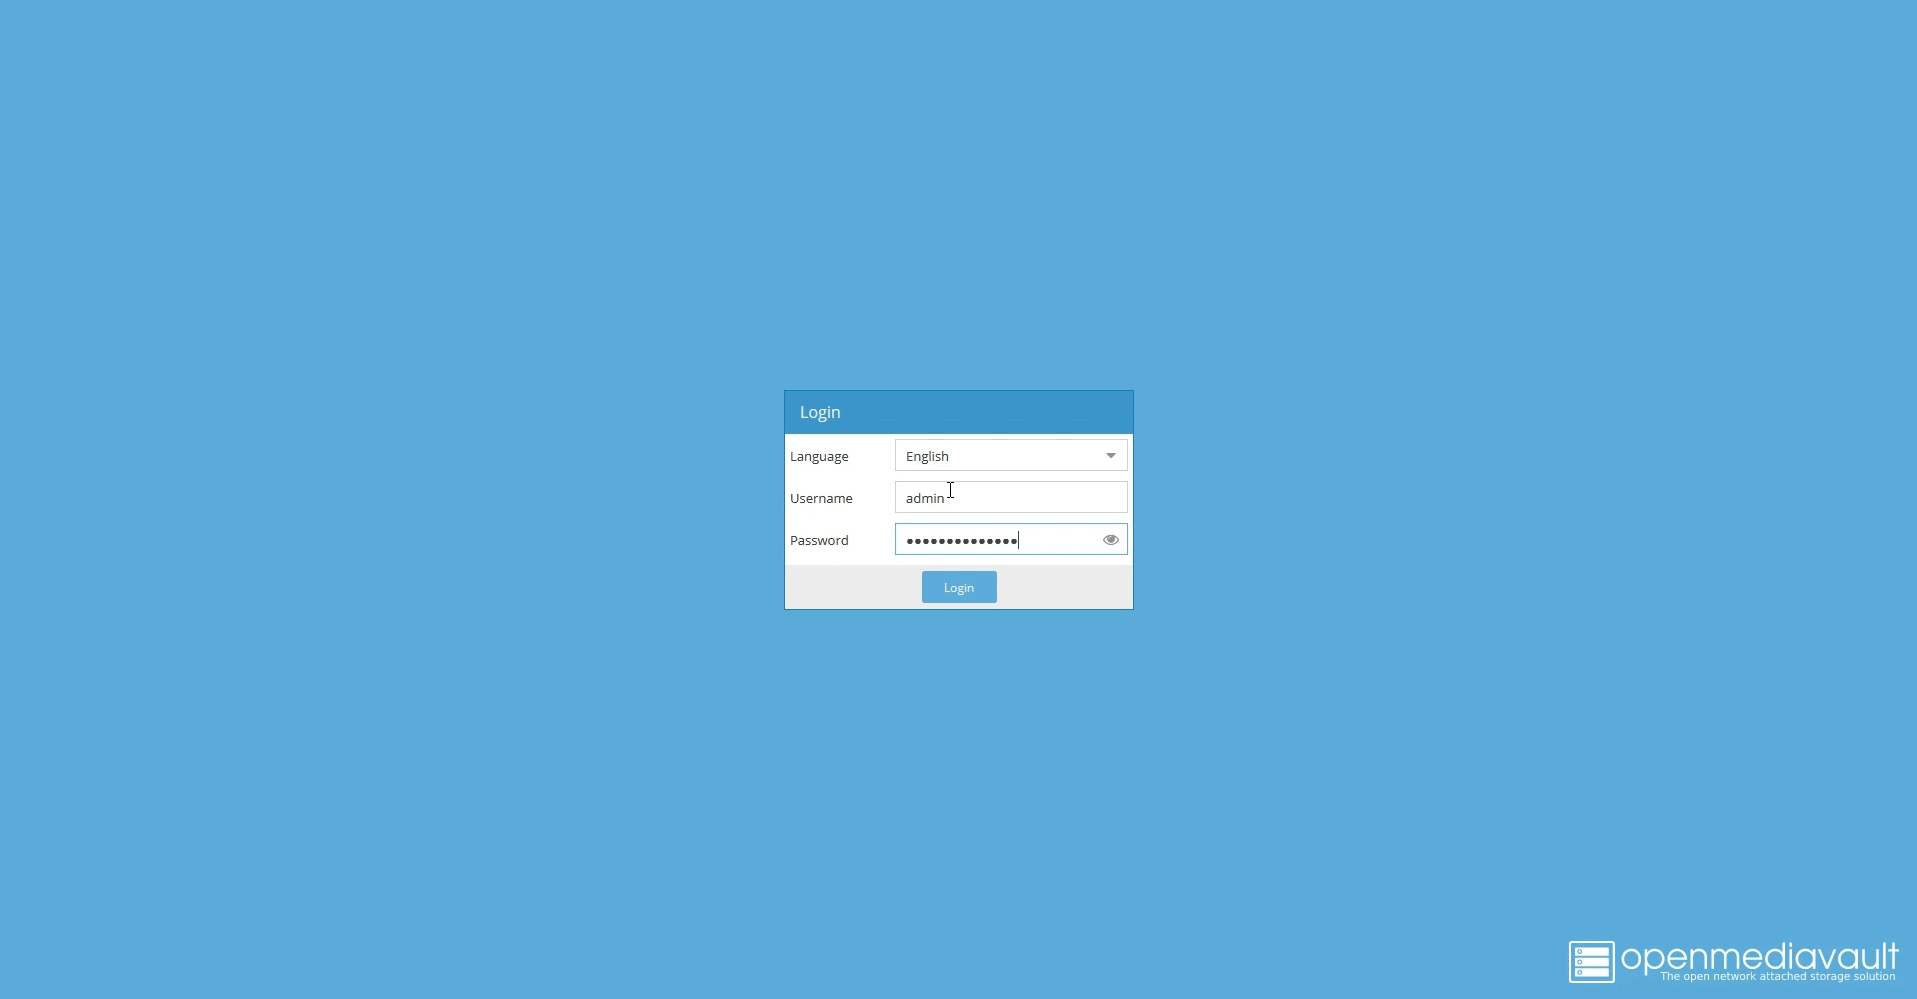
Now login via web browser using the IP address of our Raspberry. To check to IP just type ip a.
Use the default OpenMediaVault password:
- username: admin
- password: openmediavault
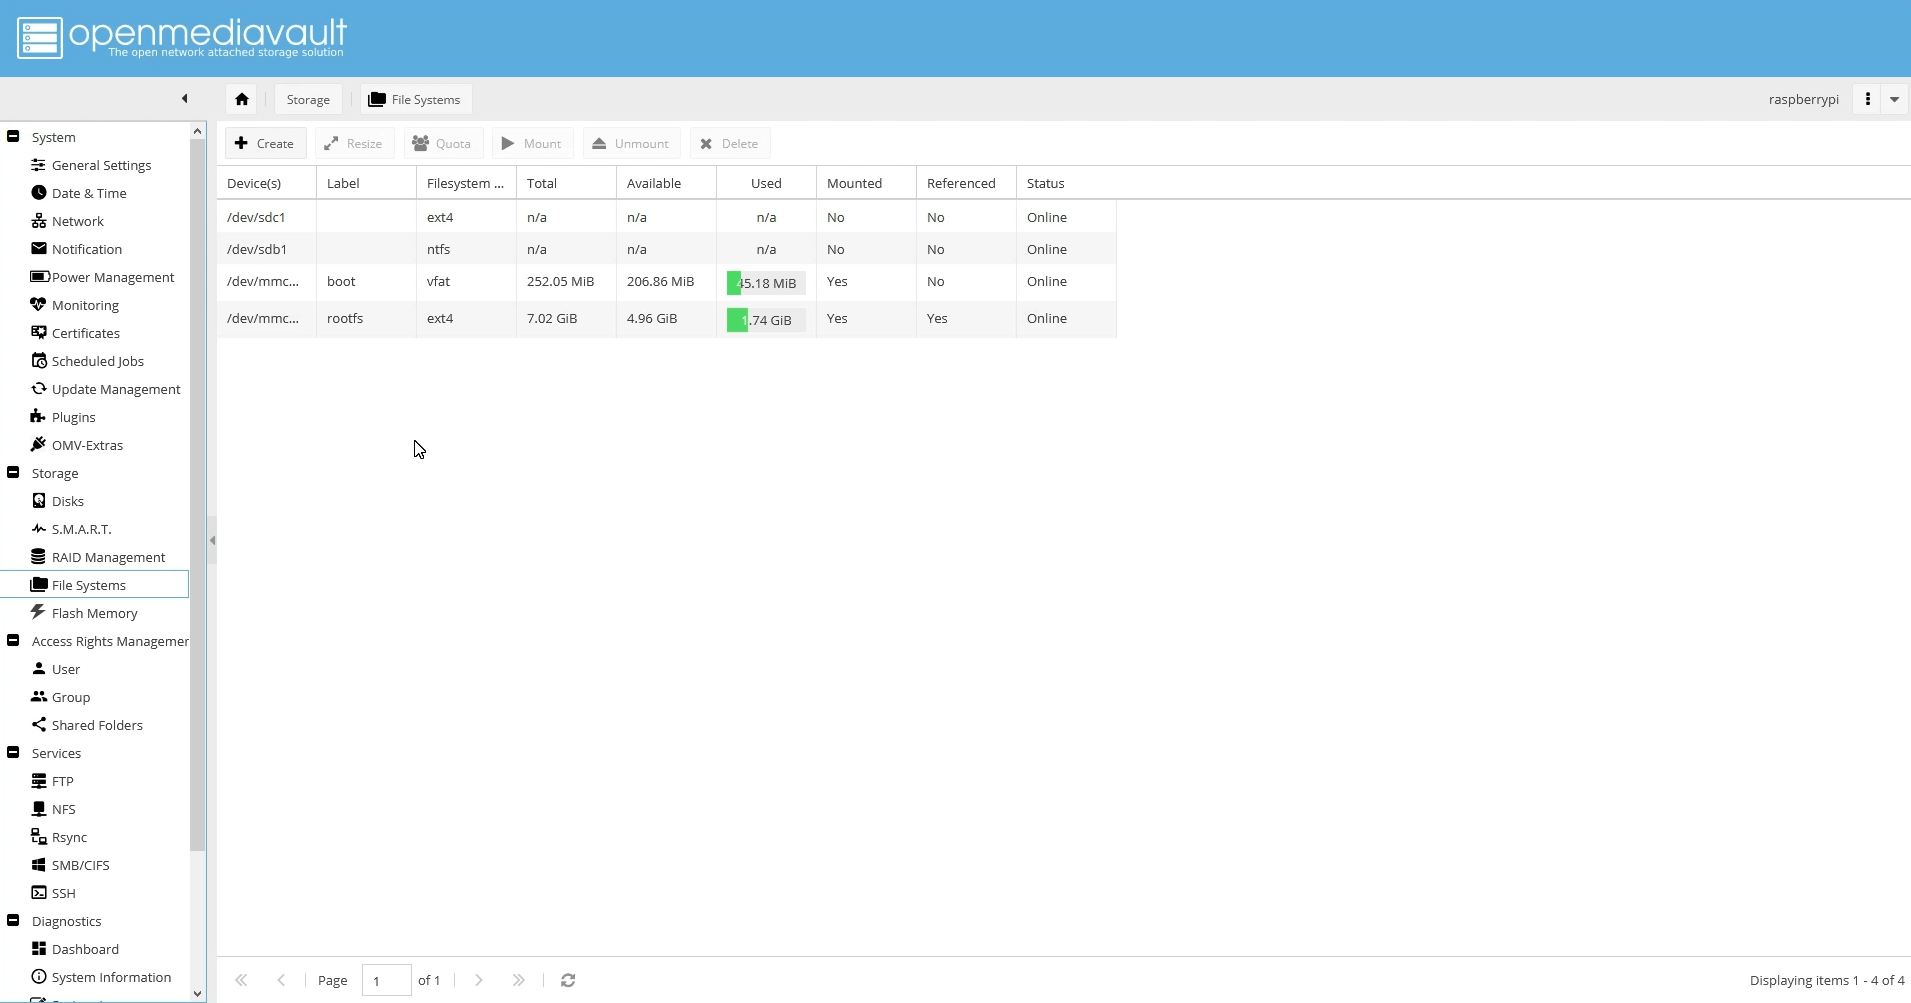
And now you’ll need to configure lots of stuff like users, network, firewall, file systems, sharing services, extra plugins, etc….
Good luck!


