


Table of Contents
1) Introduction
It is also worth making sure that the rules of our firewall allow incoming connections on port 80. It is used to verify the domain and generate certificates.
2) Installing snapd & certbot
Snap is available for CentOS 8 and CentOS 7 starting with release 7.6. It is included with Extra Packages for Enterprise Linux (EPEL), so first install EPEL (if you don’t already have one).
# for CentOS 7
sudo yum install epel-release
# for CentOS 8
sudo dnf install epel-release sudo dnf upgrade
After adding the EPEL repository to the CentOS installation, install the snapd package, activate the socket for communication and create the binding required for the correct operation of certbot.
					sudo yum install snapd
sudo systemctl enable --now snapd.socket
sudo ln -s /var/lib/snapd/snap /snap
Follow the command line instructions on your computer to make sure you have the latest version of snapd.
					sudo snap install core
sudo snap refresh core

If you have any Certbot packages installed using your OS package manager like apt, dnf, or yum, you should remove them before installing by executing any further commands to make sure that when you run certbot, the snap is used and not installing from the system package operational manager. The exact command to do this depends on your operating system, but common examples are sudo apt-get remove certbot, sudo dnf remove certbot, or sudo yum remove certbot.
To install Certbot, in the command line, do:
sudo snap install --classic certbot
Finally, you’ll see the message:
certbot 1.16.0 from Certbot Project (certbot-eff✓) installed
After installation, create a symbolic link necessary to run Certbot.
sudo ln -s /snap/bin/certbot /usr/bin/certbot
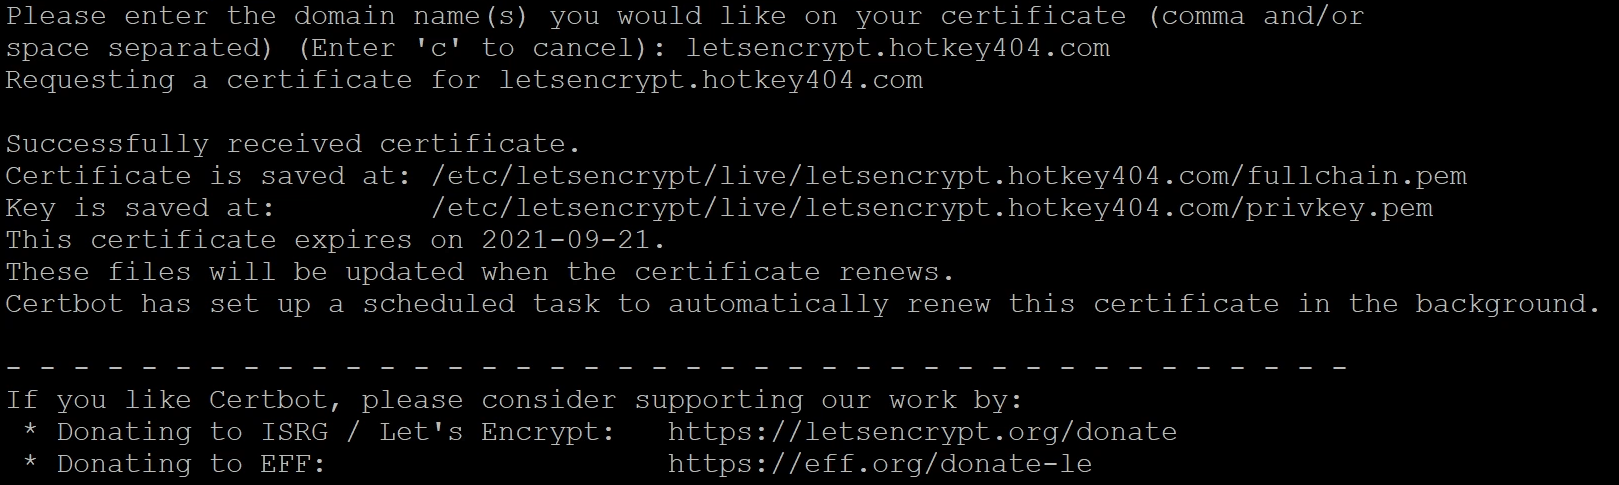
3) Generating a certificate
First, choose how you want to run Certbot.
- If your web server is not currently running on this computer.
Stop the web server and then run the command below to obtain the certificate. Certbot will temporarily start the web server on your computer.
sudo certbot certonly --standalone
If the web server is on, you will get an error: Problem binding to port 80: Could not bind to IPv4 or IPv6. First shut down the server and then execute the command or use the second certificate generation option.
- I need to keep my web server running.
If you have a web server that already uses port 80 and you don’t want to stop it while Certbot is running, run the command below and follow the instructions in the terminal.
sudo certbot certonly --webroot
4) Automatic certificate renewal
To check if the automatic certificate renewal works in your configuration, perform a dry-run.
sudo certbot renew --dry-run
If the dry-run shows errors (eg. busy port 80) it may be necessary to use hooks, which will be automatically executed before and/or after each certificate renewal attempt.
If you’ve added the aforementioned auto scripts and you’re fine, run the following line which will add a cron job to /etc/crontab:
SLEEPTIME=$(awk 'BEGIN{srand(); print int(rand()*(3600+1))}'); echo "0 0,12 * * * root sleep $SLEEPTIME && certbot renew -q" | sudo tee -a /etc/crontab > /dev/null
Admittedly, certbot mentioned that it added this background job, but it’s always better to be sure.

5) Pre & Post Hooks
- WWW server restart
For example, if you need to stop a web server to start Certbot, you will want to add hooks before and after to automatically stop and start the web server.
These hooks are found in the following catalogs:
- /etc/letsencrypt/renewal-hooks/pre/ – contains files executed BEFORE renewal
- /etc/letsencrypt/renewal-hooks/post/ -contains files executed AFTER renewal
For example, if you are using Apache you can add the following files which will automatically stop Apache service before renewing certificates and then restart Apache after the process is complete.
					sudo sh -c 'printf "#!/bin/sh\nservice httpd stop\n" > /etc/letsencrypt/renewal-hooks/pre/httpd.sh'
sudo sh -c 'printf "#!/bin/sh\nservice httpd start\n" > /etc/letsencrypt/renewal-hooks/post/httpd.sh'
sudo chmod 755 /etc/letsencrypt/renewal-hooks/pre/httpd.sh
sudo chmod 755 /etc/letsencrypt/renewal-hooks/post/httpd.sh
- Access to certificates for non-root users in Asterisk
Perhaps your configuration requires you to use certificates as a non-root user. For example, you have an Asterisk server and want to run TLS to register SIP accounts, but the service is running as anasteriskuser. In this case, you can simply create a directory to store certificates and then create a script (certbot post hook) that will copy the newly generated certificates to the mentioned directory and change the permissions.
					mkdir /etc/asterisk/ssl
chmod 0700 /etc/asterisk/ssl
chown -R asterisk: /etc/asterisk/ssl
sudo sh -c 'printf "#!/bin/sh\nrm -rf /etc/asterisk/ssl/*.pem\ncp /etc/letsencrypt/live/*/*.pem /etc/asterisk/ssl/\nchmod 0600 /etc/asterisk/ssl/*.pem\nchown asterisk: /etc/asterisk/ssl/*.pem\n" > /etc/letsencrypt/renewal-hooks/post/asterisk.sh'
sudo chmod 755 /etc/letsencrypt/renewal-hooks/post/asterisk.sh
Of course, certbot is a very powerful tool. This article is only an initial setup that can be adapted to virtually any scenario.
You can of course find more information on the manufacturer’s website:
https://certbot.eff.org/

Do you really know what is happening on your PBX? Let’s try our proprietary VOIPERO software.
Setup takes a few minutes only and the system is currently completely FREE.
Get to know what VOIPERO system is able to do in terms of reporting & live monitoring of VoIP systems created on Asterisk.