Table of Contents
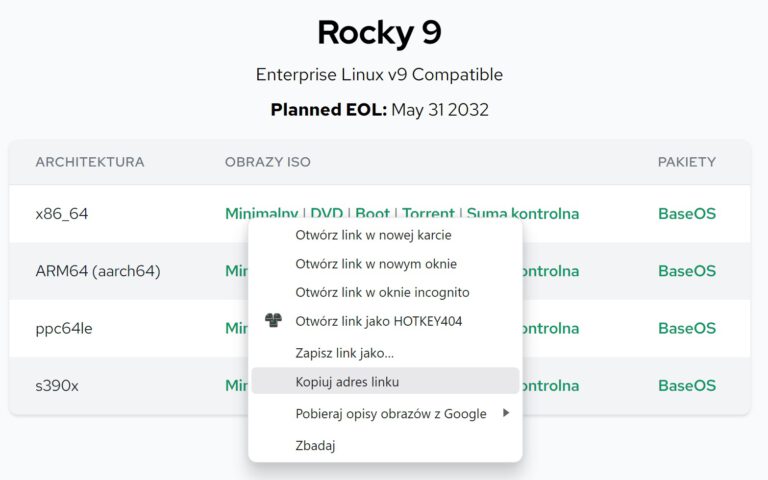
1) Download the Rocky Linux 9 ISO image
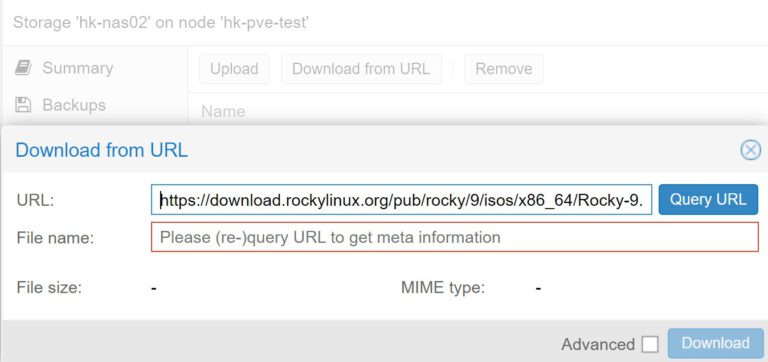
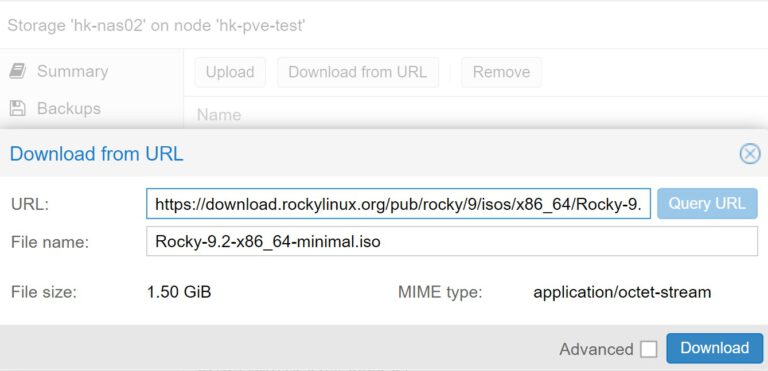
Query URL Proxmox will verify the correctness of the URL and provide a proposed name for the image.
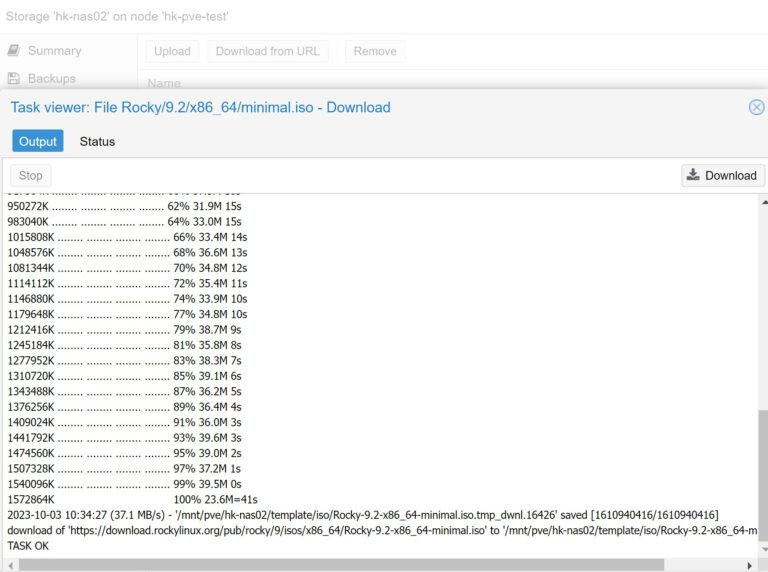
Download will download the image and end with the TASK OK message. We can then close this window 2) Creating a new virtual machine on Proxmox
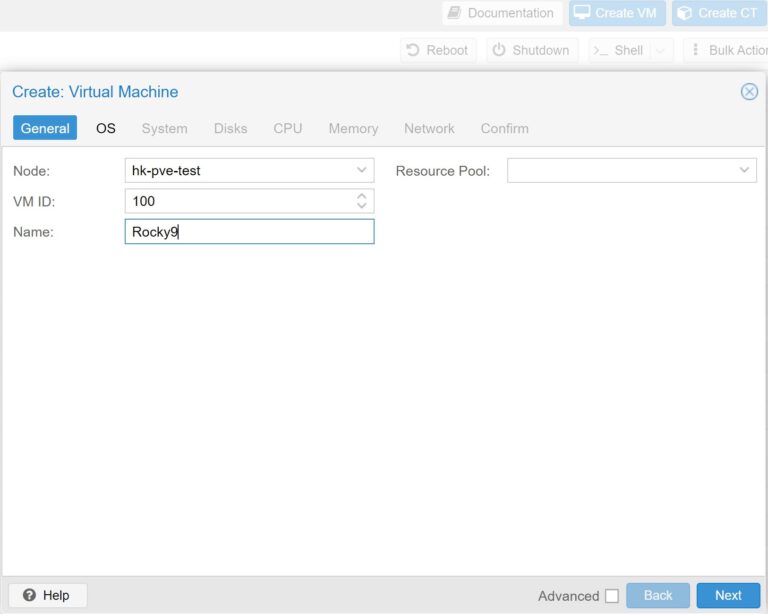
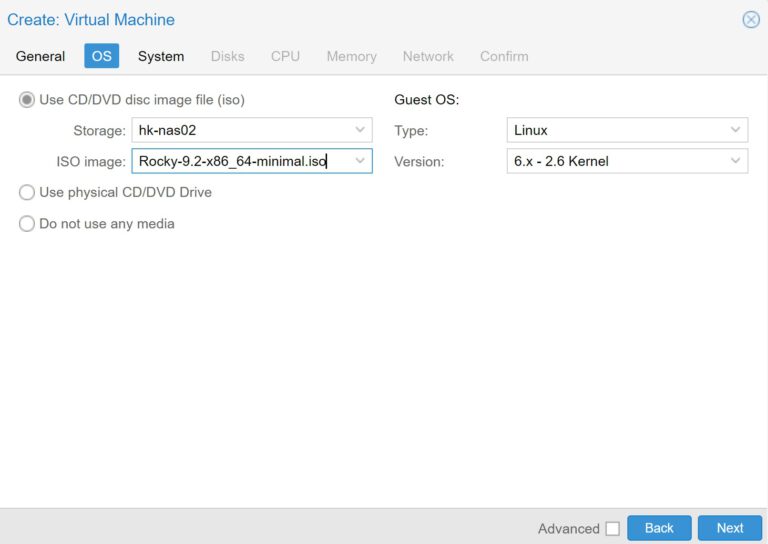
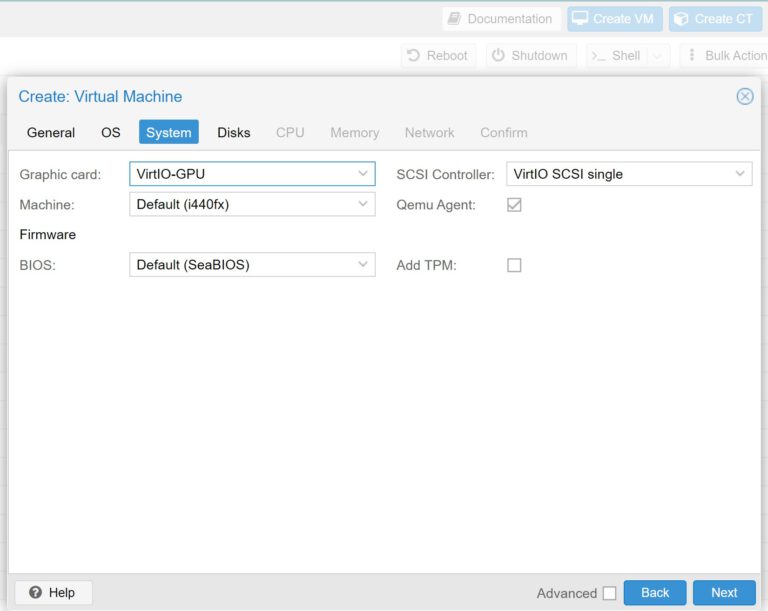
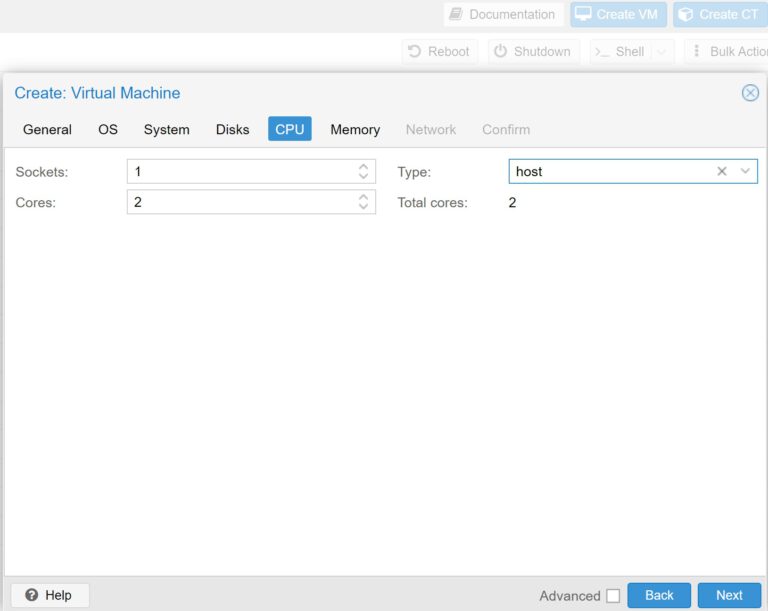
Create VM” or “New Virtual Machine” option Name: field and proceed by clicking Next ISO image: field, select the previously uploaded system image from the drop-down list and click Next In the System tab, select a virtual type graphics card: VirtIO-GPU. We also select the Qemu Agent option and proceed by clicking Next
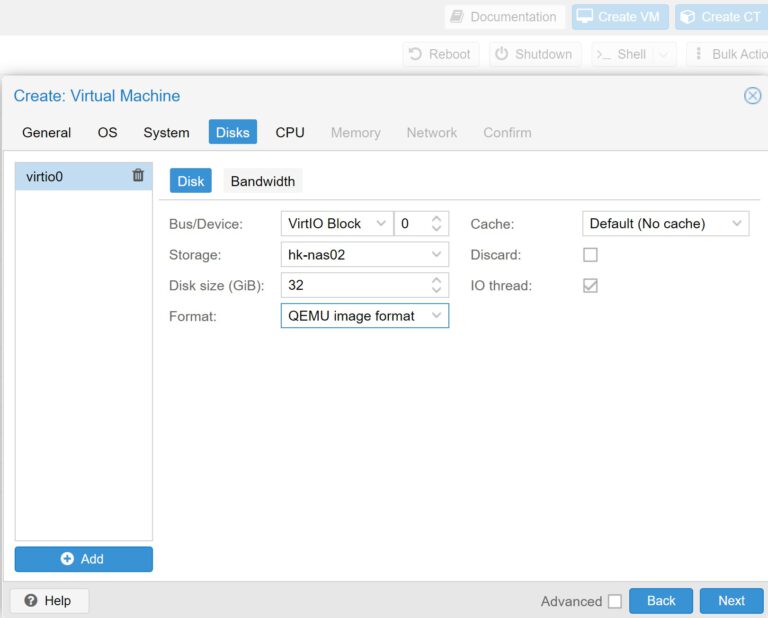
When it comes to the disk of our system, we also use virtualization, selecting the device type as VirtIO Block. Instead of creating a disk on a remote hk-nas02 array, it is often better to choose a local LVM disk or an even faster SSD.
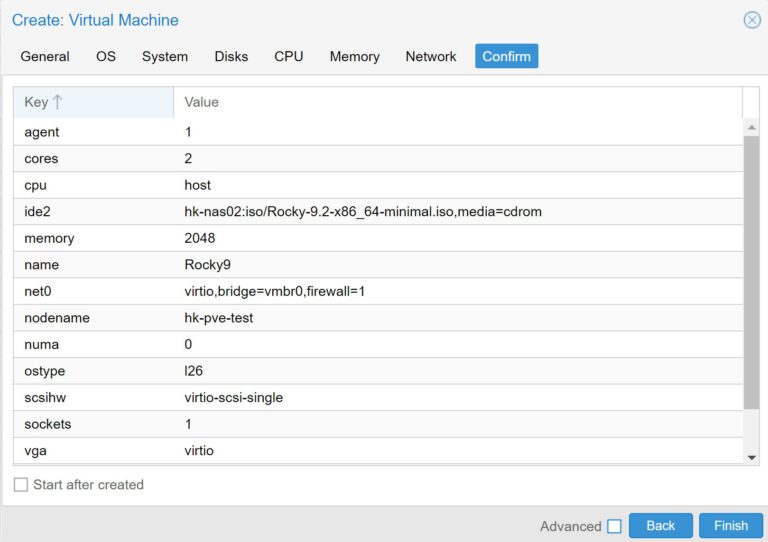
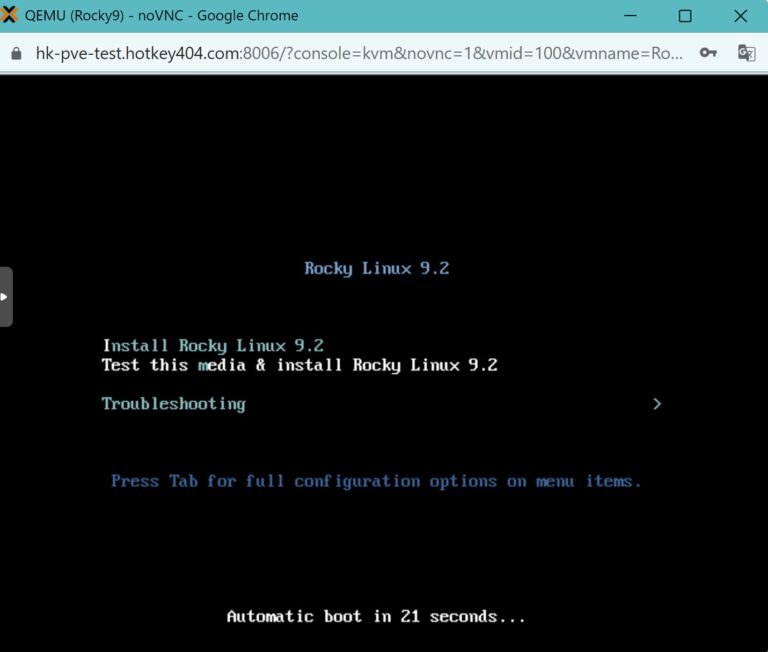
host Memory and Network tabs, we do not need to change anything and finally, in the Confirm tab, we can check the Start after created box, which will immediately start our new machine with the connected system image. Click Finish and proceed to the basic installation of Rocky 9 3) Installing Rocky 9
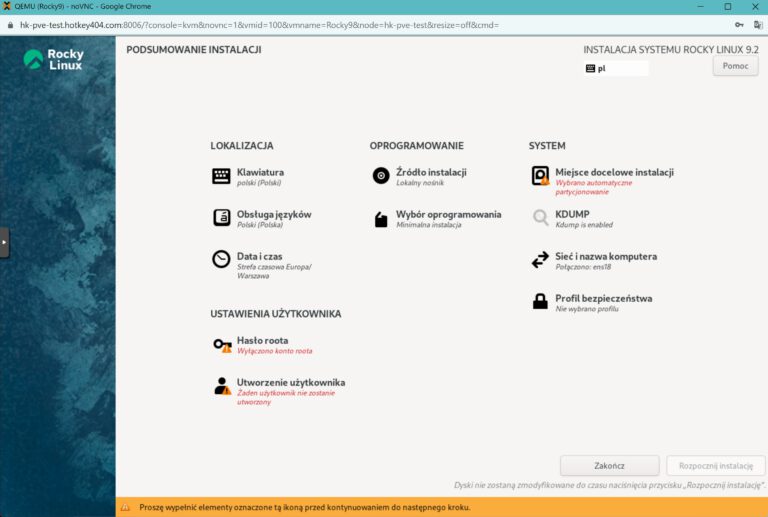
After starting, we can choose the installation language. If you choose Polish, click continue and a window will open as below with a summary of the installation. Of course it is not the best idea if you do not know our laguage. Change it and screens will be very similar.
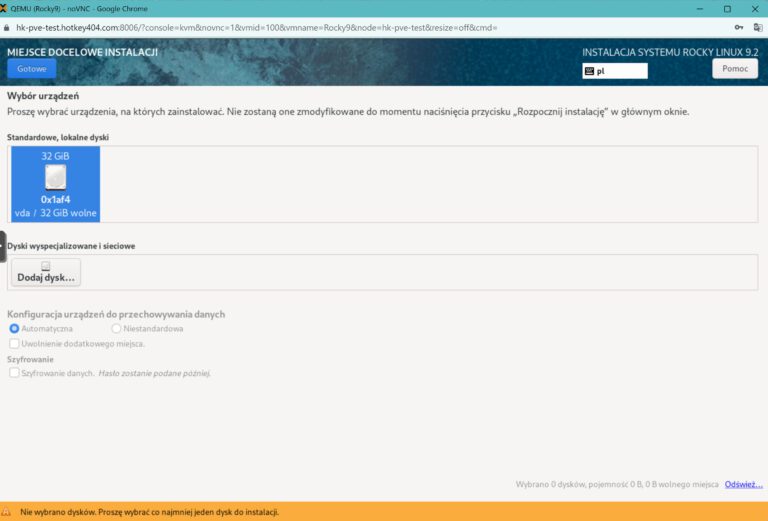
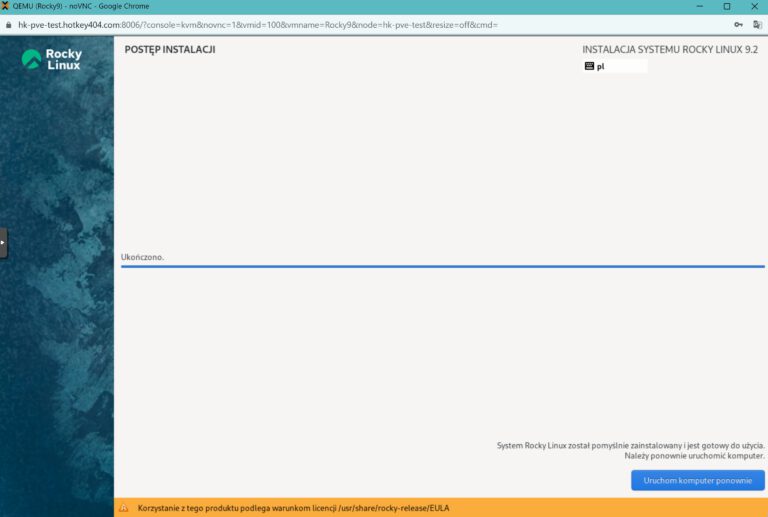
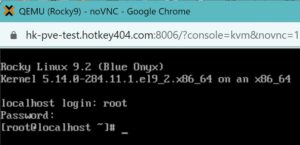
Block the root account and check Allow login as root via SSH using a password. This will make it easier for us to access the system later, for example using putty. If we don’t do this, we will see how to deal with this problem in part 5 of this post. Click done. We can, but do not have to, create an additional user with less privileges. This is good practice for later, when we log into the system for purposes other than administrative purposes or give access to third parties. For basic matters, we also need to click on Installation target. An additional screen will open. Done. In the installation summary window, the Start installation button will now be highlighted in blue. Let’s click on it and after a few minutes we will get a screen informing us that our Rocky Linux system has been installed. Now we need to restart our system so click Restart computer. After starting, we will receive a standard request for login and password. After logging in as root, we are ready to work.
A good practice is to start by updating the system and restarting after the update.
					dnf -y update
reboot
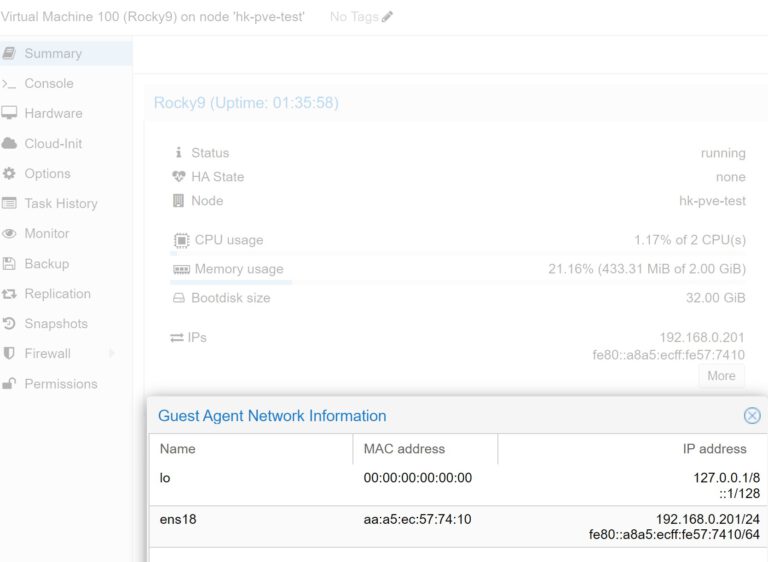
4) Proxmox Guest Tools
					dnf -y install qemu-guest-agent
systemctl enable qemu-guest-agent
systemctl start qemu-guest-agent
5) Troubleshooting any problems connecting to Rocky 9 via Putty
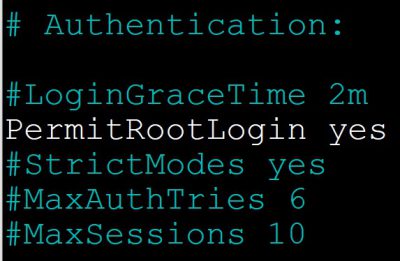
nano /etc/ssh/sshd_config
PermitRootLogin and add the yes option Then restart the sshd service
systemctl restart sshd
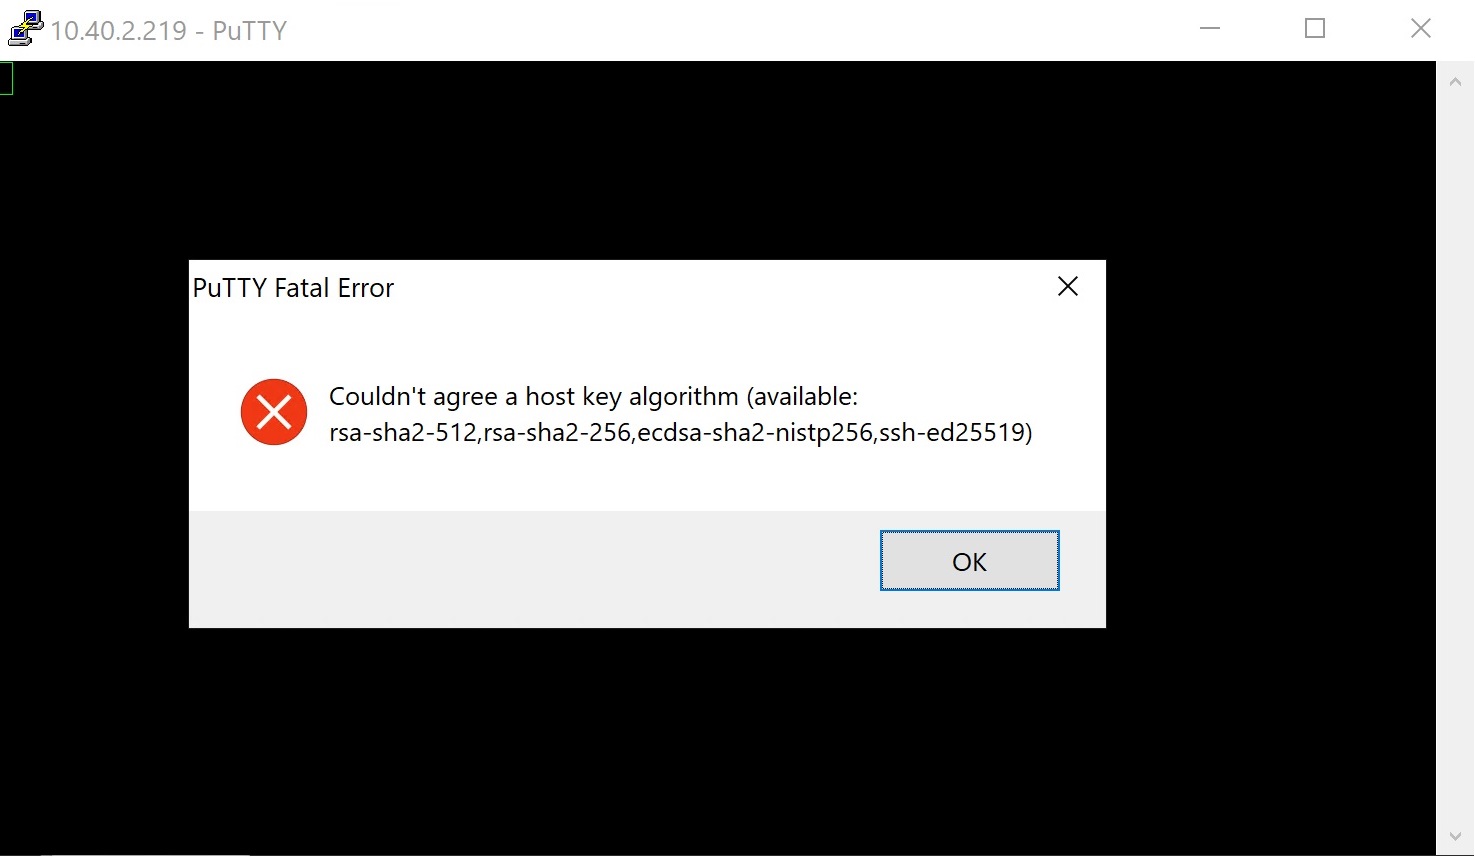
If you are using an older version of the software, you may receive a message similar to the following:
It would be best to install a newer version of Putty, then we will avoid the need to downgrade the cryptographic method algorithm from sha2 to sha1. You should not do this as it is no longer recommended in new applications. This can be finally done by issuing the command below.
update-crypto-policies --set DEFAULT:SHA1
We will receive the following message
Then restart the system.
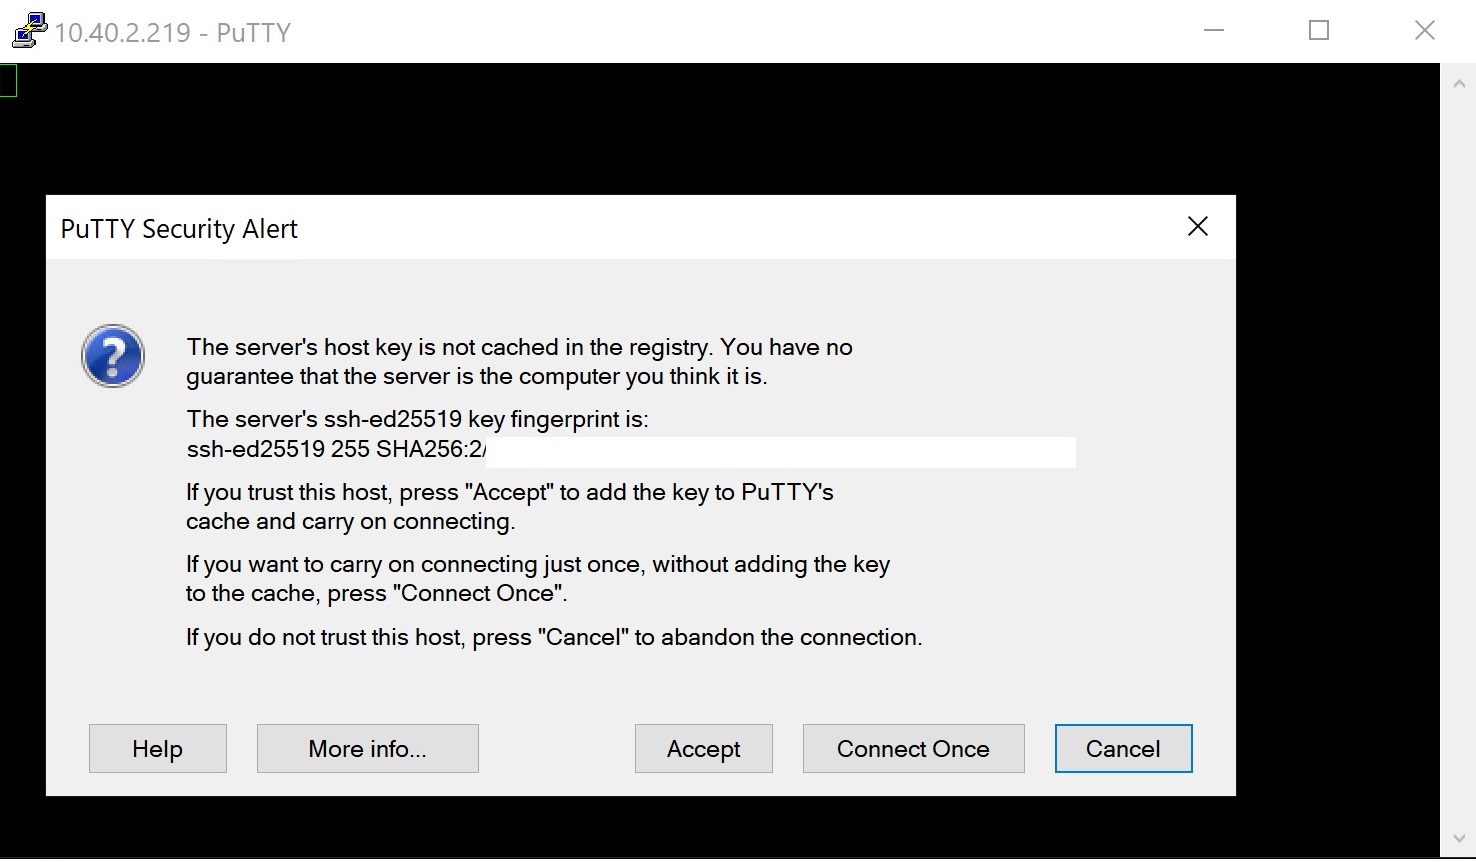
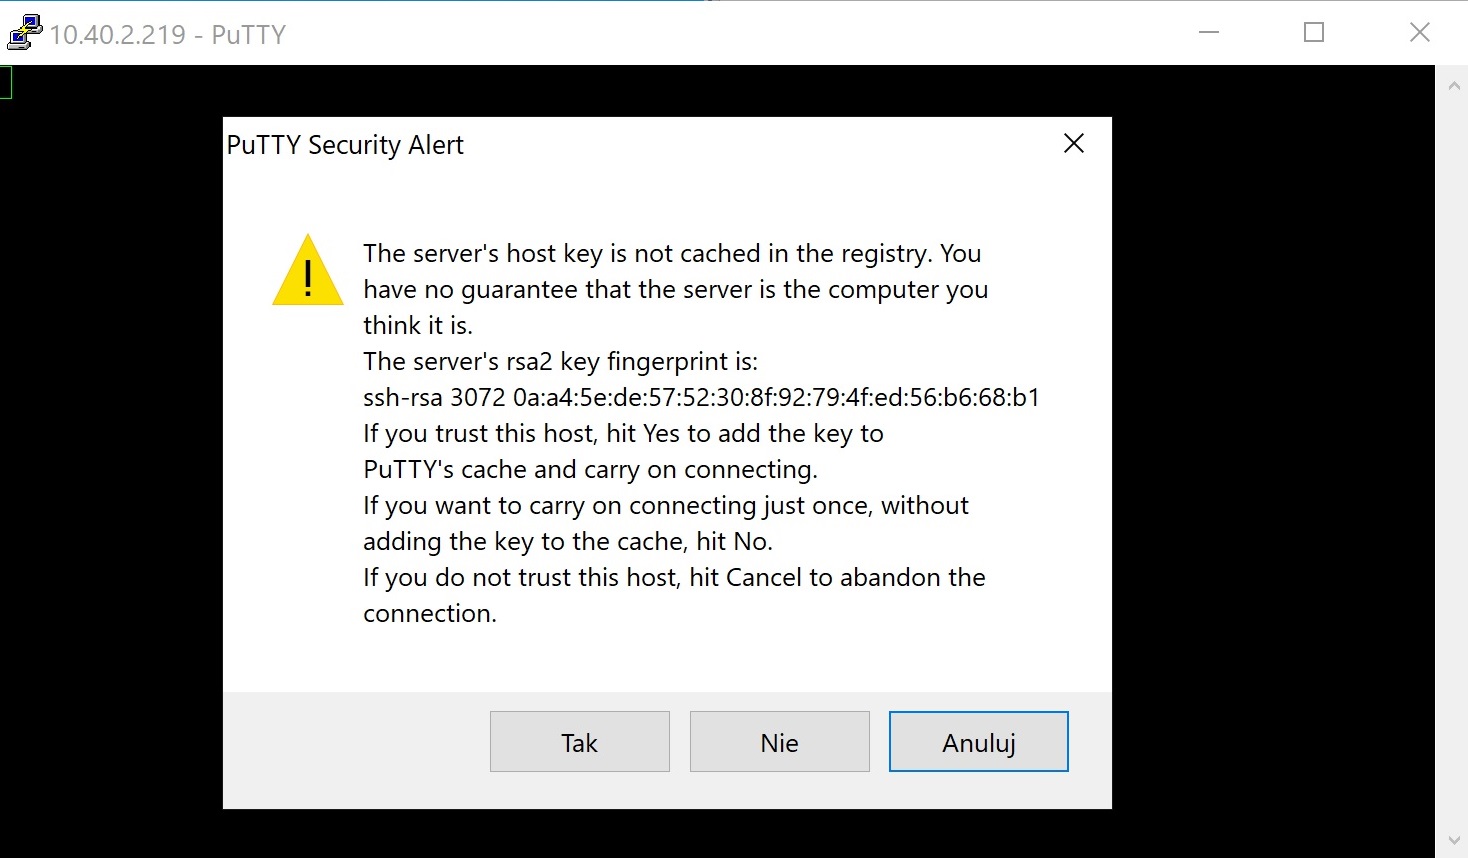
However, it will be much safer to install a new putty. Then, on the first connection attempt, we will receive the following message.
Click Accept and then click Yes, agreeing to trust the host.
Now we can connect without any problems! Unless you forgot your password…


