Table of Contents
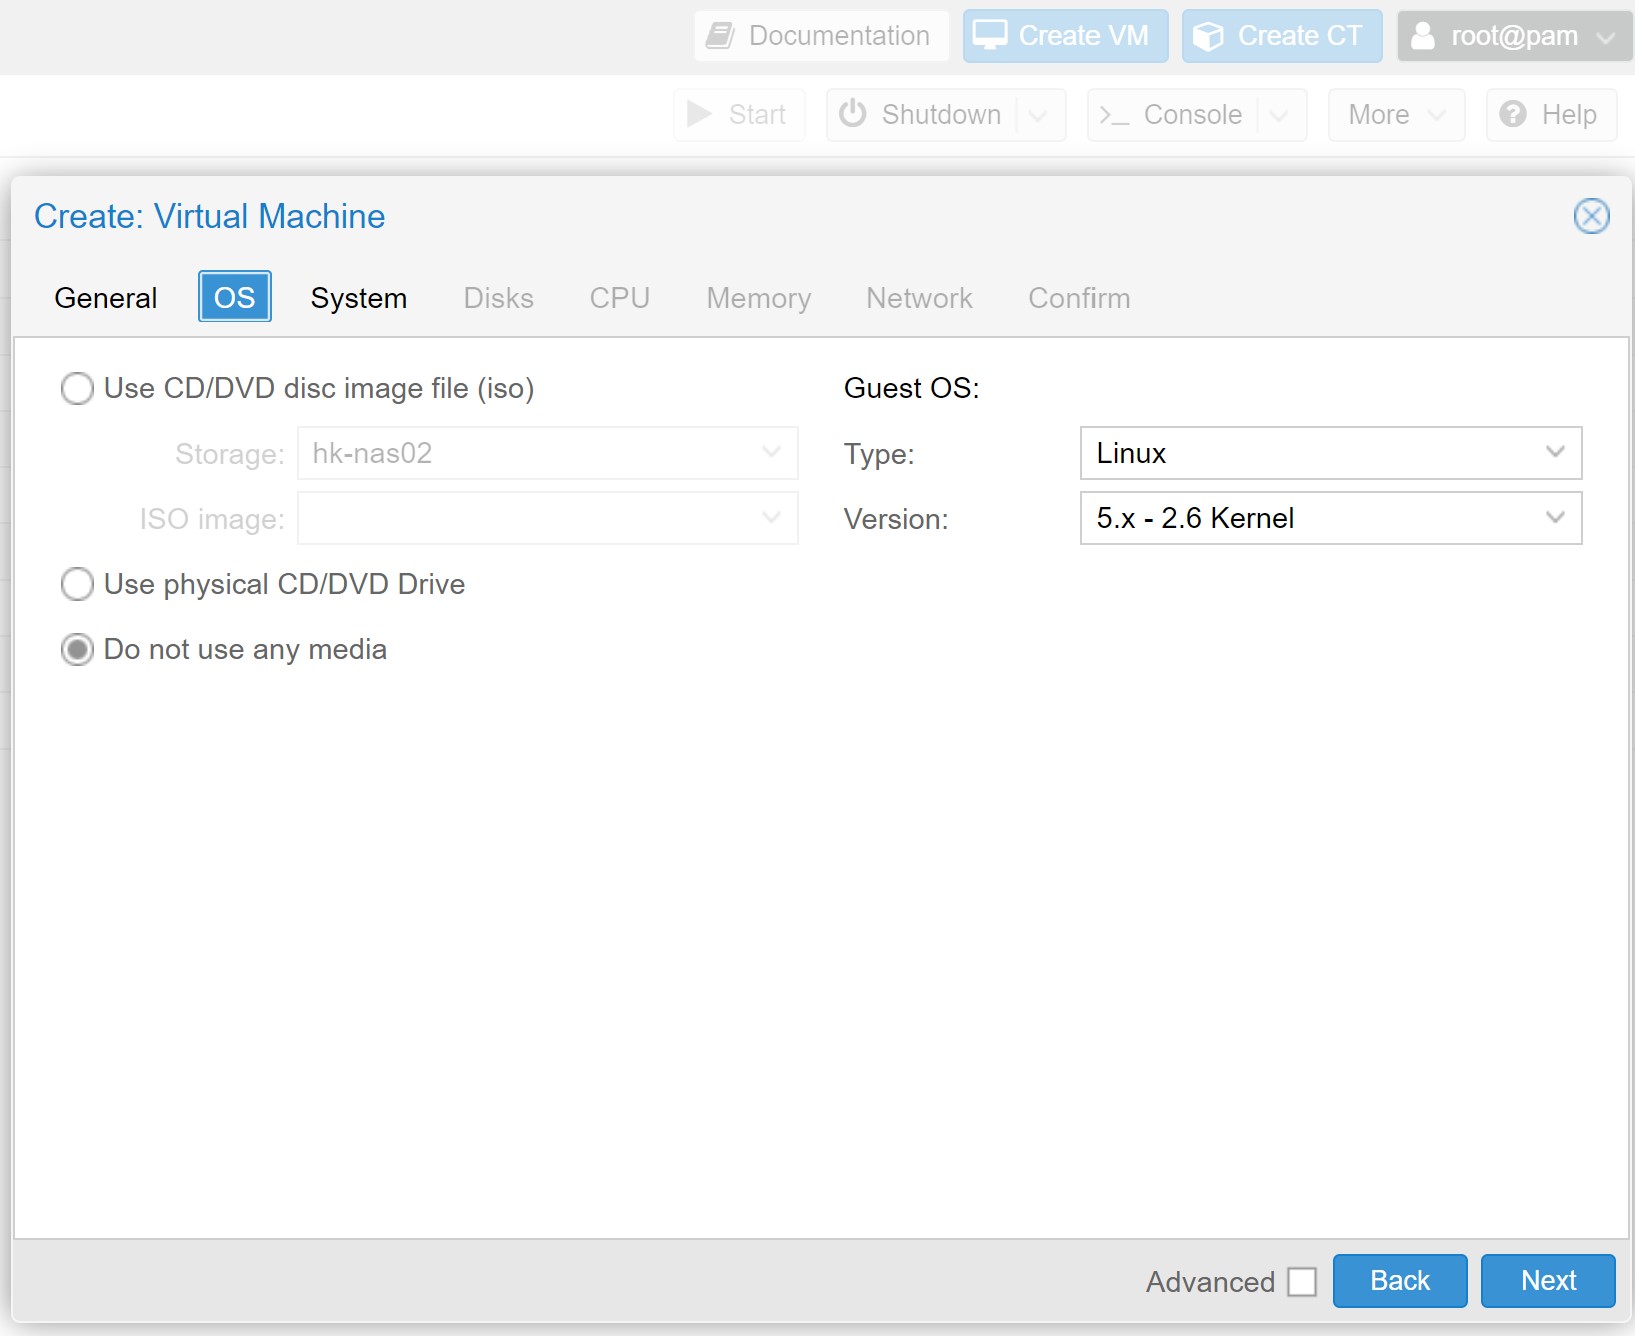
1) Creating a virtual machine
2) Software preparation
ESET Protect server software can be downloaded directly from the manufacturer’s website. The link below takes us to the “Virtual Appliances” section, where you should copy the link to the file protect_appliance.ova (file size approximately 2 GB). Then we log in to the console of our Proxmox environment. To work in an orderly manner, we go to the /usr/src directory where we should keep the software sources. Then we download the file from the manufacturer’s website using the copied link and change its name to a more practical one, e.g. protect.ova.
					cd /usr/src
wget substitute_copied_link -O protect.ova
OVA to szablon zawierający funkcjonalny system operacyjny CentOS 7 wraz ze źródłami oprogramowania serwera ESET Protect. Plik OVA jest zapisywany w formacie Open Virtualization Format (OVF), który jest standardowym formatem używanym do pakowania i dystrybucji oprogramowania uruchamianego na maszynach wirtualnych. Pliki OVA to po prostu katalog OVF zapisany w jednym archiwum przy użyciu pakietu TAR do celów dystrybucji. Zatem w kolejnym kroku rozpakujemy archiwum TAR. Następnie zaimportujemy obraz dysku na nasz lokalny zasób dyskowy local-lvm dla stworzonej przez nas maszyny numer 501 używając formatu qcow2.
					tar -xvf protect.ova
qm importdisk 501 Protect_Appliance-disk1.vmdk local-lvm --format qcow2
The qcow2 format is a disk image file saved in the second version of the QemU Copy On Write format. It is used by the QEMU virtualization software and stores the contents of the virtual machine’s hard drive. The QEMU disk allocation strategy allows for smaller file sizes because it delays memory allocation until disk space is needed. This differs from other policies that allocate specific amounts of space, in which case some empty space may go unused. After a dozen or so seconds, we receive valuable information about the successful completion of the import and the appearance of the unused0 disk prepared for the 501 machine.
3) Installation and configuration of ESET Protect server
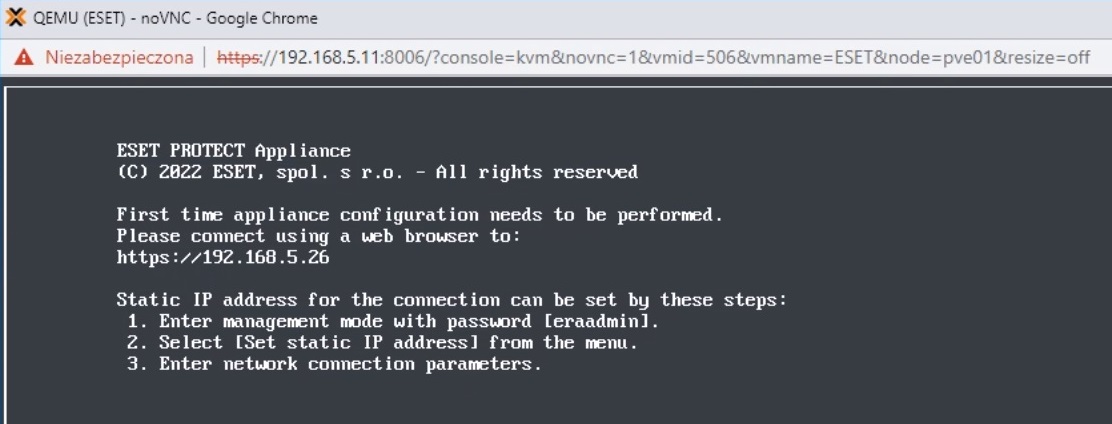
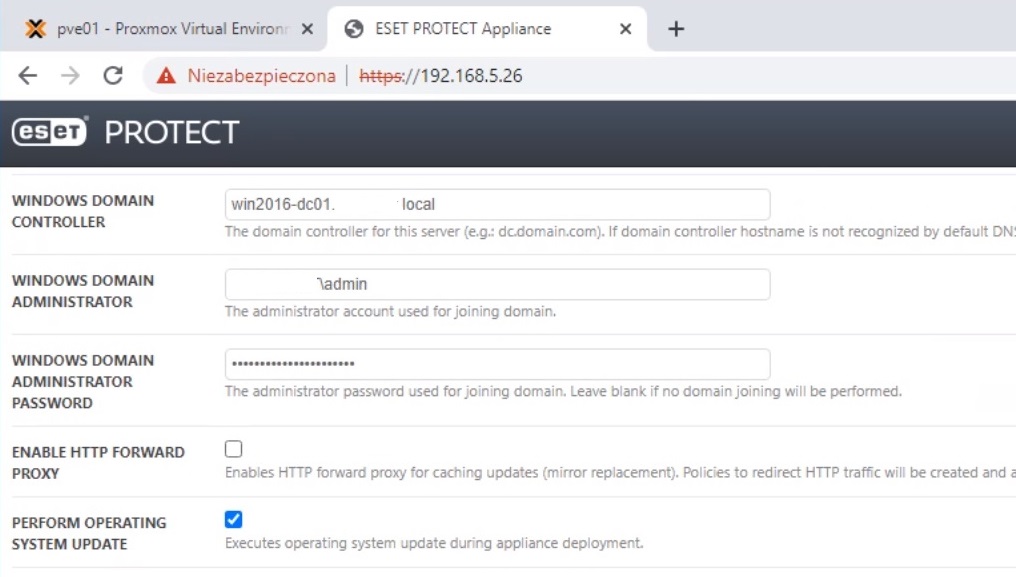
Hardware section we see our imported disk. Click on it and select “Attach” from the menu. Then we go to the Options section and the Boot Order item. By clicking “Edit” we will be able to move our disk with the imported image to the first position. Uncheck the remaining devices. Start. The virtual console will ask us to enter a temporary IP address in the browser for initial configuration. ATTENTION!!! The password is entered only once. There is no request for it to be repeated. Enter them carefully and remember.


