We have many different options, on the market, to put the operating system on MicroSD cards this days. Some do it manually with dd, others use off-the-shelf programs such as Win32DiskImager and recently Raspberry Pi Imager.
Table of Contents
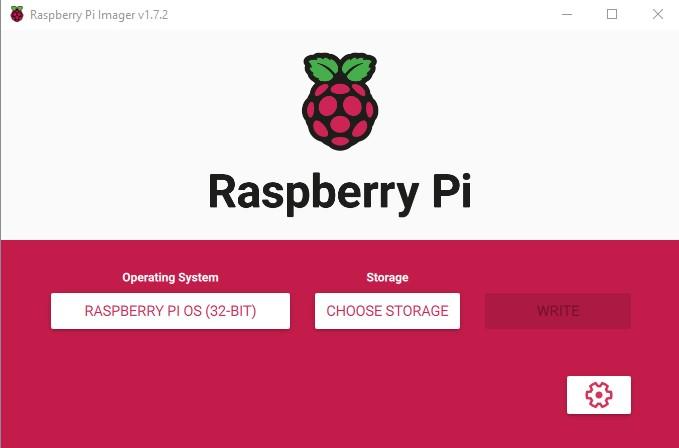
In 2020, on the official website of Raspberry Pi, information was published about a new tool for preparing cards – Raspberry Pi Imager.
At the beginning, it is also worth noting that Advanced Options appear only in the case of supported systems. If the icon does not appear, you can display it with Ctrl + Shift + X.
1) Configuration
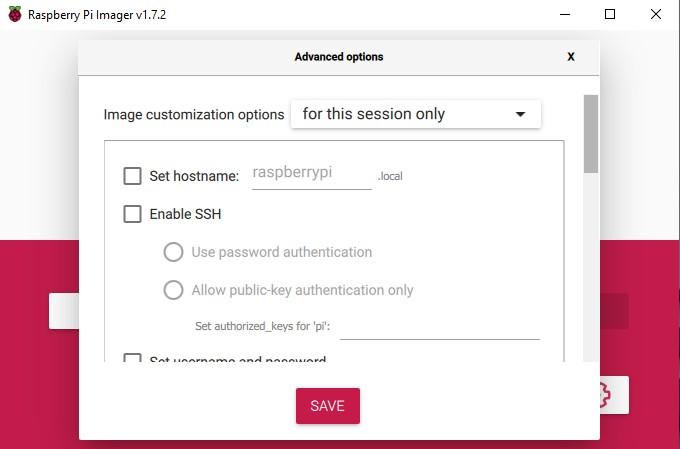
After startup, the first information that appears is the ability to save the configuration. Thanks to this, the settings we made will not disappear after closing the program, but will be remembered for subsequent sessions.
- Set hostname
Then we can set the hostname. It will also be visible in the local network.
- Enable SSH
- Use password authentication
- Allow public-key authentication only
- Set username and password
- Username
- Password
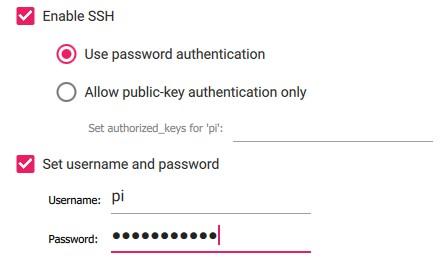
Here we can enable the SSH service. If we choose password authorization, it will be necessary to set a password for the user immediately. If we omit this setting, the default pi user with the password raspberry will be added.
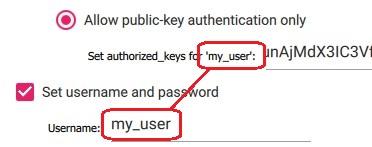
If you choose public-key authorization, you should add your own public key.
Of course, you can also replace user pi with anyone else.
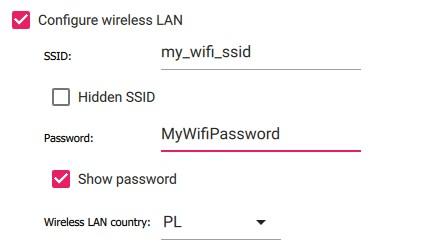
- Configure wireless LAN
- SSID
- Password
- Wireless LAN country
If we want to give up cables completely, we can right now configure the wireless connection by entering the network name, password and, optionally, the country.
- Set locale settings
- Time zone
- Keyboard layout
If you want to set the timezone and your own keyboard layout right now, you can do so at this point.
The last part is not directly related to the operating system.
- Play sound when finished
- Eject media when finished
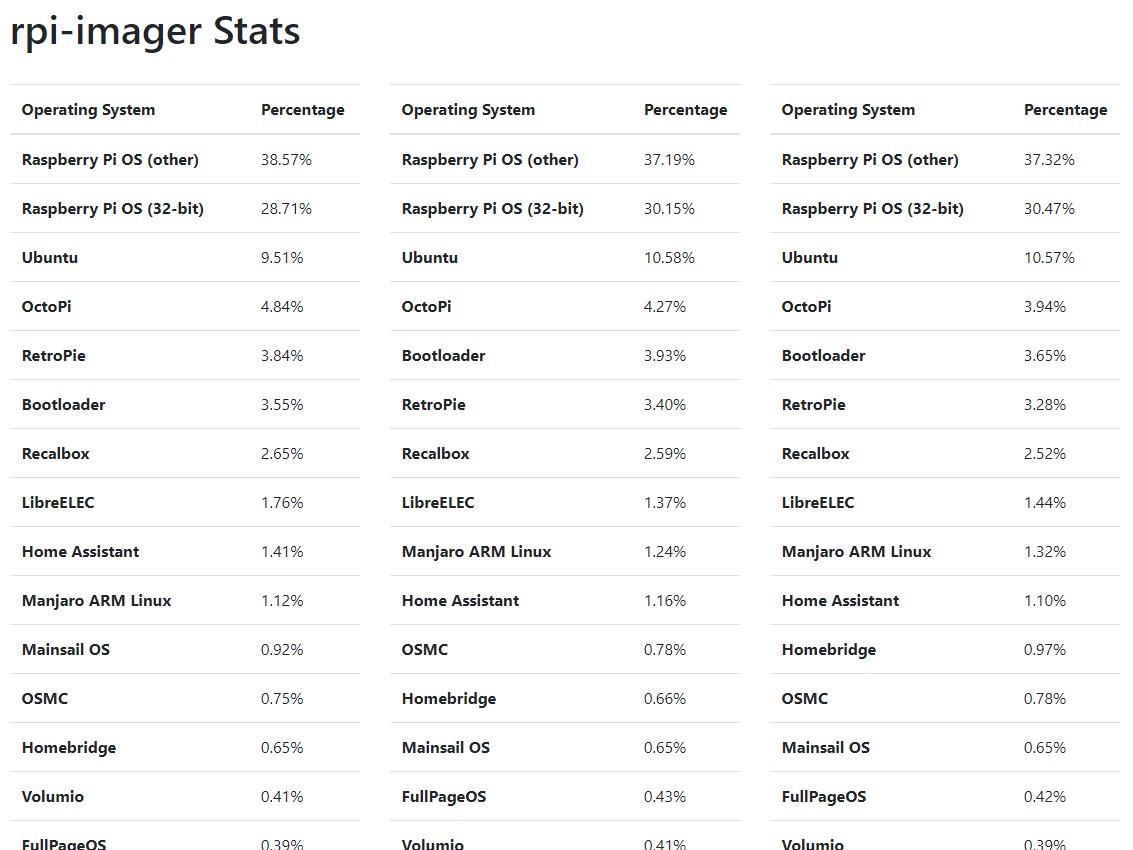
- Enable telemetry
Here you can enable the notification sound and/or eject the card after the installation is complete. You can also send statistical data (telemetry), the results of which are available at: https://rpi-imager-stats.raspberrypi.com/
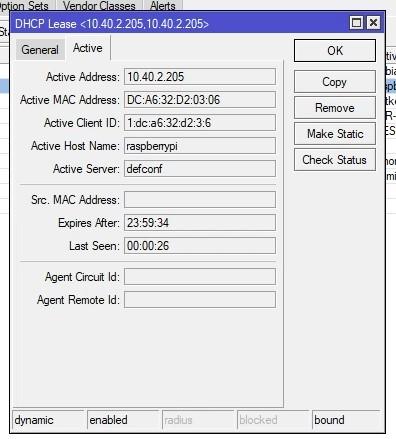
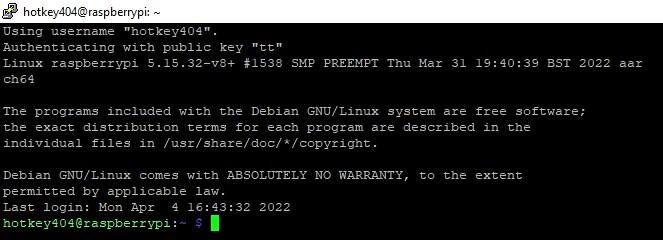
After completing the process, you can e.g. log in to your router and find a new device, and then log in via SSH using a password or public key.


