Proxmox is an open source platform for installing and managing virtual servers, including Windows and Linux. The integrated web user interface allows easy management of virtual machines. Proxmox is a Debian-based Linux distribution with a modified Ubuntu kernel.
Minimum and recommended hardware requirements, as well as documentation, can be found on the official Proxmox website in the Documentation section -> Installing Proxmox VE
Table of Contents
1) Installing Proxmox
On the page above, describing the preparations for the installation, we will find direct link to download the current version of the software in the form of a hybrid ISO file. This image is ready to be burned on a CD/DVD or copied to a USB stick. We recommend using USB, because it will install the software much faster. You can use the free Rufus software to prepare a bootable USB stick in Windows. The method of preparing such a medium on Linux or MacOS is given on the Proxmox documentation page.
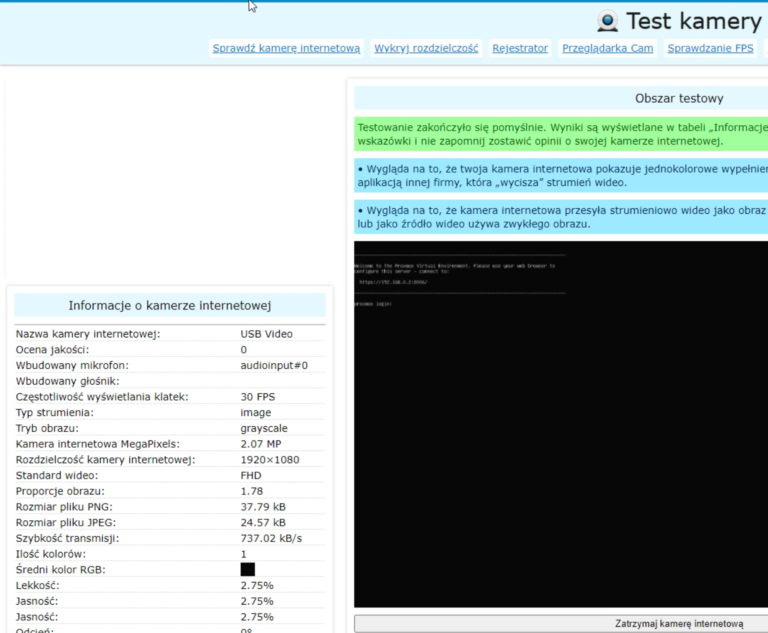
If we do not have a screen monitor that we would connect to the machine on which we install Proxmox, we can use an HDMI / USB adapter called Video Grabber HDMI. It is a device that allows you to capture images from external HDMI sources (HD camera, DSLR camera, computer, digital TV set-top box, game console, etc.). Video Grabber works with computers running Windows or MAC OS. This product uses system drivers. Once connected, the computer automatically detects the signal source and it is available in recording and live streaming applications on the web. You can use, for example, the video camera testing website (www.webcamtests.com), OBS Studio, or another similar method to operate the device.
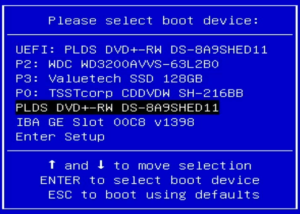
After inserting the installation media into the machine on which we will be installing Proxmox and starting it, go to the boot menu by pressing the required key. Depending on the machine, this will be Esc, F2, F10, F11 or F12.
From the bootable menu, select the installation media with the Proxmox ISO image. If the USB device is not visible, you may need to enable this option in the machine’s BIOS.
In our case, however, we are using a CD/DVD with an ISO image.
After launching the software installer, select the available option: Install Proxmox VE.
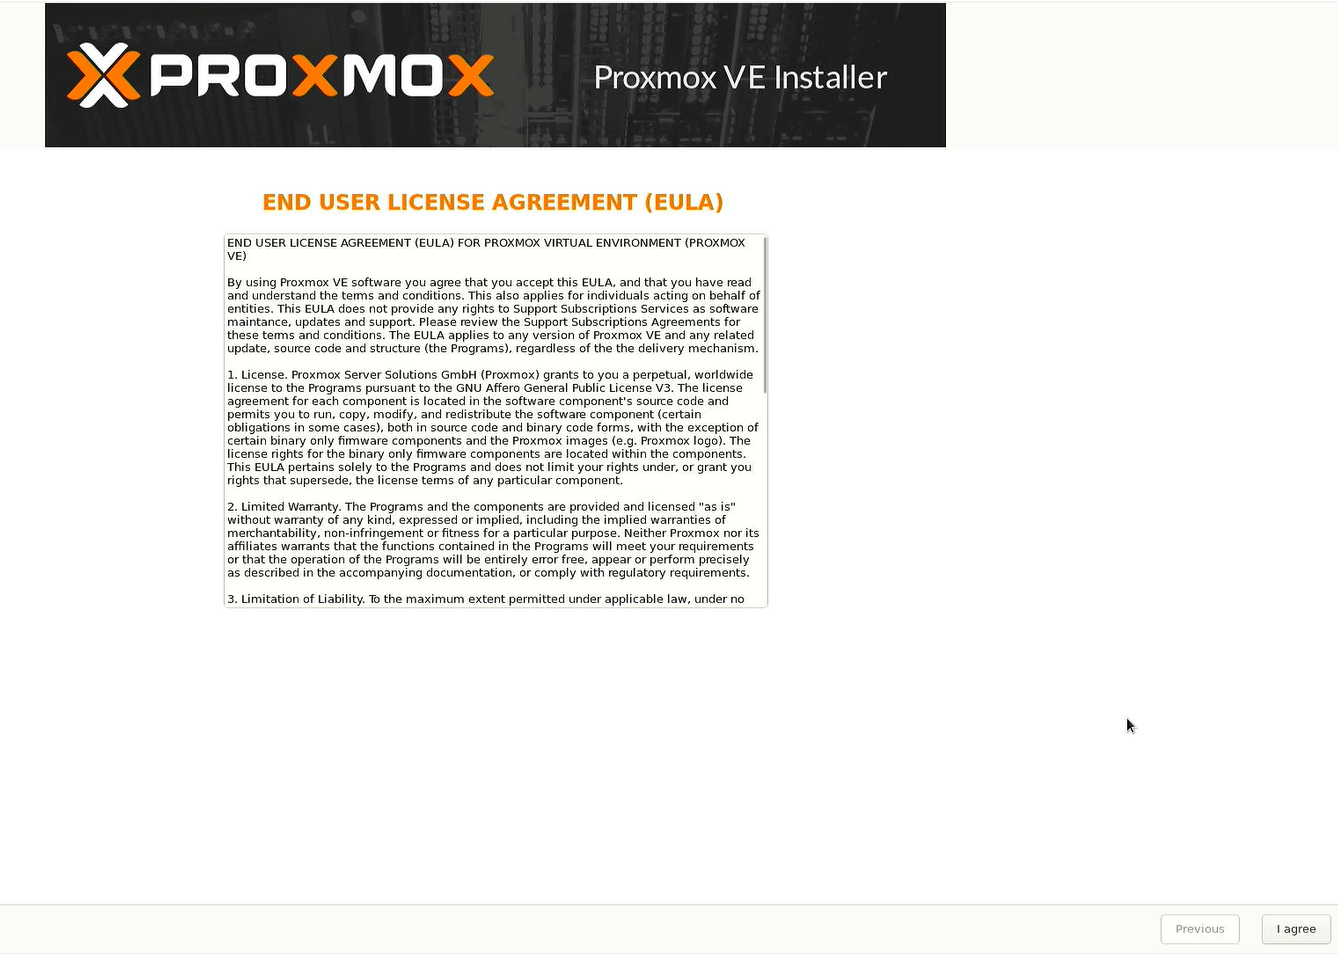
We agree to the EULA (of course after reading).
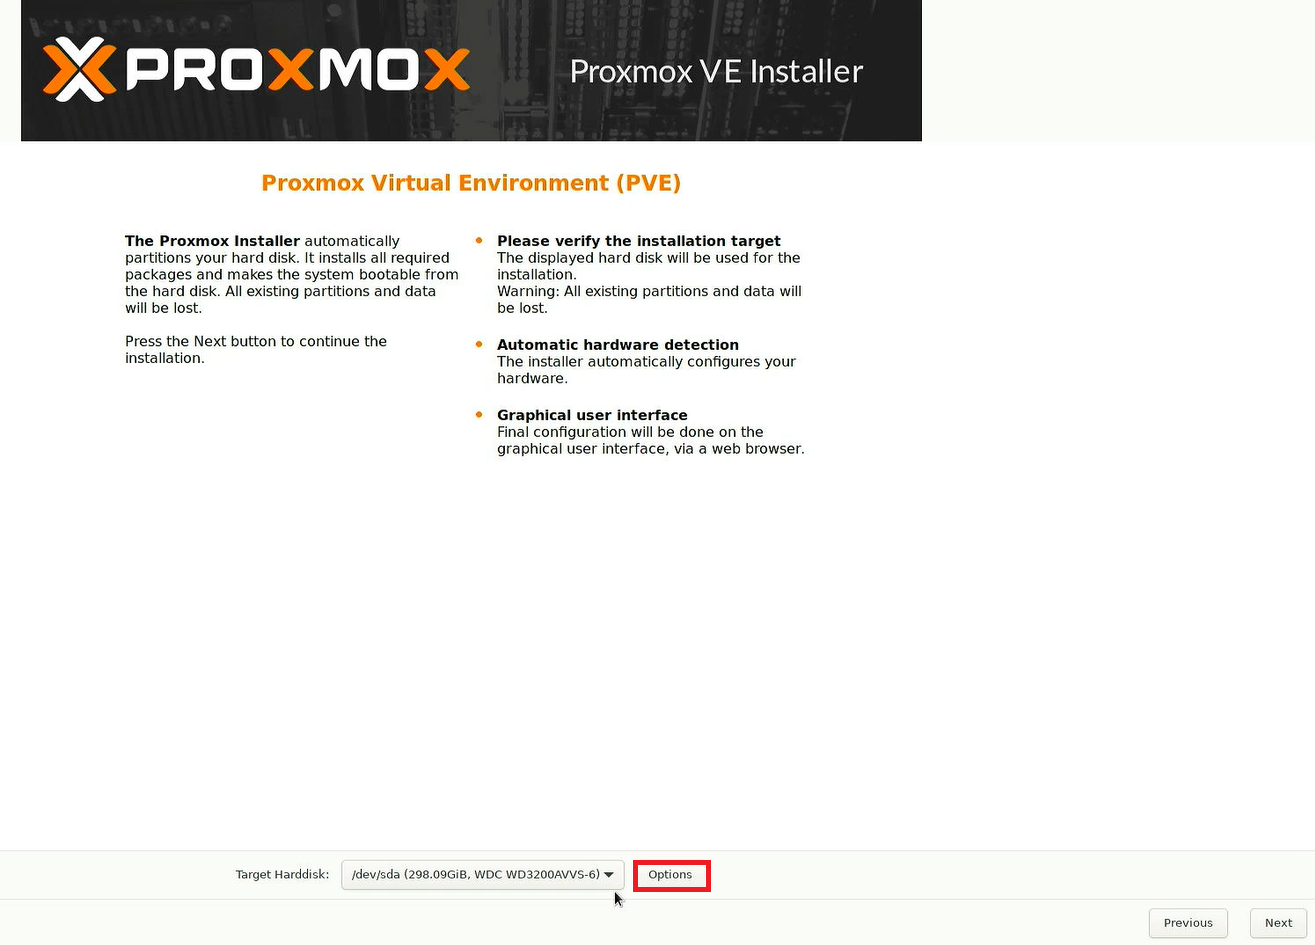
We choose the installation location from the disks available on the machine.
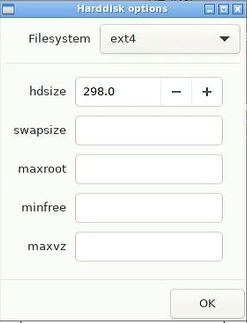
Click Options and select the target filesystem (ext4 by default) making sure you have enough space.
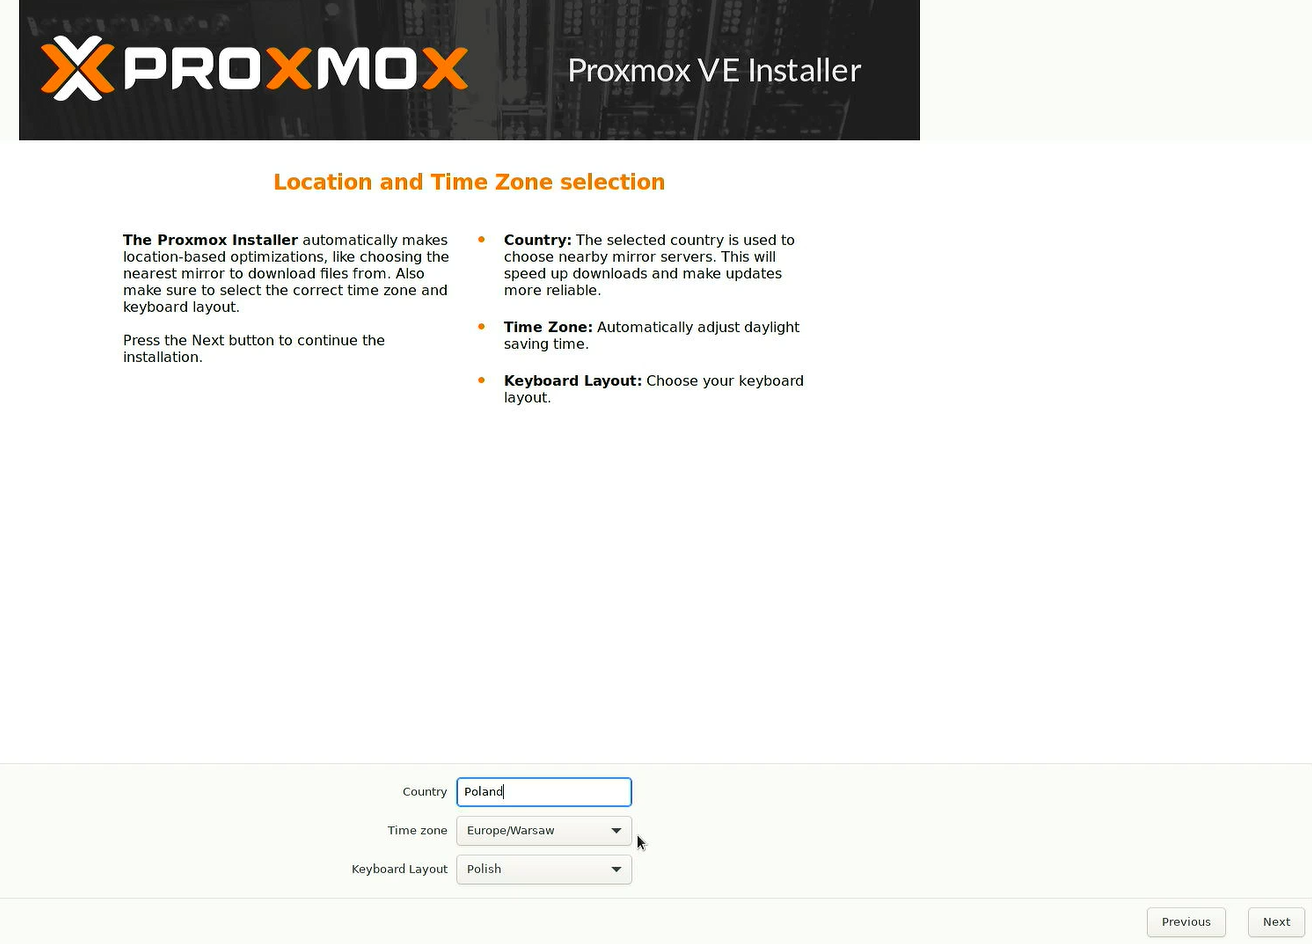
In the next Proxmox installer window, select the country, time zone and language. In most cases, the installer automatically detects the appropriate configuration options.
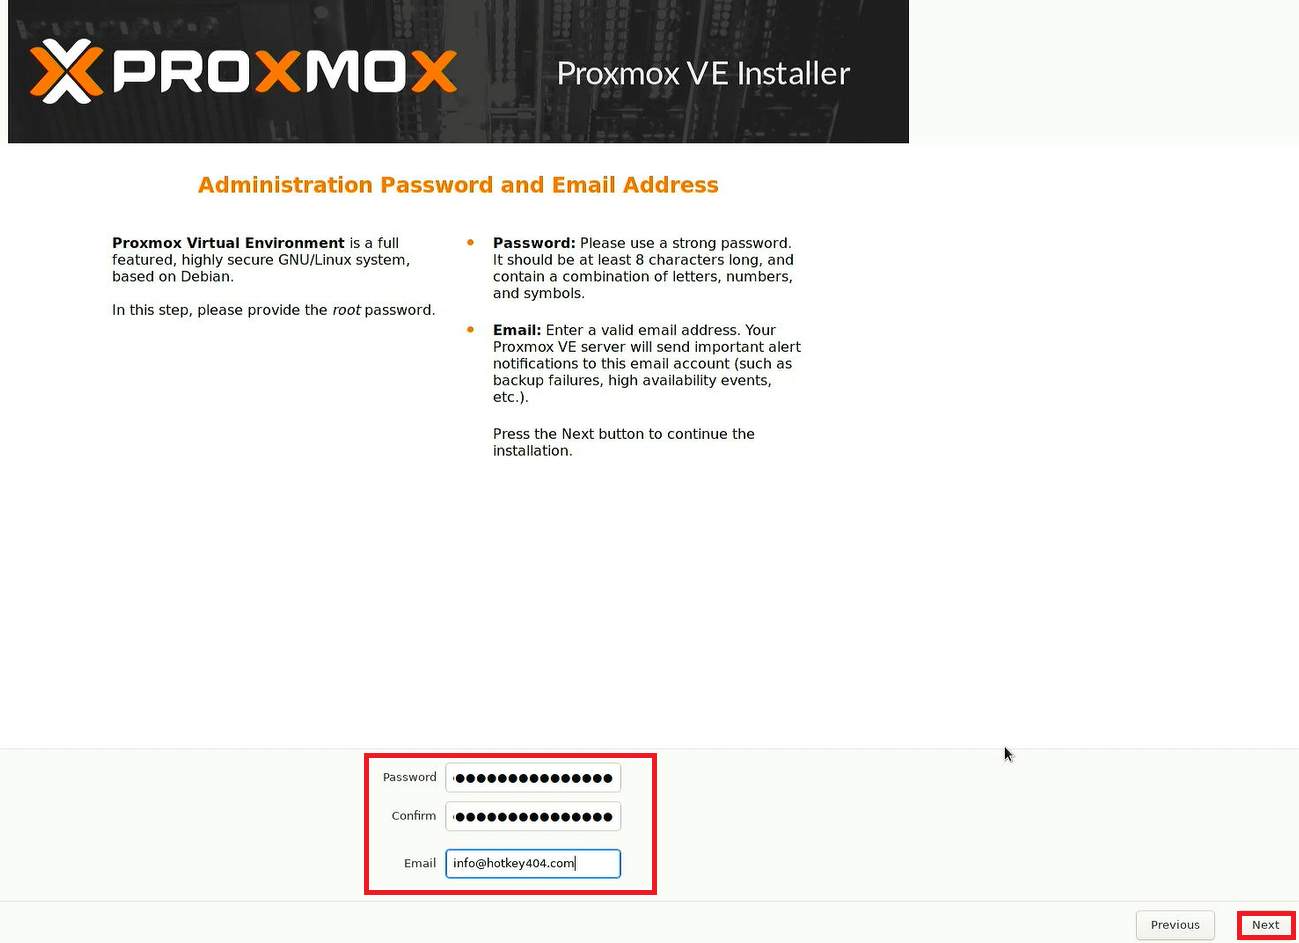
Then enter the invented password of the root administrator and the e-mail address for sending system alerts.
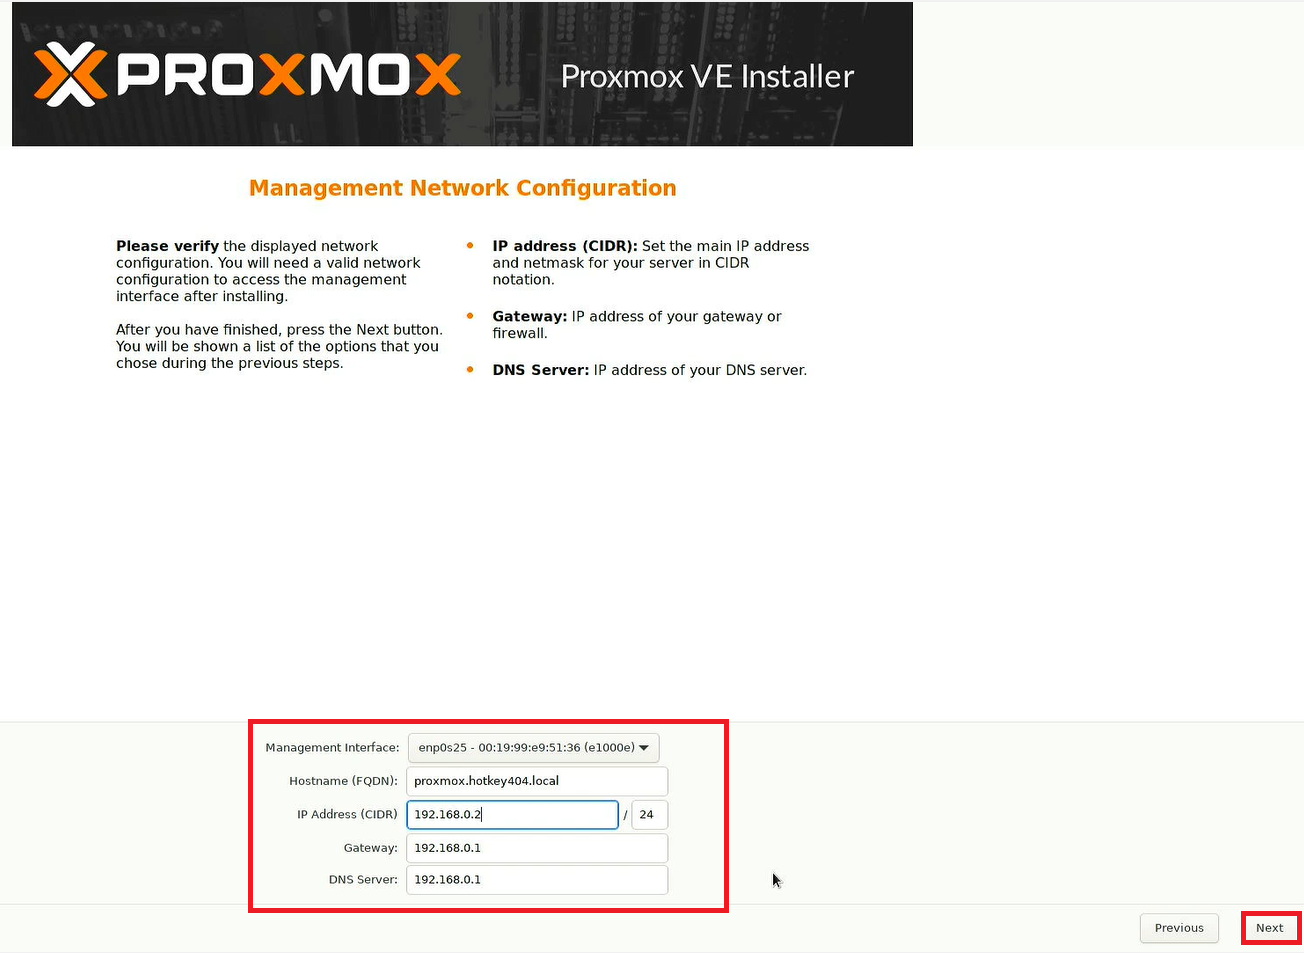
Then we configure the network settings. Select the interface and complete the host name (full domain name is required), its IP address / mask, default gateway and DNS server.
When we click Next, the installer will show us a summary of the selected options and allow us to click the Install button finally. After a few minutes, the Proxmox – GRUB menu box will appear. We choose the first option: Proxmox VE GNU/Linux
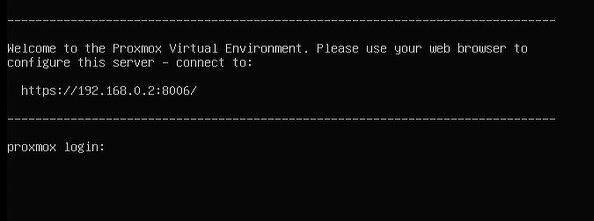
Then a screen, with information about the www address, will appear. Thanks to this, we can log in to the system after entering it in any web browser. Then we will get a clear and helpful graphical interface. The default port for communication with Proxmox via www is 8006. Of course, you can also log into the system via ssh in the login window, which can be seen below.
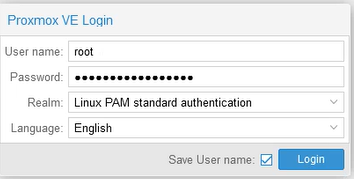
After entering the above address into the web browser, we will get a prompt with a request to log in and we will be able to proceed to the system configuration.
2) Repository configuration and updates
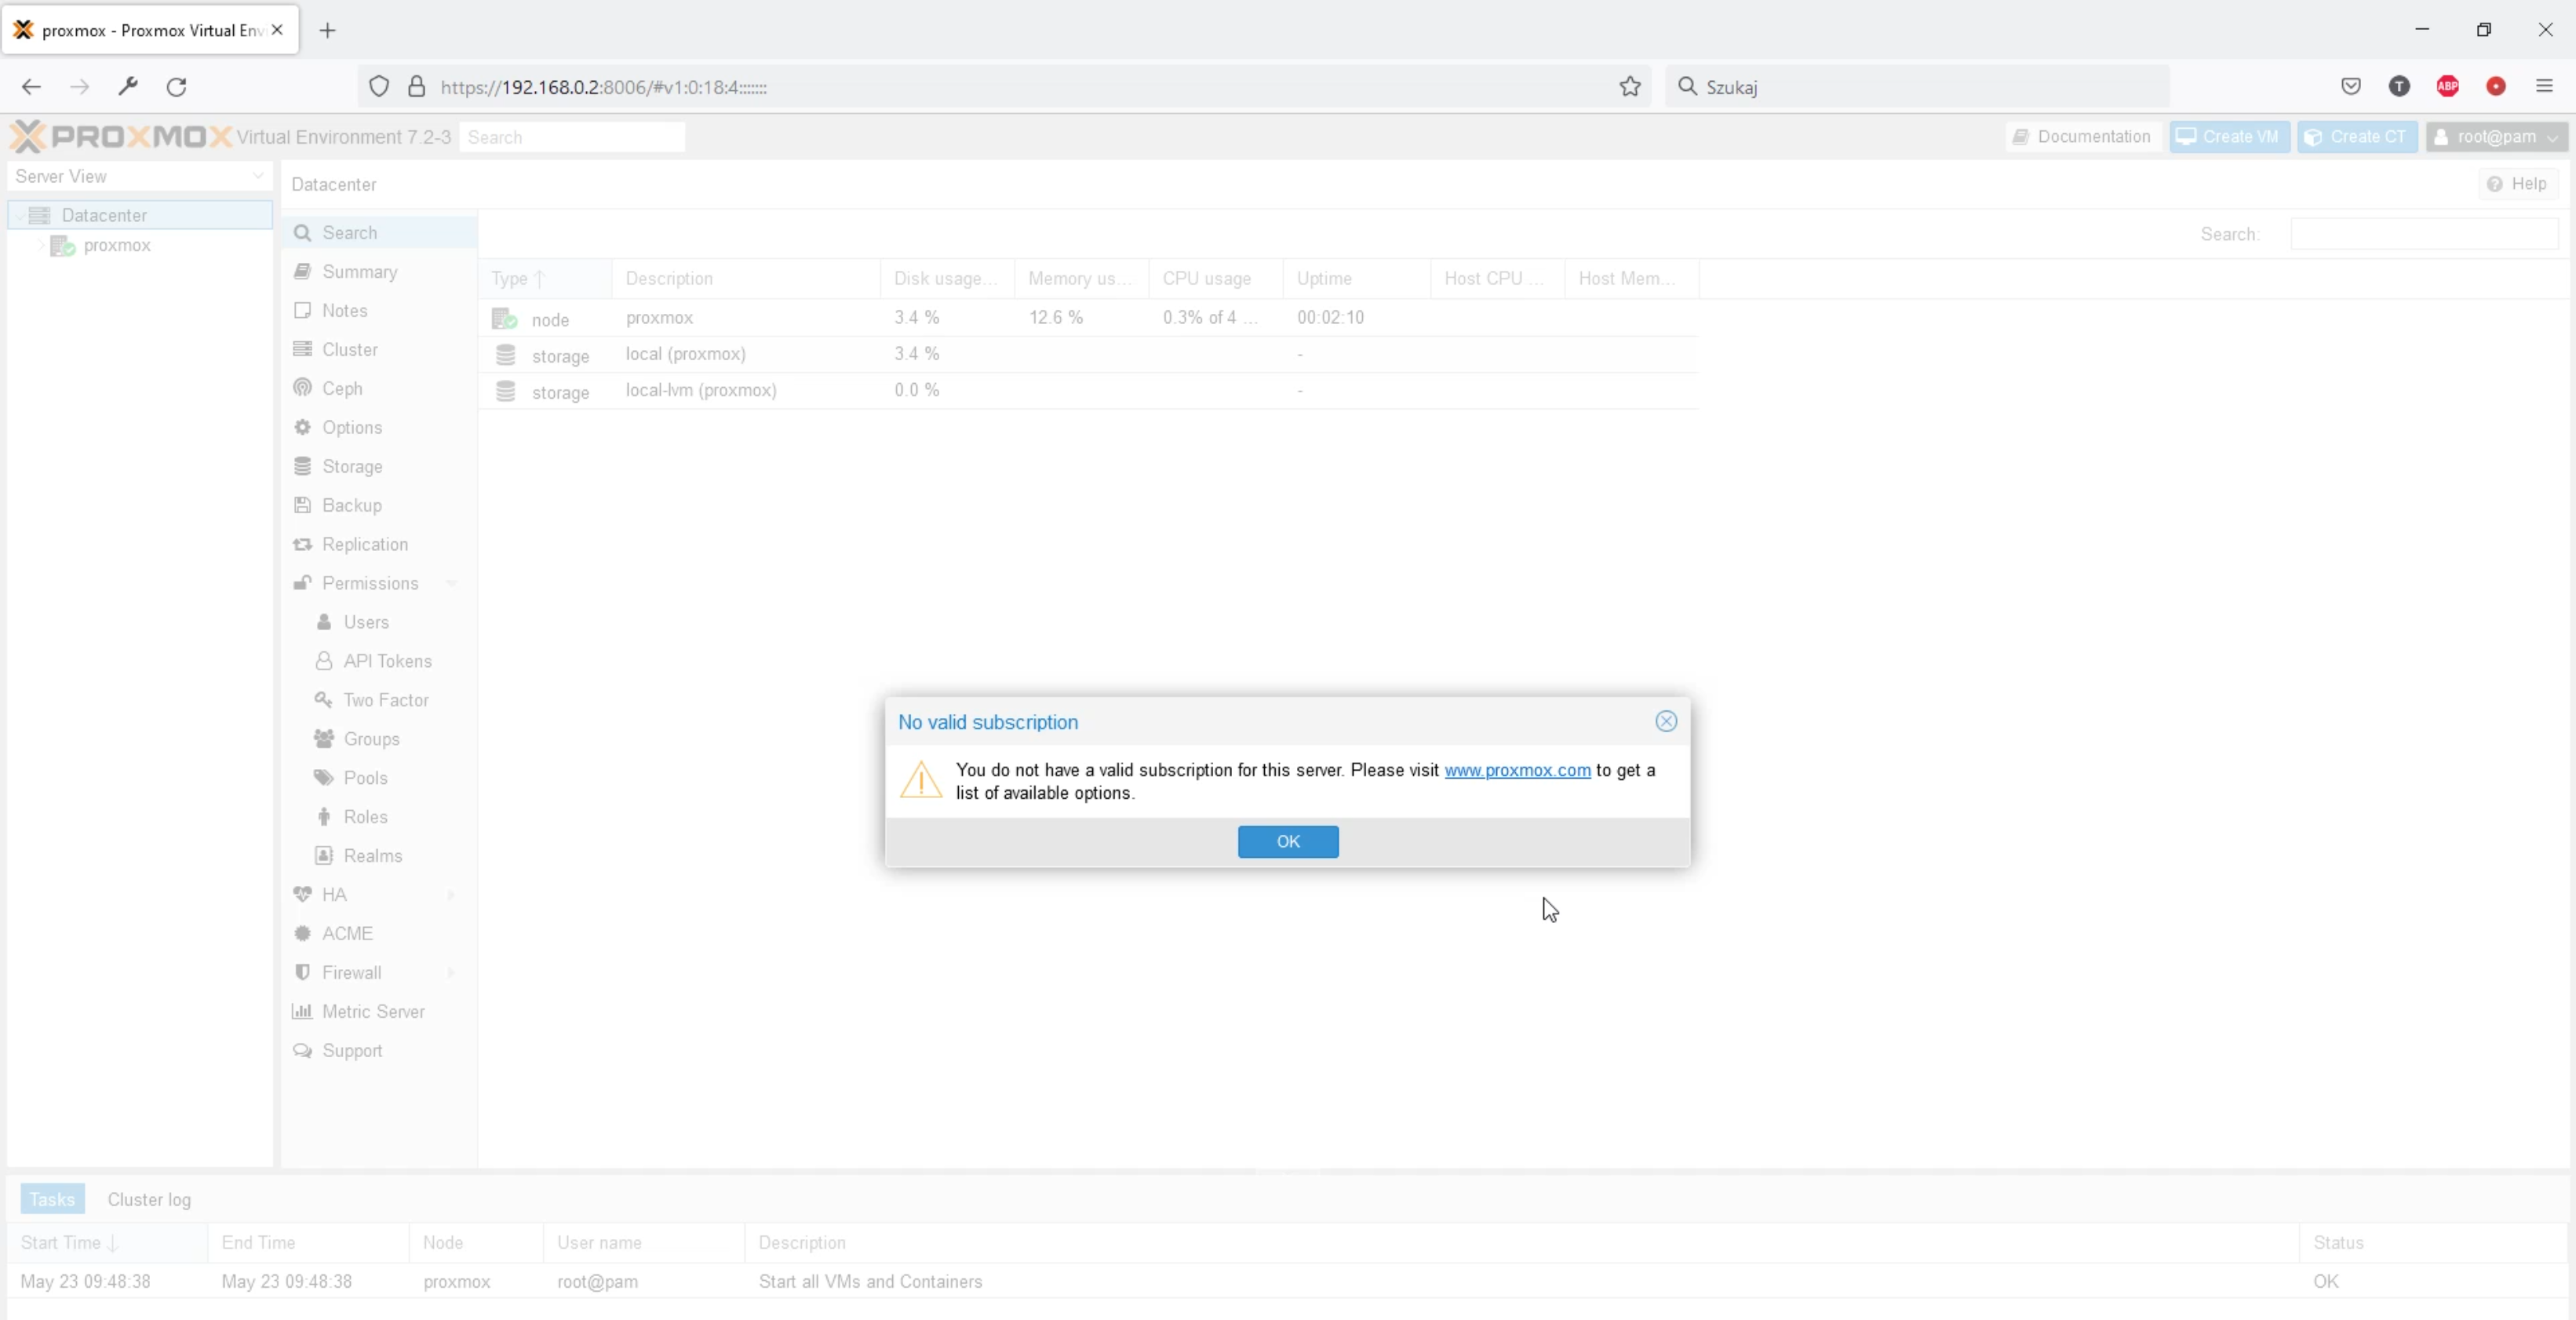
At the beginning, we will see a message that we do not have a valid subscription for the server. Of course, the manufacturer will encourage us to buy a paid Enterprise subscription, providing us with thoroughly tested fixes and technical support. However, it is not necessary, because we can use a completely free solution. So we will disable this option. Click OK and in the Server View Menu go one level down by clicking proxmox. By the way, it’s worth noting that the welcome view shows us the Datacenter. We can combine successive proxmoxes into one cluster. But that’s a story we’ll tell another time.
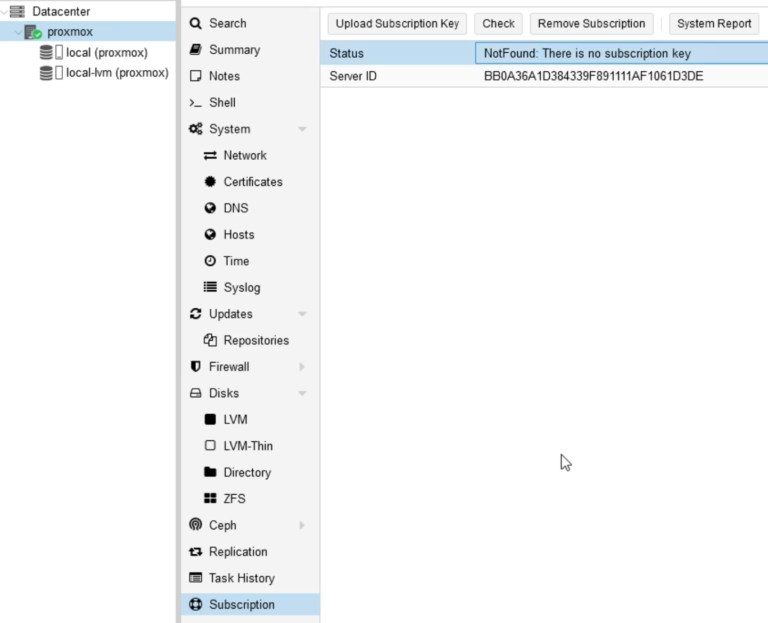
In the view at the level of a specific proxmox, we will get another menu with options for our machine. By clicking: Subscription we will see Status: NotFound: There is no subscription key. So we should go to the Updates -> Repositories tab.
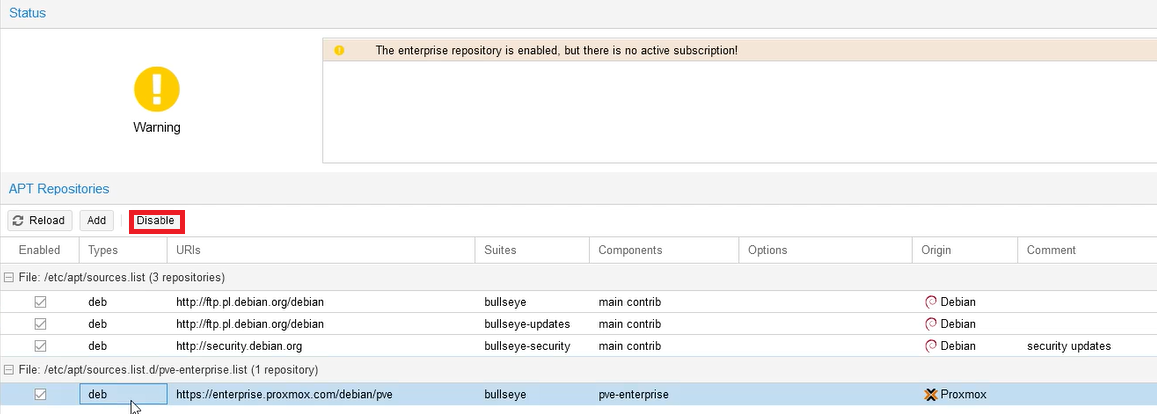
Let’s select the default Enterprise repository from the proxmox.com domain and click Disable.
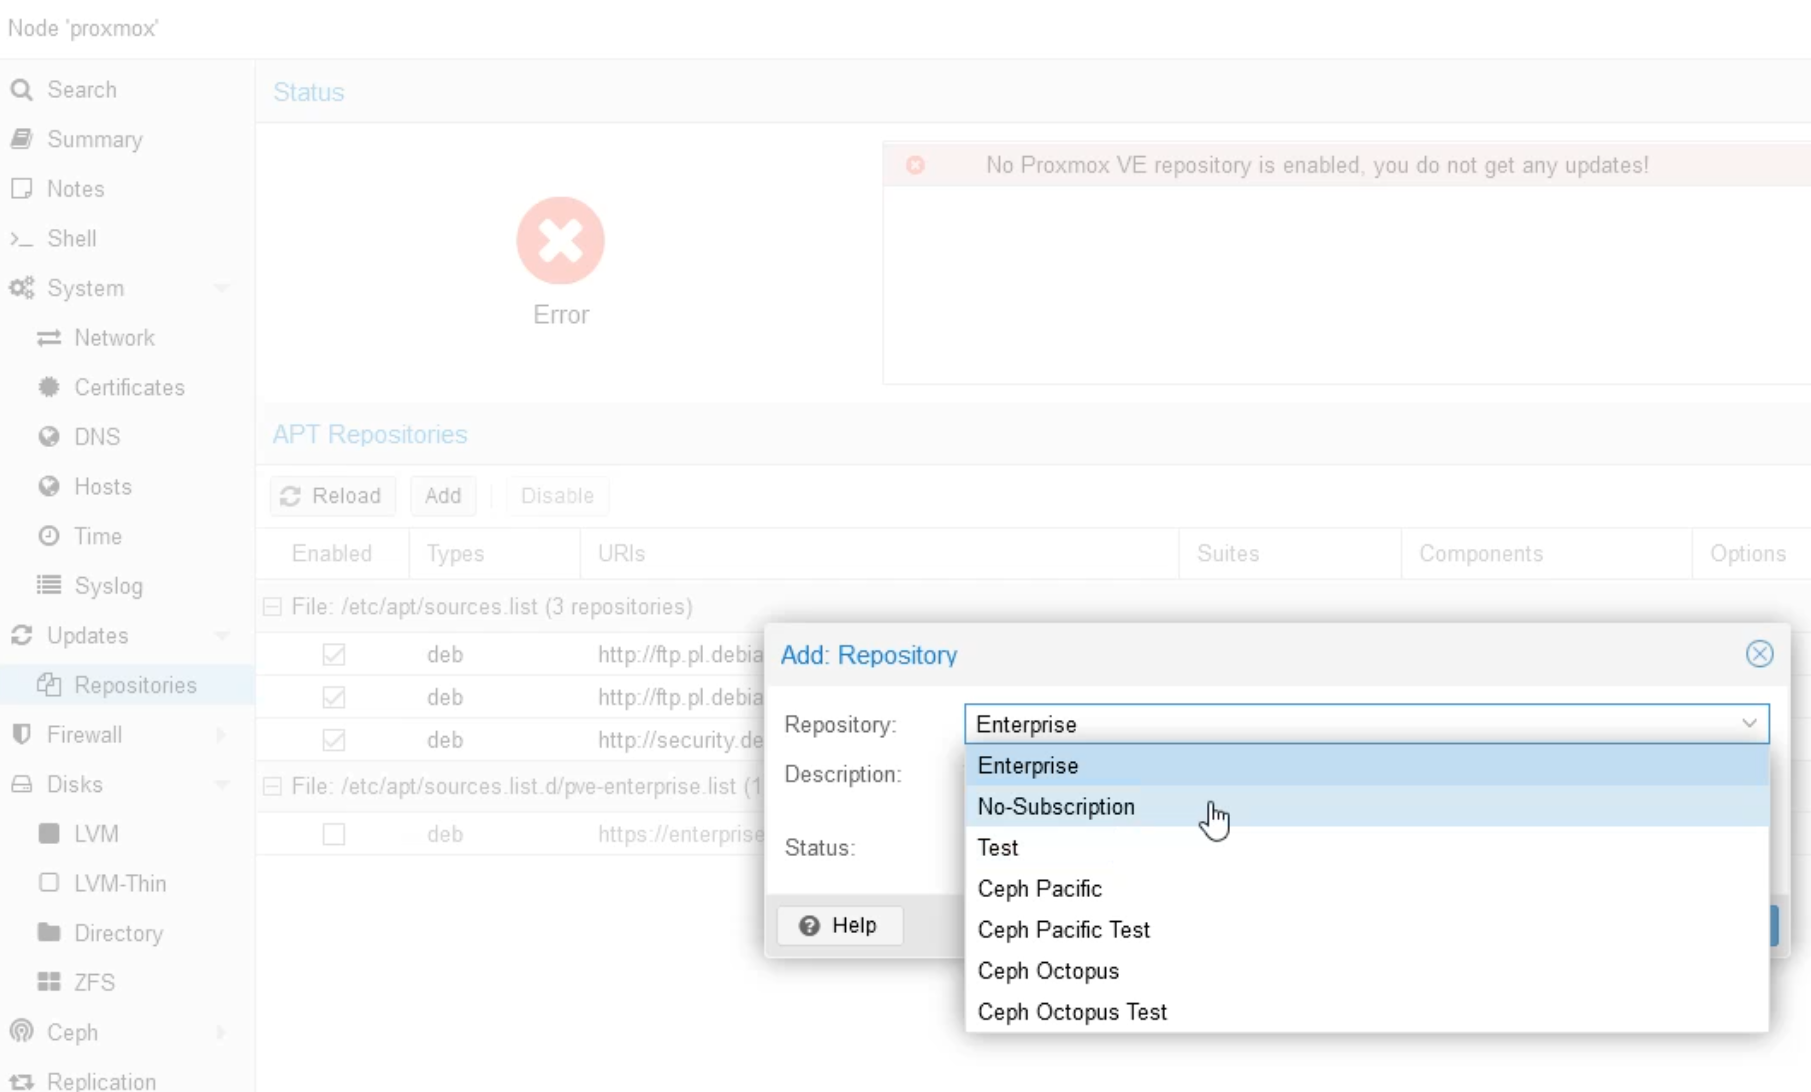
After such an action, we get a red card instead of a yellow one. We couldn’t do any updates in this situation. Therefore, we add a new repository by clicking Add and selecting the No-Subscription option.
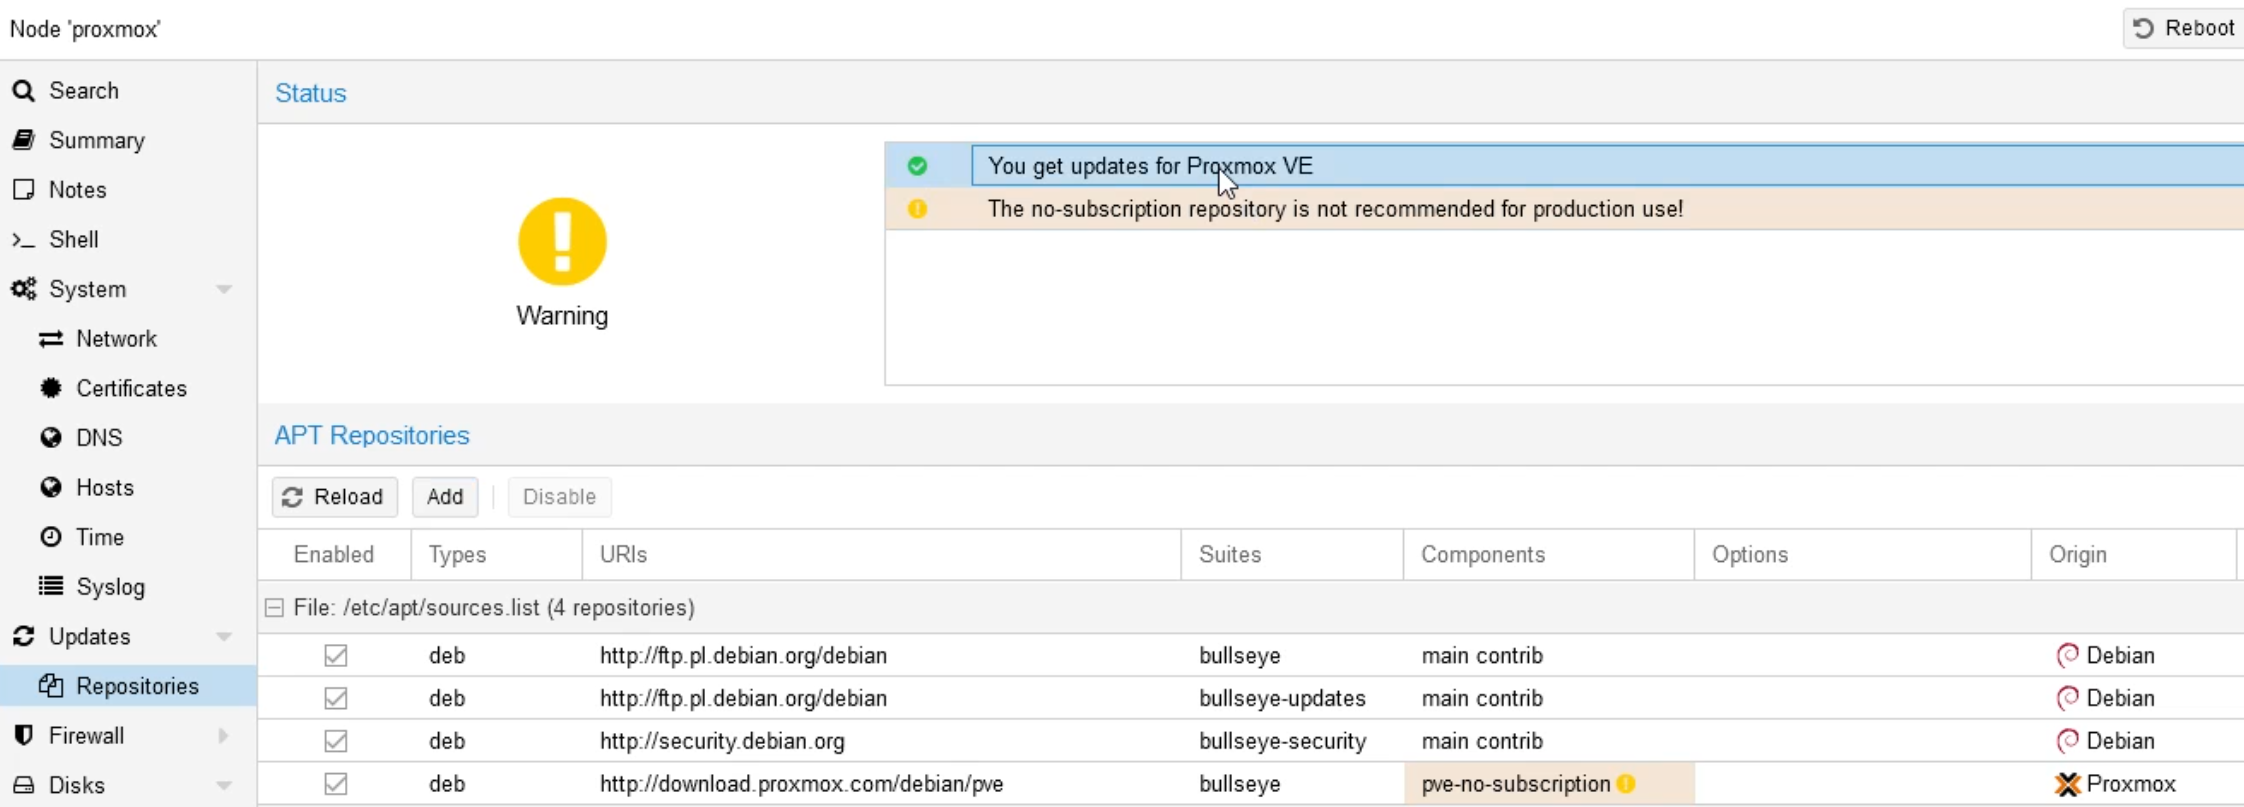
Well done! We got the green light! Now is the time to do an update.
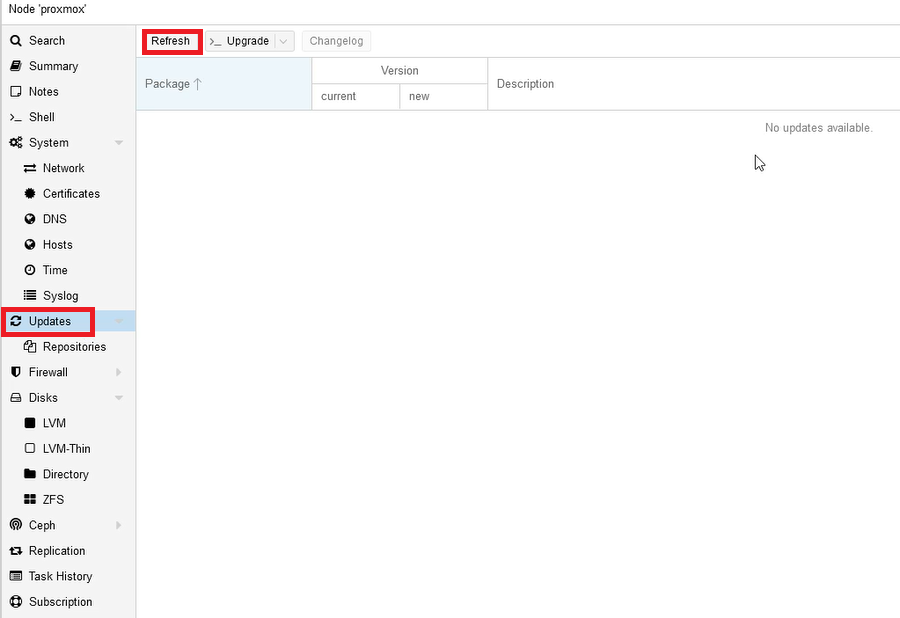
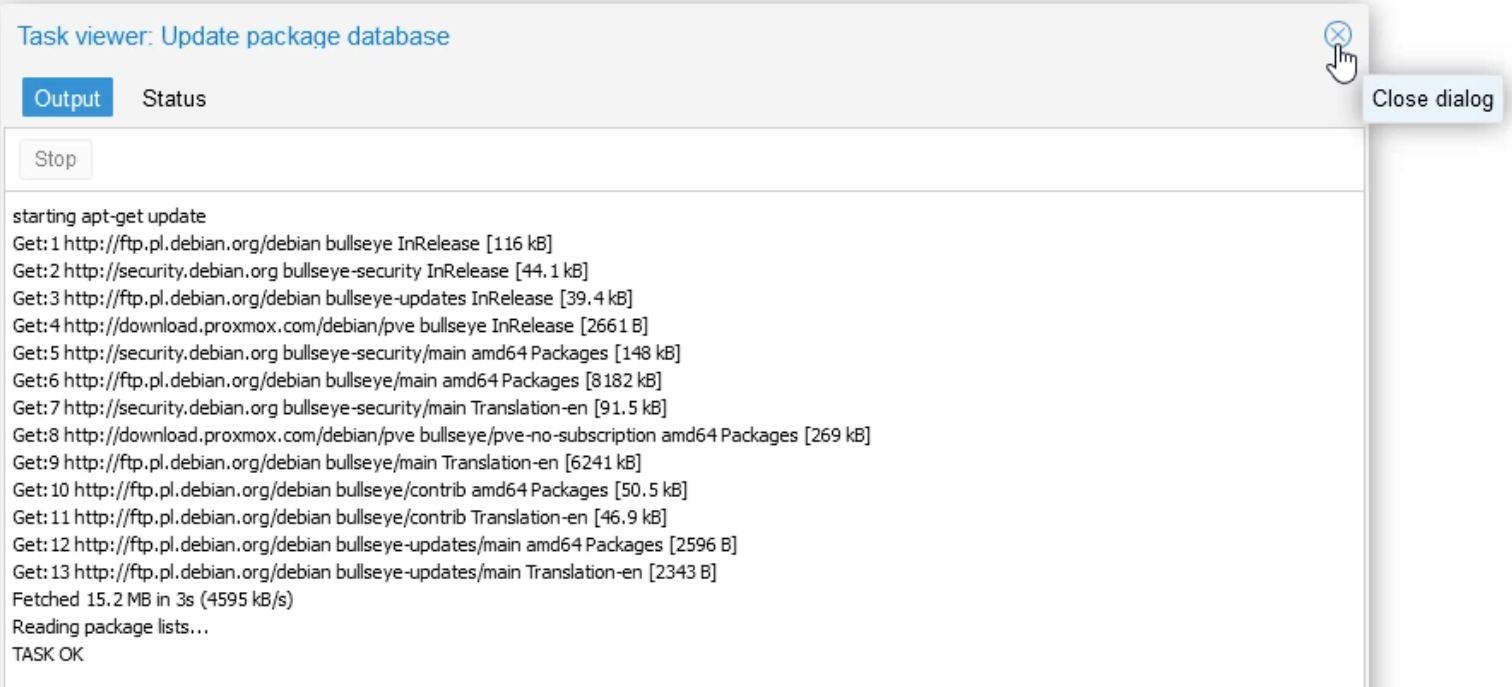
Click one level up on Updates. We don’t see any available packages, so we select Refresh first. This will download all the latest patches.
After downloading the necessary installation packages, you will receive the TASK OK message. Let’s just close the window with a cross in the upper right corner.
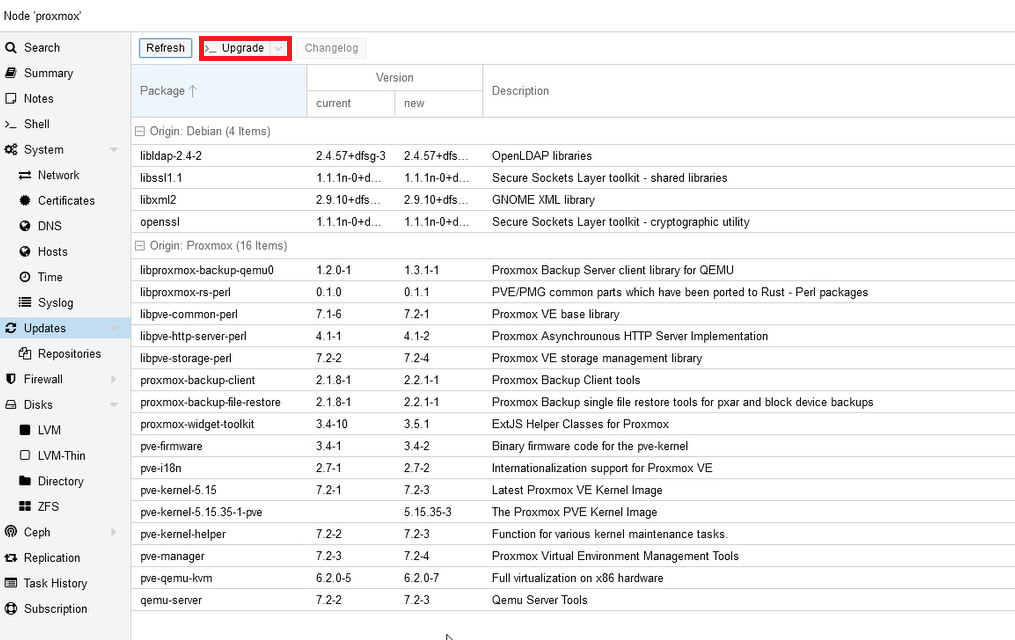
Now we can move on to the actual patch installation. Let’s click Upgrade.
In a new terminal window, you will be asked for permission to install. We can verify that we have enough disk space and click Y
After a few minutes, you will receive information about the successful completion of the installation. As suggested, we can consider rebooting the machine now, or schedule this reboot later if we can’t shut down all production machines at this moment. So we can type reboot to restart the machine, or just close the window and go to the next configuration step.
3) Network setup
In the next step, we should configure our Proxmox network so that the installed virtual machines can use it. We need to create and configure the so-called Linux Bridge interface: vmbr. This interface is needed to connect virtual machines to the underlying physical network. It is a Linux bridge that can be treated as a virtual switch to which virtual machines and physical Proxmox interfaces are connected.
Inside our Proxmox we have two physical network cards, one of which is active. This can be seen in the Network menu.
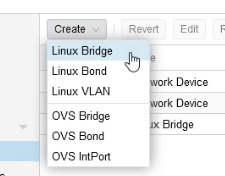
To create a Linux Bridge, click Create -> Linux Bridge
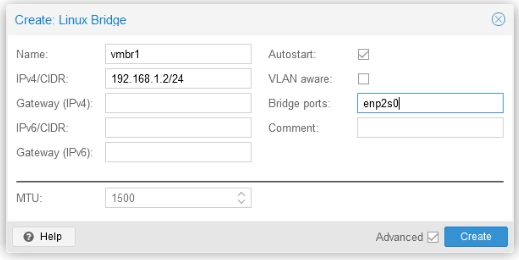
Enter the unique name, address with subnet mask, default gateway and the name of the active network card in the Bridge ports field. Then click Create.
In the Network tab, we already see our active Linux Bridge.
4) Adding a second disk
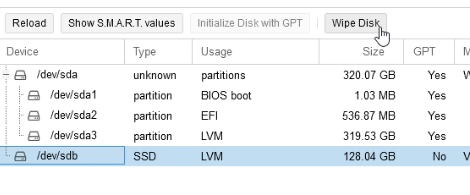
Now, we would like to add a second, faster SSD to our machine. After mounting it in the machine, we need to clean and initialize it. In the Disks menu, click on your SSD device and select Wipe Disk.
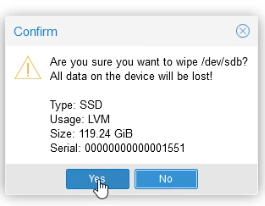
Let’s carefully read which drive we have chosen to clean so as not to delete important data.
After cleaning the disk, we still need to initialize it. Click Initialize Disk with GPT
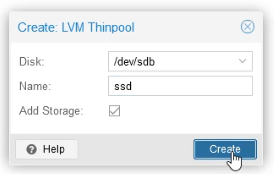
Then we create the so-called LVM Thinpool. Normally LVM (Logical Volume Manager) allocates blocks of data on a specific disk. LVM Thinpool allocates data blocks as they are written. This behavior is called thin allocation because the volumes can be much larger than the physically available space. In the Disks menu, select LVM Thin and click Create: Thinpool
We select our SSD device in the Disk field and click Create.
The disk has been created and allocated to LVM Thinpool. We can start using it
So get to work! It’s time to create our first virtual machine. Please read the next post on this topic.


