In this article, we will compile the chan_dahdi module and add T1/E1 support in Asterisk 16 on CentOS 7. As the difference between T1 and E1 is mainly where it is used (T1 – US, Canada, Japan; E1 – Europe and others countries), for the sake of simplicity, I will use the notation E1 in this post.
The following material will assume that you already have Asterisk installed. If not, you can see that post.
We will also assume that you have the appropriate permissions to perform the action as root. If not, add before the command "sudo" e.g. "sudo yum -y install pciutils"
Table of Contents
1) What is an E1 link?
The E1 link usually works on a twisted pair cable. The throughput is 2048 kb/s, the link works in full duplex mode. The transmission time of a single data portion (so-called frame) on the E1 link is divided into 32 time slots marked TS0 – TS31. The transmission of a single frame takes 125 μs (8000 transmissions per second). During this time, 8 bits of information are sent in each slot, hence the throughput of a single channel (8000/s x 8 bit = 64 kb/s) and the entire link (32 x 64 kb/s = 2048 kb/s).
In simple terms: a single E1 link allows us 30 simultaneous connections (two channels are used for HDLC frame tests). In the era of analog telephony, it was a high standard that many companies still use today.
2) Hardware and cabling
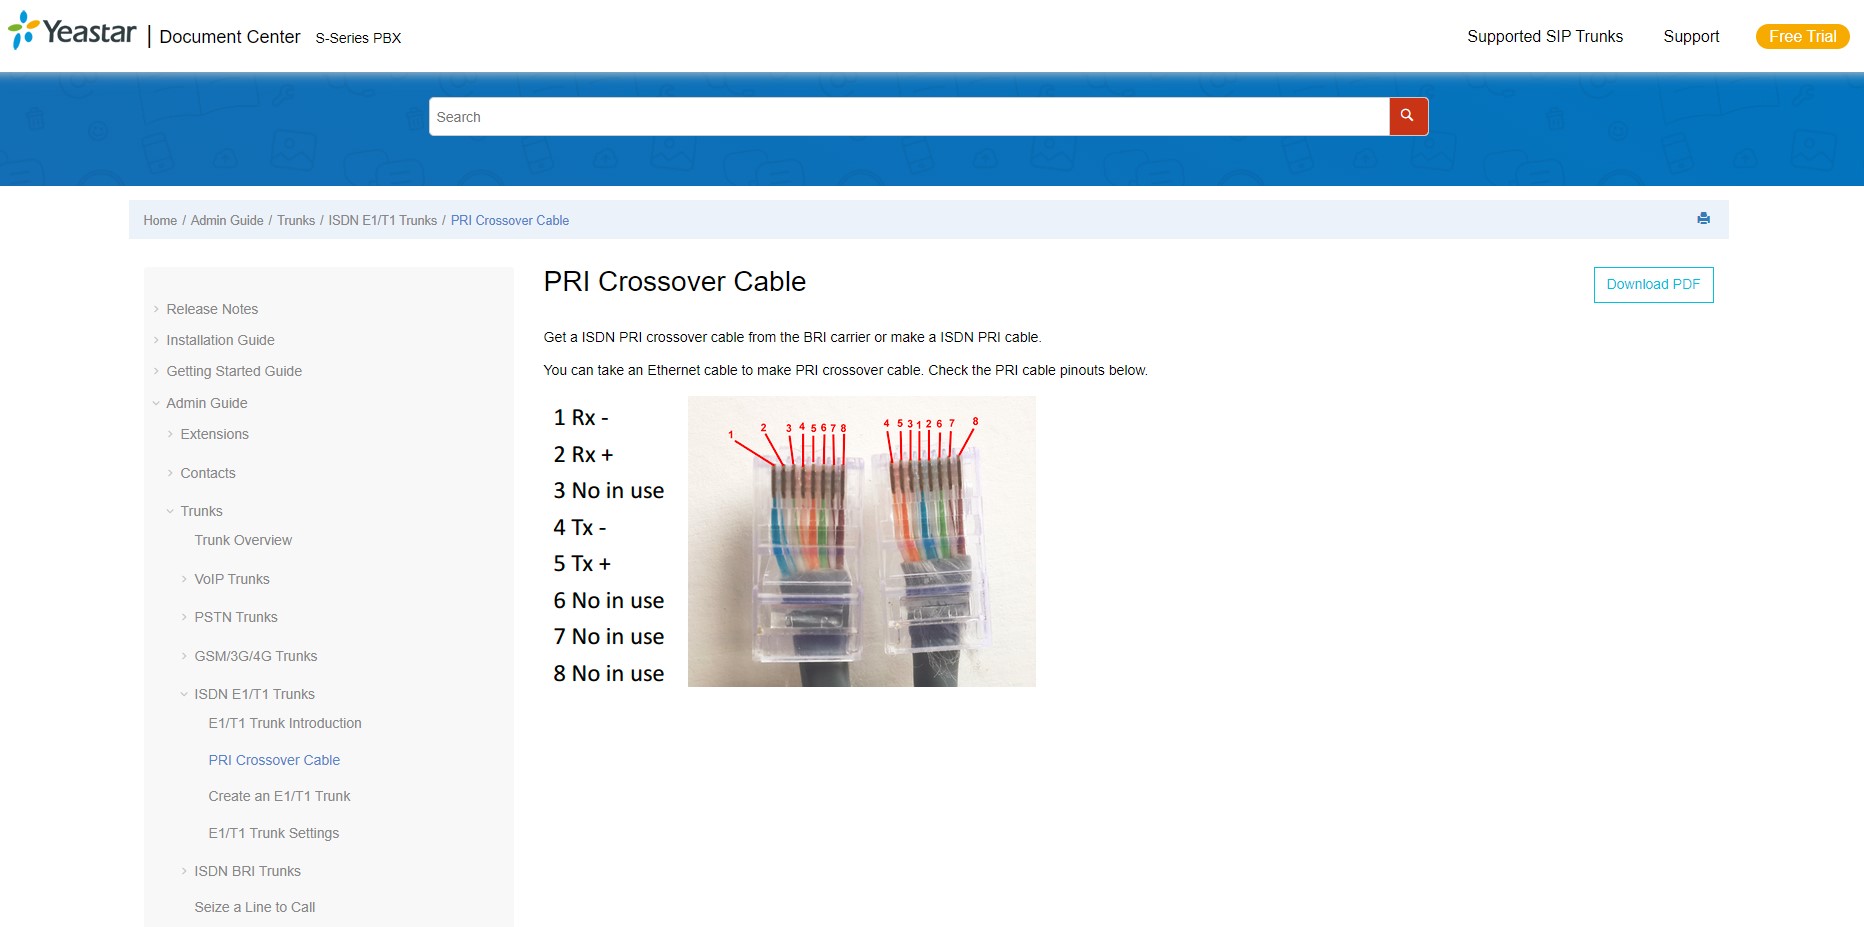
It is worth remembering that the E1 / Pri / Pra / signaling, whatever you want to call it, requires a specially cross-over cable, in accordance with the table below or documentation available, e.g. on the website of the tested gate.
3) Installation of dahdi-linux and dahdi-tools packages
You can use the following command to verify that the installed card is correctly detected:
lspci
If you see an error like "lspci: command not found", it is worth installing the pciutils package with the command:
yum -y install pciutils
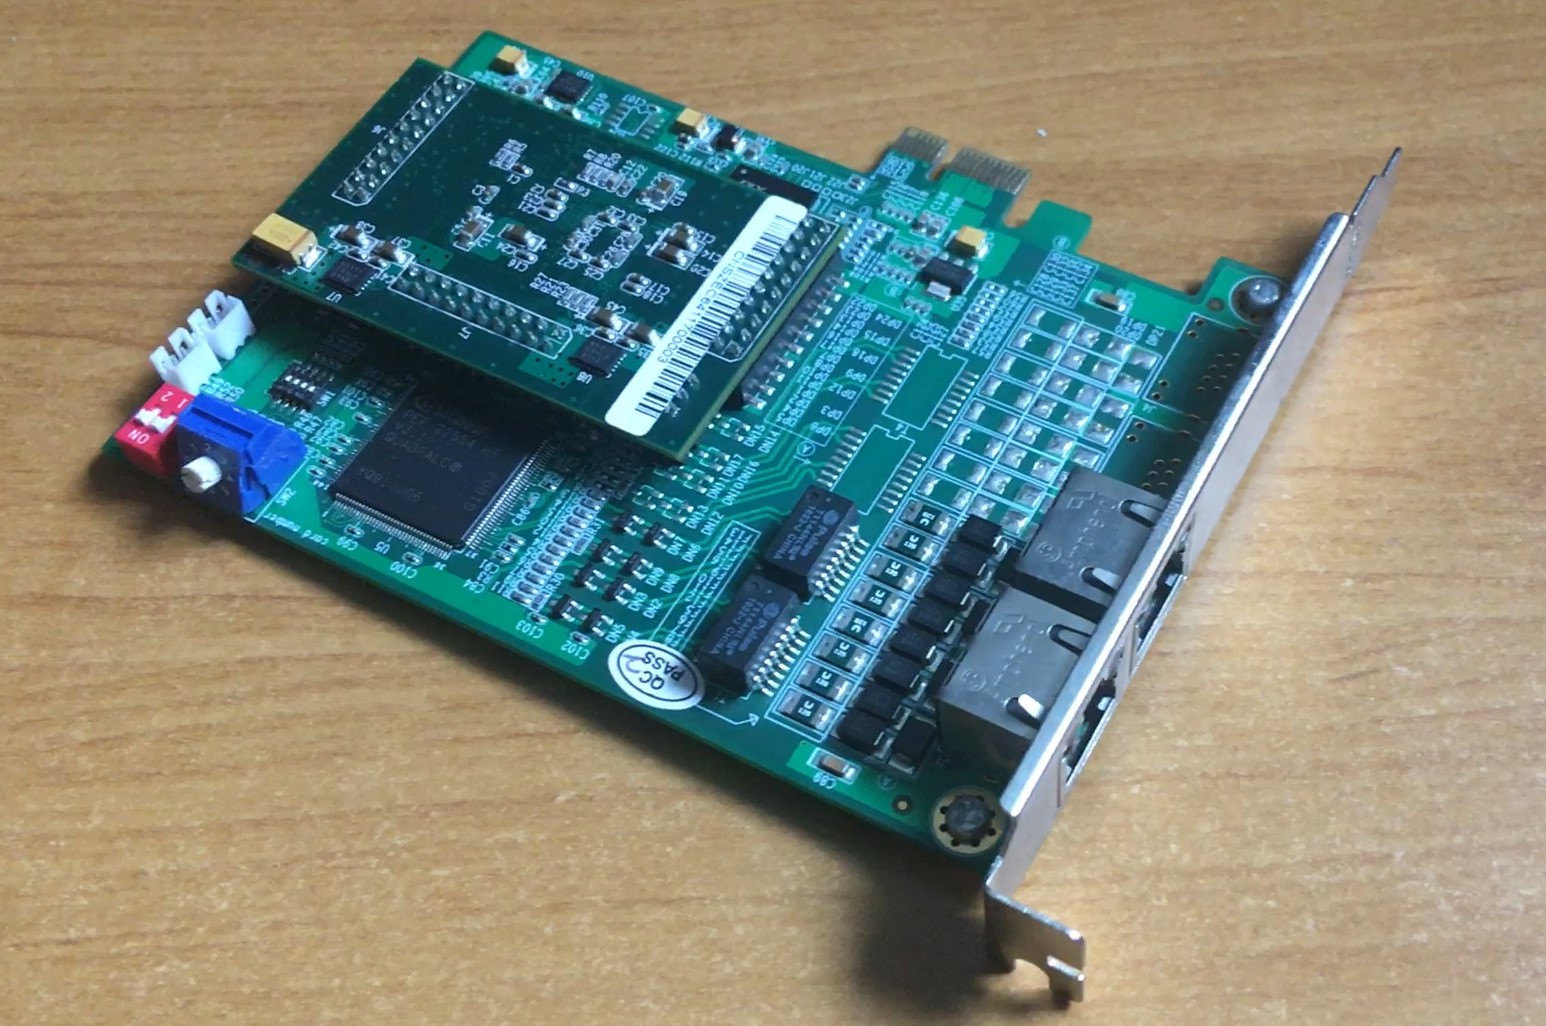
In our case, the controller was found: “Communication controller: Digium, Inc. Wildcard TE210P/TE212P dual-span T1/E1/J1 card 3.3V (rev 02)”
Next, we will download the source files that we will use to complicate the chan_dahdi module.
					cd /usr/src/
wget http://downloads.asterisk.org/pub/telephony/dahdi-linux/dahdi-linux-current.tar.gz
wget http://downloads.asterisk.org/pub/telephony/dahdi-tools/dahdi-tools-current.tar.gz
tar -zxvf dahdi-linux-current.tar.gz
tar -zxvf dahdi-tools-current.tar.gz
We will start with dahdi-linux.
					cd dahdi-linux-*
make
If you see an error like "You do not appear to have the sources for the 3.10.0-1160.76.1.el7.x86_64 kernel installed" then you need to install the linux kernel headers.
yum -y install kernel-devel kernel-headers
After installation, run make again.
make
Then we will install the dahdi-linux package to the end.
make install
In the next step, install the second of the downloaded packages, i.e. dahdi-tools.
					cd /usr/src/dahdi-tools-*
./bootstrap.sh
./configure
If ./bootstrap.sh generates the error "Generating the configure script ...configure.ac:82: error: possibly undefined macro: AC_PROG_LIBTOOL" means that you need to install the libtool package and run the ./bootstrap.sh command again
yum -y install libtool
In turn, the ./configure command may display "configure: error: cannot find install-sh, install.sh, or shtool in auxdir "."/auxdir". In this case, additionally execute the following commands and run ./configure again
					libtoolize
aclocal
automake --add-missing
autoconf
After successfully executing ./bootstrap.sh and ./configure, we can proceed to compile the package.
					make all
make install
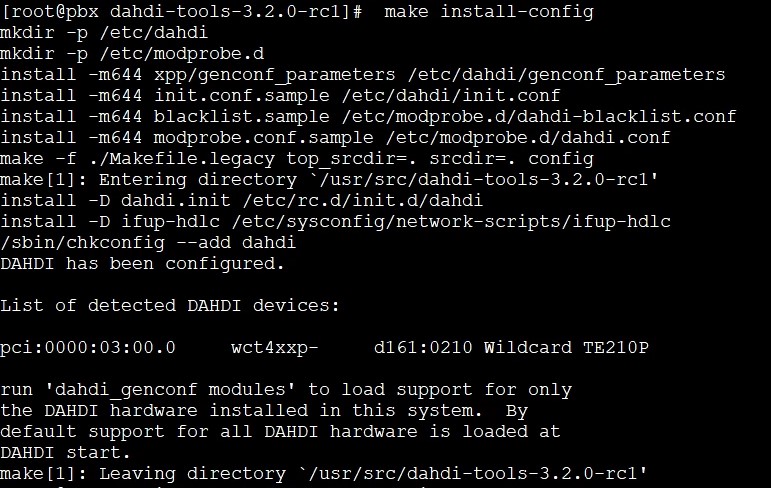
make install-config
If everything went without errors, we can now use a whole set of commands, such as: dahdi_cfg, dahdi_genconf, dahdi_hardware, dahdi_maint, dahdi_monitor, dahdi_registration, dahdi_scan, dahdi_span_assignments, dahdi_span_types, dahdi_speed, dahdi_test, dahdi_tools and dahdi_waitfor_span.
However we, as intended, will starting by automatically generate the configuration, only for our card.
dahdi_genconf modules
Before we start the configuration, check which user the Asterisk service is running on. In our case, this is the user and group ‘asterisk’.
If you want to know how to change the user, check out this post.
Then adjust the contents of the /etc/udev/rules.d/dahdi.rules file to our actual settings. Otherwise we will see an error “Unable to open master device '/dev/dahdi/ctl'
4) Compilation of the chan_dahdi.so module
Our configuration is ready. Now it’s time to compile the main module chan_dahdi.so, which at this stage most likely does not exist in the Asterisk modules directory.
If you don’t have the source files, you can download them from the website: http://downloads.asterisk.org/pub/telephony/asterisk/asterisk-16-current.tar.gz and then unzip as is shown in this post.
Just recompile Asterisk and our chan_dahdi.so module will be created.
					cd /usr/src/asterisk-*
./configure --libdir=/usr/lib64 --with-pjproject-bundled --with-jansson-bundled
make menuselect
make
make install
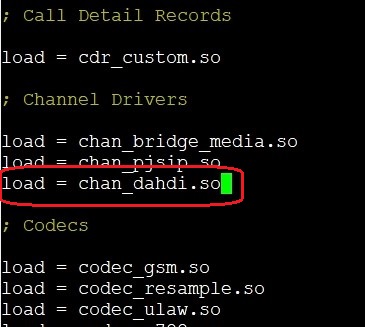
If we have ‘autoload’ set to ‘yes’ in /etc/asterisk/modules.conf, we don’t need to do anything else.
If you enter the modules manually, you should add: load => chan_dahdi.so
We want to make sure that all drivers and cards have been loaded correctly, so it’s best to restart the server at this point.
reboot
At this stage, we already have the chan_dahdi.so channel module, but we do not have the configuration, i.e. the chan_dahdi.conf file.
It is recommended to create separate chan_dahdi.conf (for software) and dahdi-channels.conf (for hardware) files. Although, of course, you can fit them into one file.
To generate at least part of the configuration, we will automatically execute the dahdi_genconf command.
dahdi_genconf -v
If you run dahdi_cfg -v first, you will get a missing file error:"line 0: Unable to open configuration file '/etc/dahdi/system.conf'".
Therefore, dahdi_genconf with the appropriate parameter should be executed first.
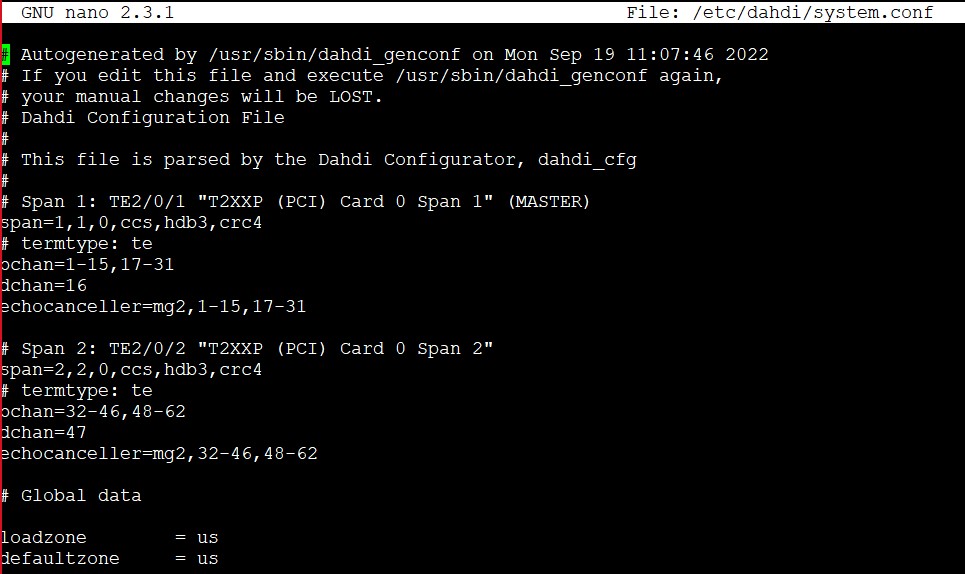
					dahdi_genconf system (for a single file /etc/dahdi/system.conf)
dahdi_genconf -v (for a set of configuration files)
It is worth reviewing the generated files and making the necessary corrections. For example in /etc/dahdi/system.conf you may want to change the zone from ‘us’ to ‘pl’
We can now run the following command without any problems:
dahdi_cfg -vvvvv
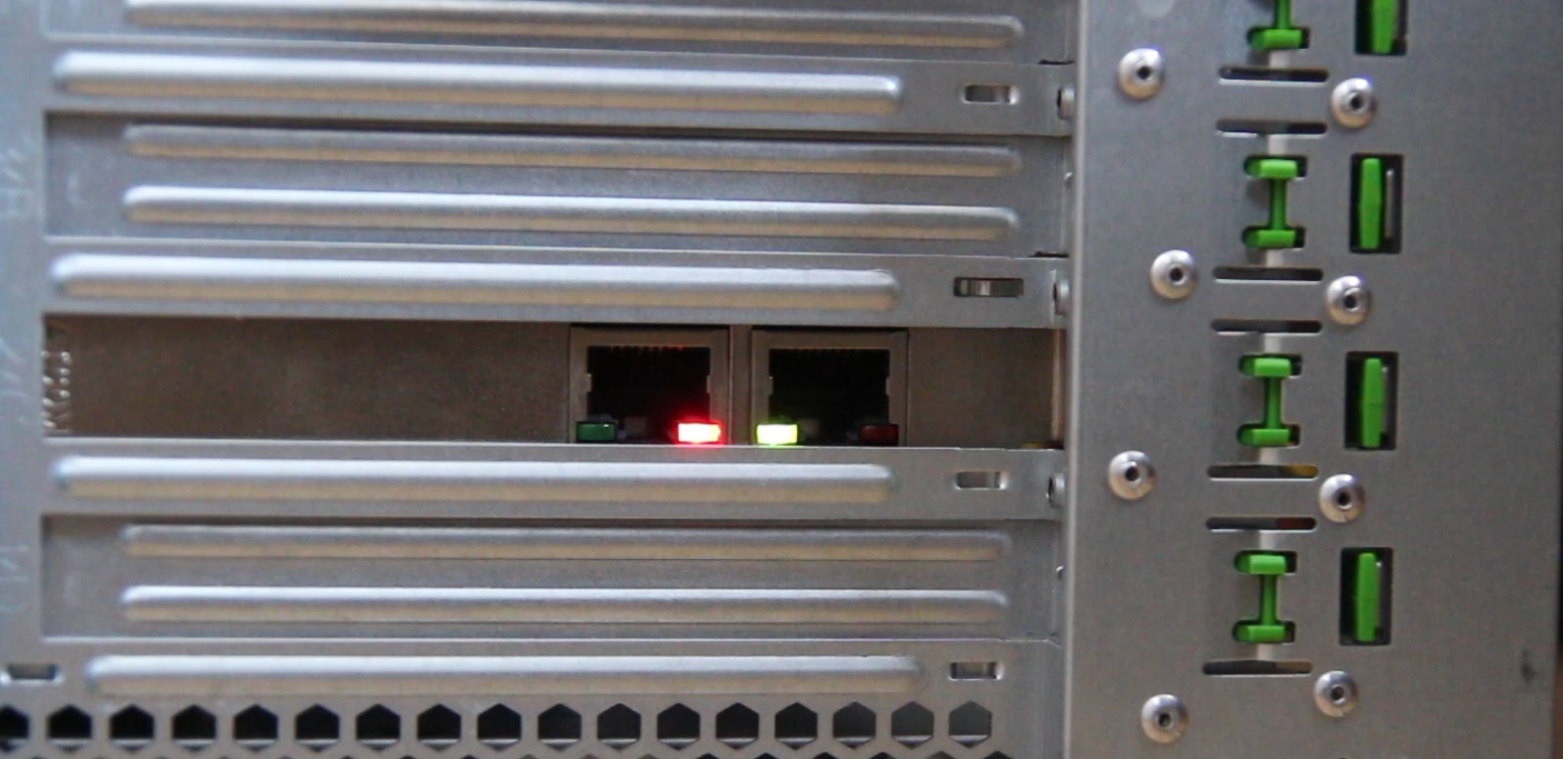
From now on, the ports on the card should start blinking red.
We only have two things left.
First, we’re still missing the chan_dahdi.conf file. If you built the system according to our other posts, then you should have a samples directory from which you can copy this file.
					cd /etc/asterisk/samples
cp chan_dahdi.conf /etc/asterisk
If you don’t have this directory, you can download a single file directly from the asterisk repository.
					cd /etc/asterisk/
wget https://github.com/asterisk/asterisk/blob/master/configs/samples/chan_dahdi.conf.sample
mv chan_dahdi.conf.sample chan_dahdi.conf
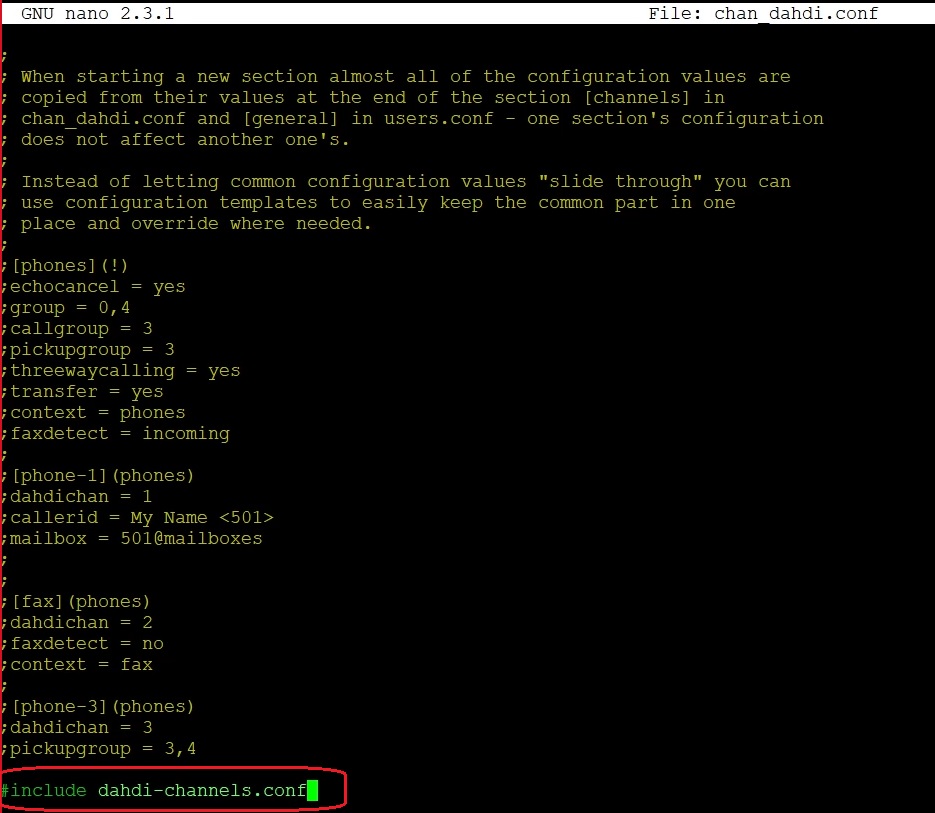
Modify the file according to your needs, and add the line #include dahdi-channels.conf at the end, which will load our automatically generated configuration file.
In our case, we are running the system as user/group ‘asterisk’, so we will also change the owner of newly created files.
					chown asterisk:asterisk chan_dahdi.conf
chown asterisk:asterisk dahdi-channels.conf
In the Asterisk console (asterisk -r) we will see our device.
					dahdi restart
dahdi show status
At this point we could finish our tutorial ….. if we were configuring a regular digital card.
However, this post describes more than an ISDN adapter. We are talking about port E1. So, unfortunately, the console throws us an error about unrecognized signaling.
"ERROR[2124]: chan_dahdi.c:18579 process_dahdi: Unknown signaling method 'pri_cpe' at line 14."
We also have Red Alarms indicating out of sync:
"chan_dahdi.c:7518 handle_alarms: Detected alarm on channel 1: Red Alarm-- Reconfigured channel 1, ISDN PRI signaling"
In order for our card to start working in 100%, we need to go back a bit and add the libpri library to our Asterisk.
5) Adding libpri for E1 signaling support
So let’s download and compile the additional library.
					cd /usr/src
wget http://downloads.asterisk.org/pub/telephony/libpri/libpri-current.tar.gz
tar -zxvf libpri-current.tar.gz
cd libpri-*
make
make install
Let’s also recompile Asterisk.
					cd /usr/src/asterisk-*
./configure --libdir=/usr/lib64 --with-pjproject-bundled --with-jansson-bundled
make
make install
This time, the “dahdi restart” command in the Asterisk console will not throw us an error about unknown signaling.
6) Configuration tests
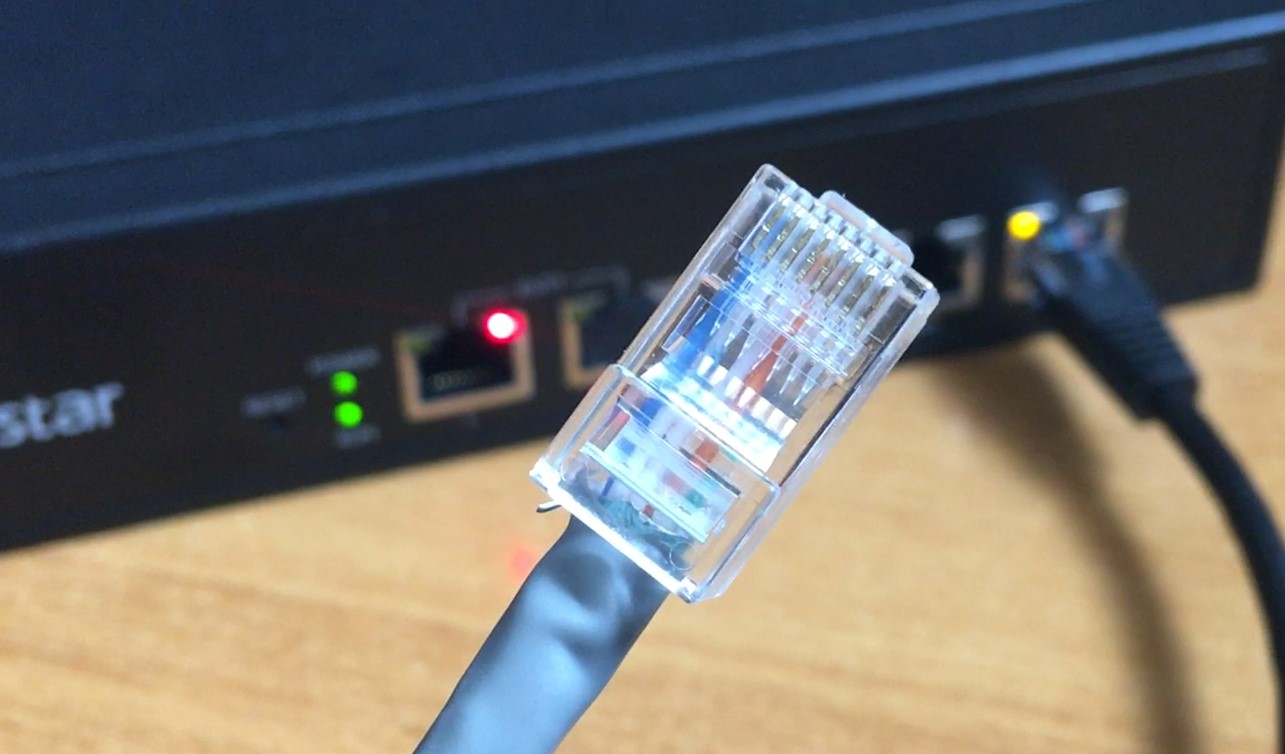
If you have a device with an E1/T1 port, you can simply clamp the cable according to the instructions mentioned at the beginning and the matter will be clear.
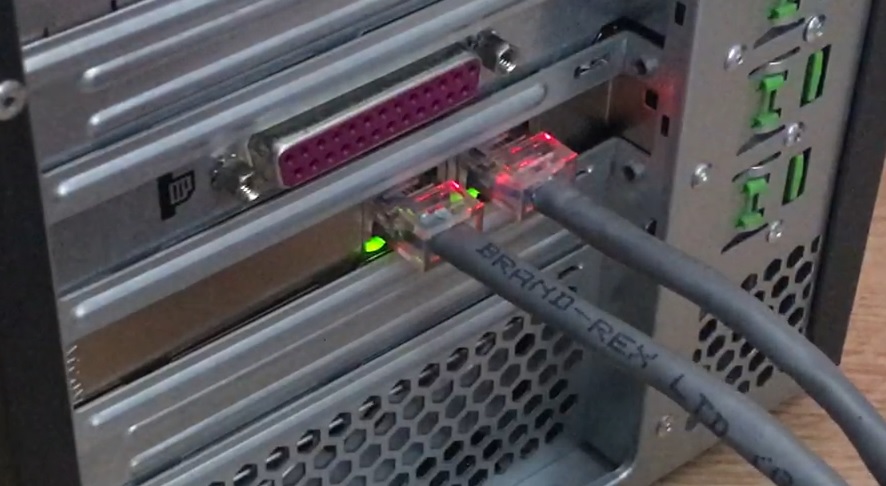
If the card has two ports, they should light up green when plugged in.
If you have a second server or some external gateway, then there should be no problem with synchronization.
If you do not have any of the above, you can perform an internal test using the previously downloaded dahdi-tools package. Due to the fact that the test requires port is not occupied by any service, we will additionally disable Asterisk.
Otherwise, we may get the error "DAHDI_SPECIFY ioctl failed: Device or resource busy"
During the test, you will see that port 1 on the card starts flashing green.
					# stopping Asterisk
systemctl stop asterisk

cd /usr/src/dahdi-tools-*

make patlooptest

# Enable digital loopback on span 1
dahdi_maint -s1 -l localhost

# Run a test on channel 1
# If it finishes without errors, you are looping through the data correctly

./patlooptest 1 -t 10

# Disable the local loop to resume proper operation of the card
dahdi_maint -s1 -l off

# restarting the Asterisk service
systemctl start asterisk
And that’s it for the installation and initial configuration of digital cards with support for the chan_dahdi channel and the libpri library.
Good luck!
If you would like to monitor everything that is happening on your PBX, try our proprietary VOIPERO software.
The system arleady has launched and now is completely FREE. Setup takes only a few minutes.
Read what our VOIPERO system can do in terms of live monitoring and reporting of VoIP systems based on Asterisk.


