Transferring data between drivers in the manner described below will ensure the continuity of machine operation on the proxmox during the entire process. First, however, we will try to transfer data with the machine turned off. Then we will see how it works when the Windows machine is running.
How to install a virtual machine on Proxmox you can read here, and how to install Proxmox itself you will learn more in our other tutorial.
Table of Contents
1) Transferring data when the machine is turned off
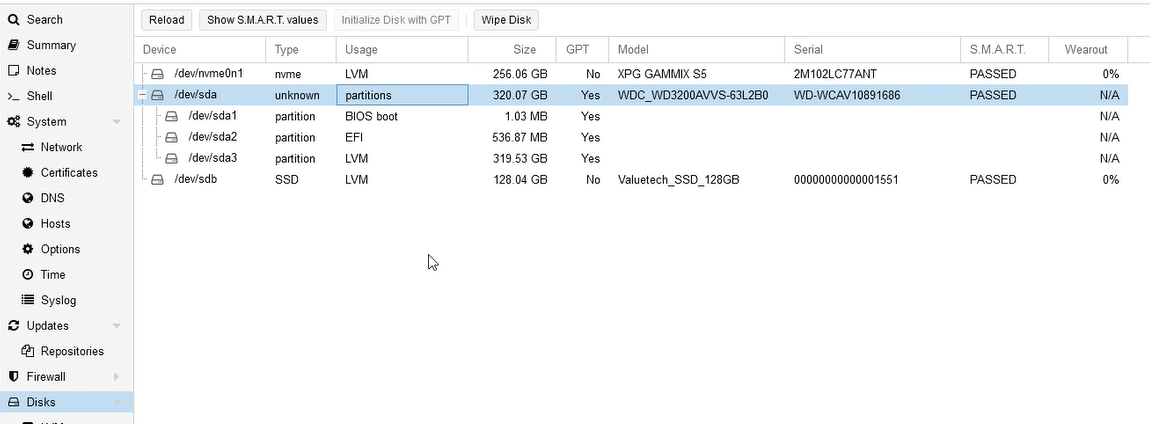
Our Windows machine is currently seated on the slowest proxmox disk drive and turned off. When we test run it, log in and stop it, we will have an idea that it runs quite slowly. Now, after turning it off, we go to the Disks tab.
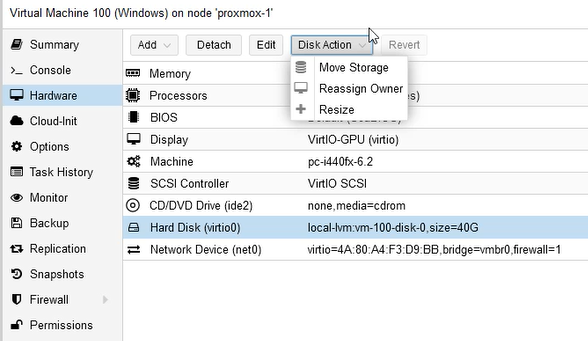
Select the drive to be the data source. From the “Disk Action” list, select “Move Storage”.
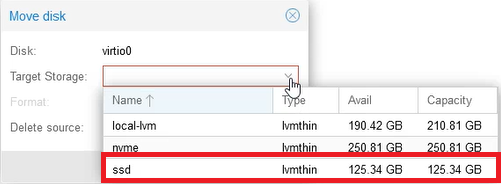
We select the appropriate drive to which we want to transfer the data. We will choose a disk that will allow the system to function better. In this example, we will use an SSD.
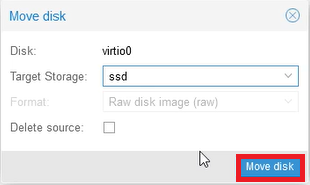
Click “Move disk”
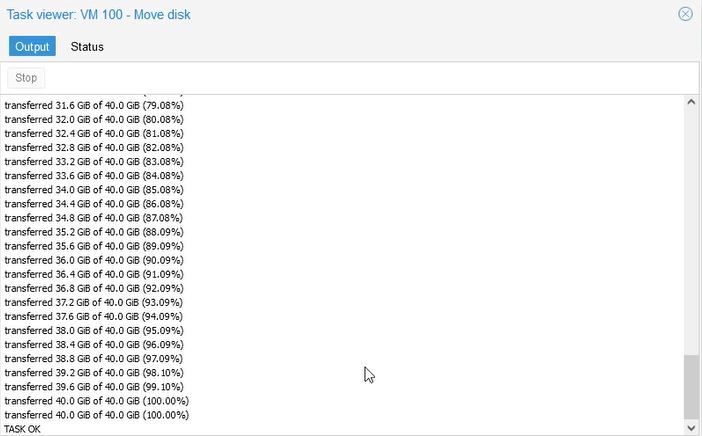
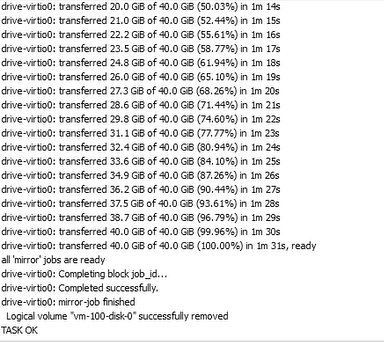
The disk transfer process should start. At this point, it physically transfers the entire contents of the disk. Depending on the size and speed of your drive, this may take a while. In our case, it took several minutes. When “TASK OK” appears, close the window.
2) Troubleshooting and testing
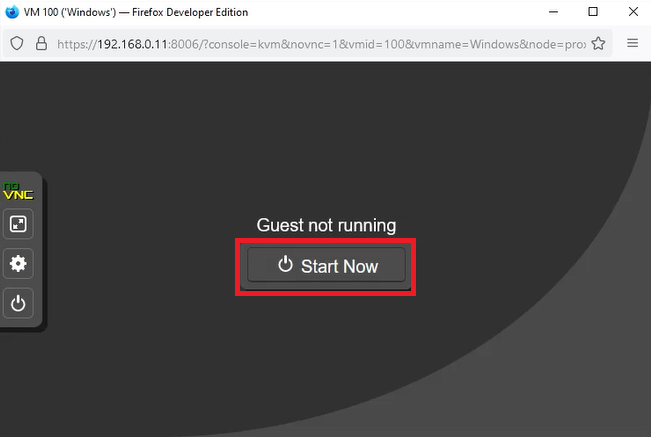
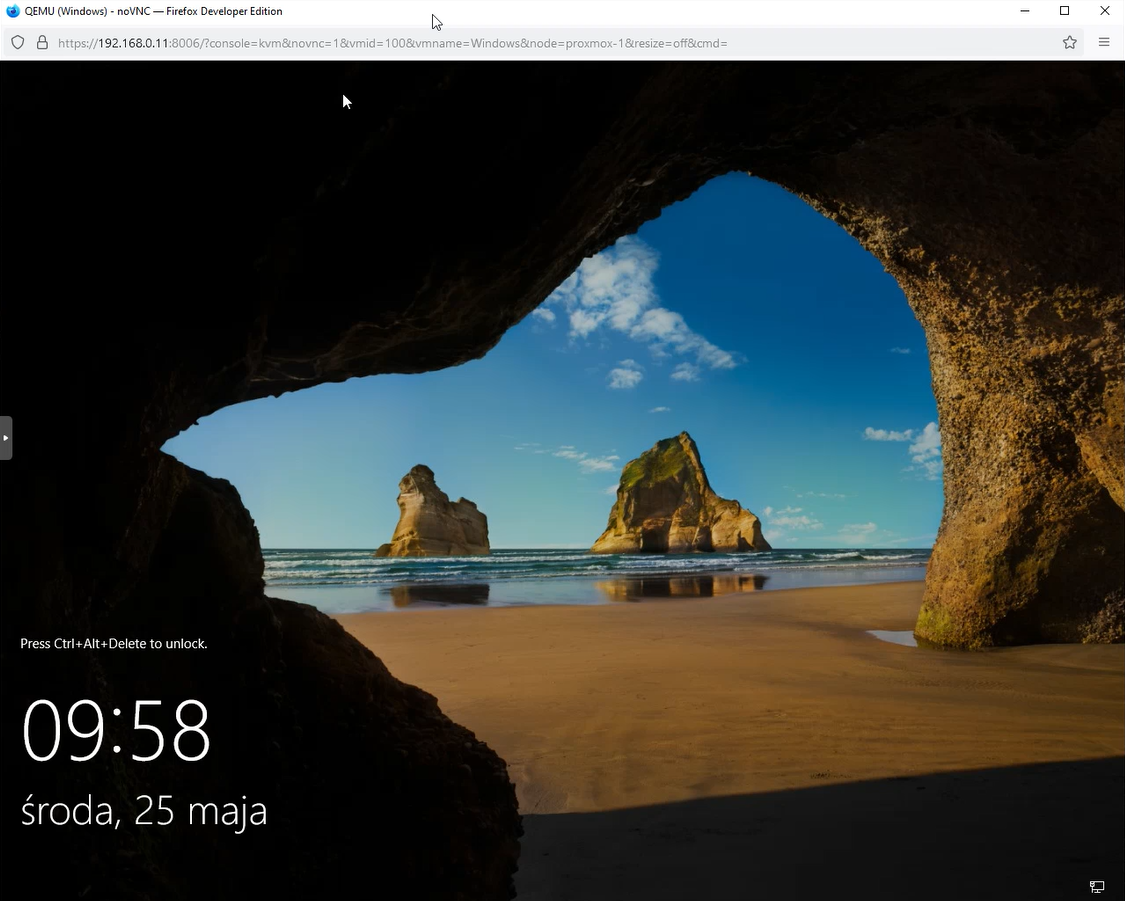
Now, using the Console button, we start the machine and check that it works correctly on the new disk. We should notice that it takes off much faster than before. It turns out that the difference is colossal.
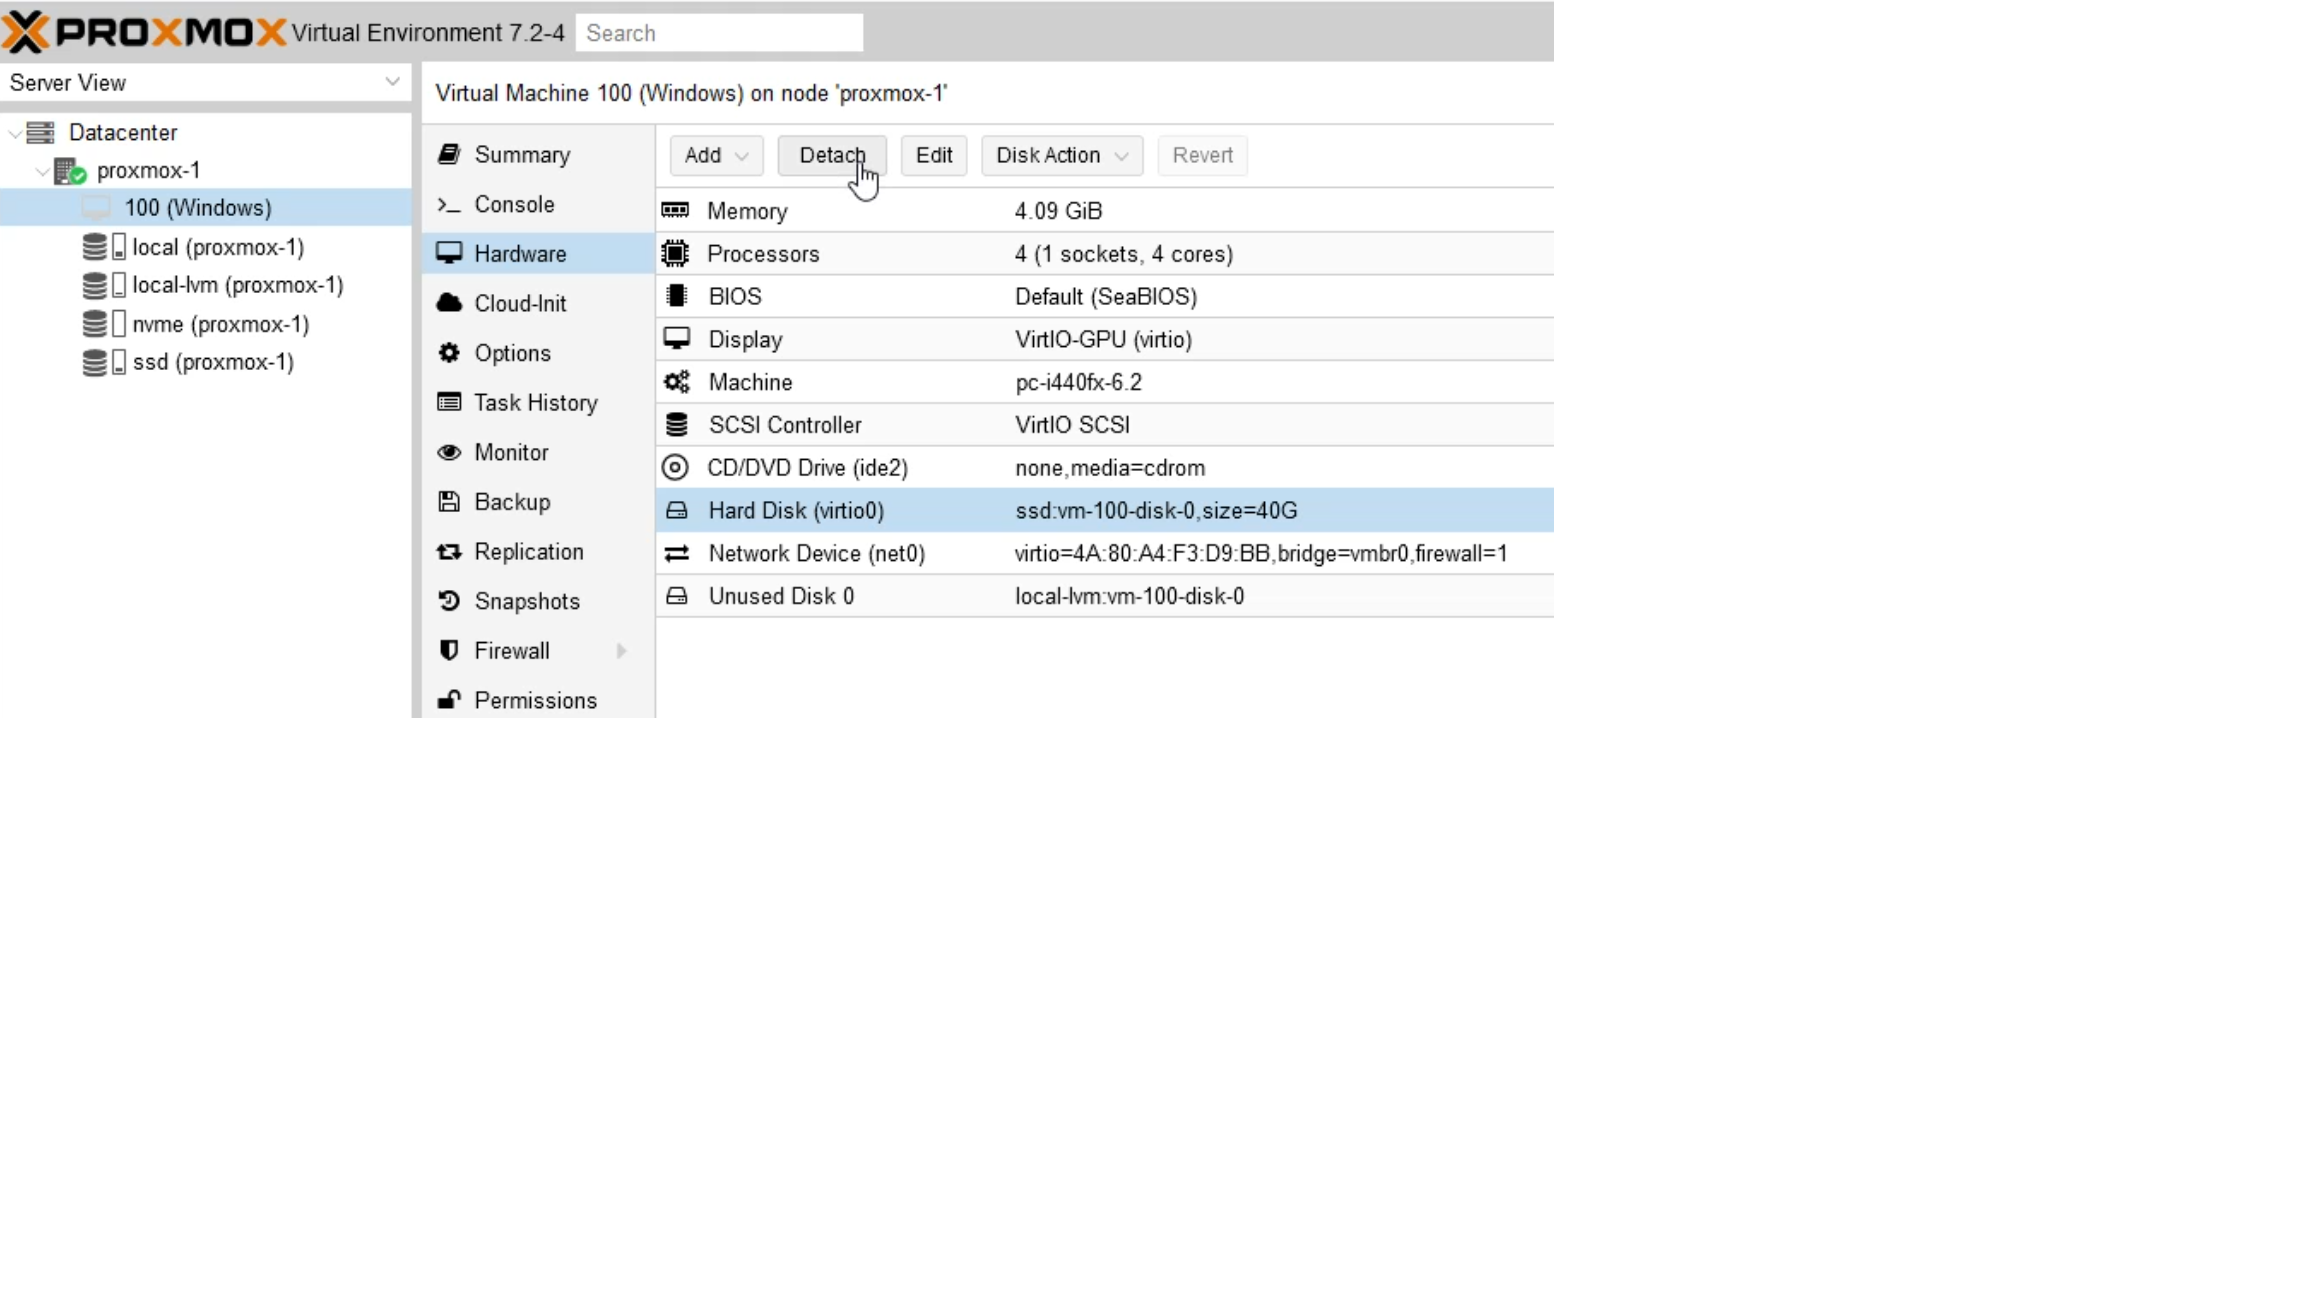
If the disk causes problems, you can move the machine to the previous disk. To do this, you need to click on the current disk, then in the top menu select “detach”.
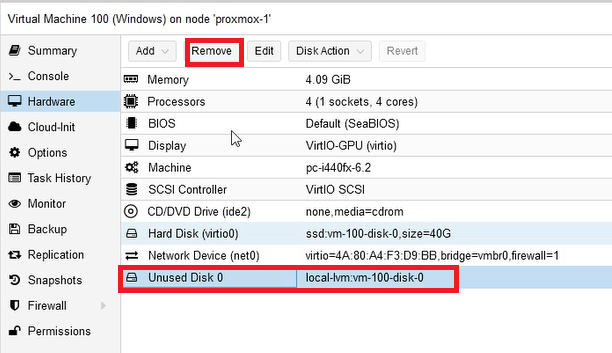
Below we can still see the previous disk described as Unused Disk 0. Now just mount it and we will restore the system to its previous state in terms of hardware.
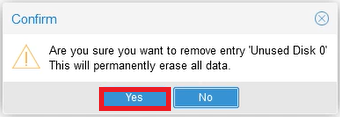
However, after making sure that our SSD is working properly, you can remove the previous drive. To do this, click on “Unused disk” and select “Remove”.
3) Data transfer when the machine is on
We will now show you how to move a disk with the machine turned on.
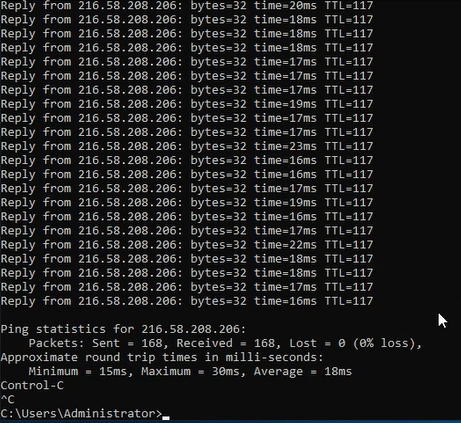
After logging in to our Windows, it’s worth pinging some website for a functional test of the system. There should be no interruptions in packet transfer throughout the process.
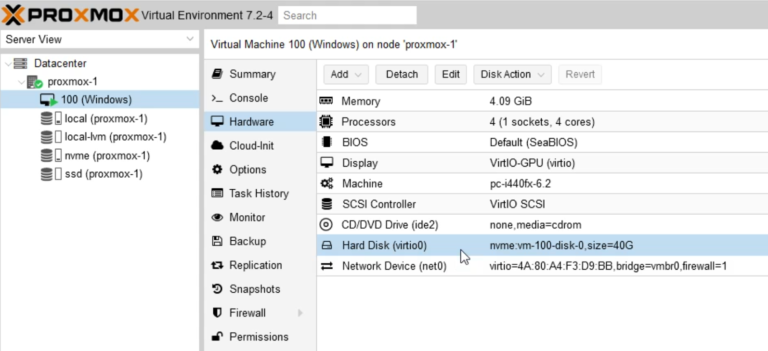
In the Hardware tab on proxmox, select our disk and from the “Disk Action” menu, select “Move Storage”.
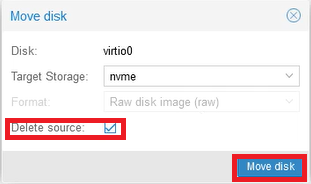
Now we will choose the nvme drive that will give us the fastest and trouble-free transfer.
At the same time, check “Delete source” to delete the original disk.
When we click “Move disk”, the process will start.
As you can see, the whole operation did not affect the pings or the functionality of the turned on machine. We haven’t lost a single package!
In the Proxmox console you can see that our machine is already on the new nvme disk.
As you can see, Proxmox is a really reliable and free platform. If you have additional questions, please contact us.


