Proxmox VE is a complete open-source platform for enterprise virtualization. With the built-in web interface you can easily manage VMs and containers, software-defined storage and networking, high-availability clustering, and multiple out-of-the-box tools on a single solution.
To install Proxmox on our Raspberry, we will use the Pimox project, which will install specially compiled packages on Debian and run our virtual environment. While the device itself is unlikely to be suitable as a host for virtual machines, you can use it, for example, as a clustered machine to get an odd number of machines for cluster quorum.
I will also point out immediately that this article will not contain a complete configuration. Rather, we will focus on the software installation itself.
Table of Contents
This is only a basic configuration of port forwarding, and it does not take into account additional security, such as, for example, limiting incoming traffic to specific IP addresses and / or FQDN * .3cx.com.
Think of this article as a Proof of Concept. Using Raspberry in a production environment may not be the best idea.
1) Prerequisites
Below you will find a list of everything I used to install Proxmox.
HARDWARE:
- Raspberry Pi 4 2GB RAM
- Power supply USB-C 3.1A
- 16GB MicroSD card
- MicroSD-USB adapter
- HDMI cable
- MicroHDMI-HDMI adapter
- ethernet patchcord
- keyboard
SOFTWARE:
- SDFormatter (https://www.sdcard.org/downloads/formatter/) – to format microSD card
- Raspberry Pi Imager (https://www.raspberrypi.org/software/) – to copy the image onto the card
- Debian Bullseye (11) (https://raspi.debian.net/tested-images/) – file with OS image eg. 20210823_raspi_4_bullseye.img.xz
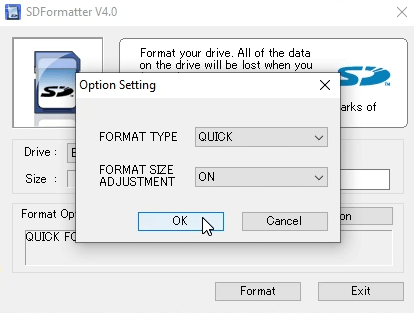
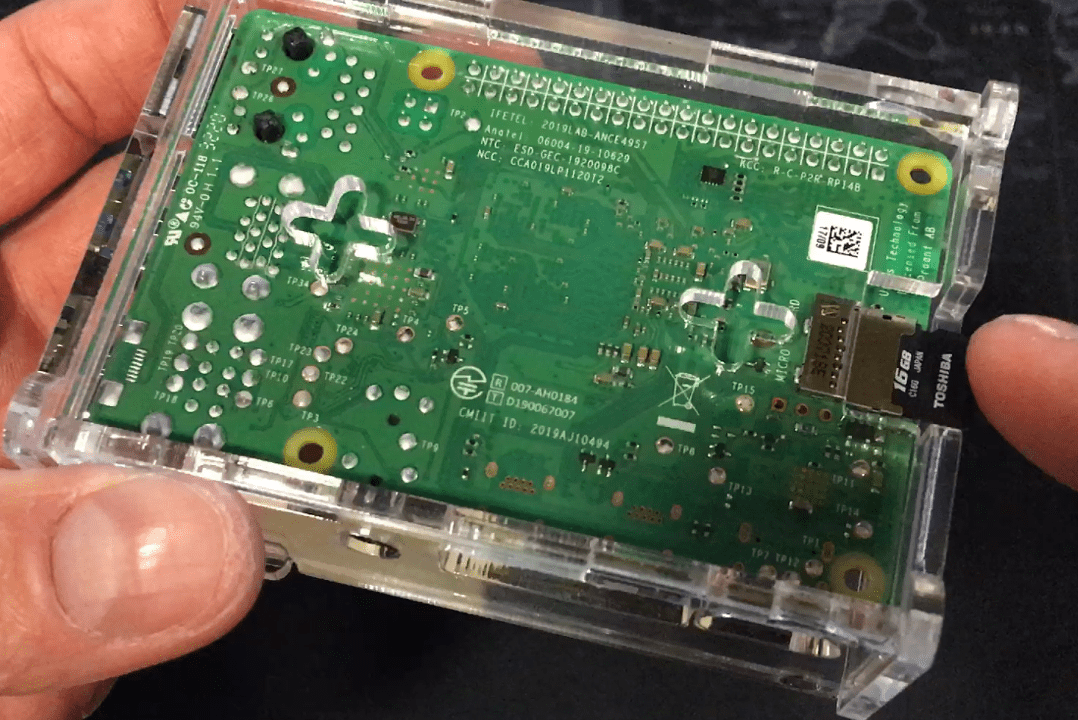
First, let’s plug in the microSD card and wipe the card using SDFormatter to remove all hidden partitions (if any).
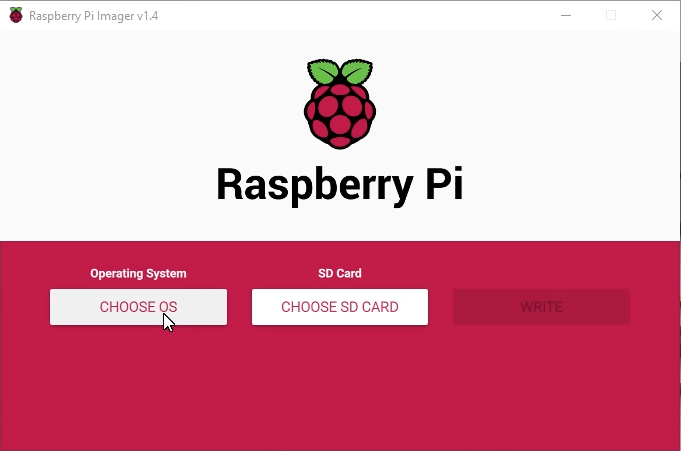
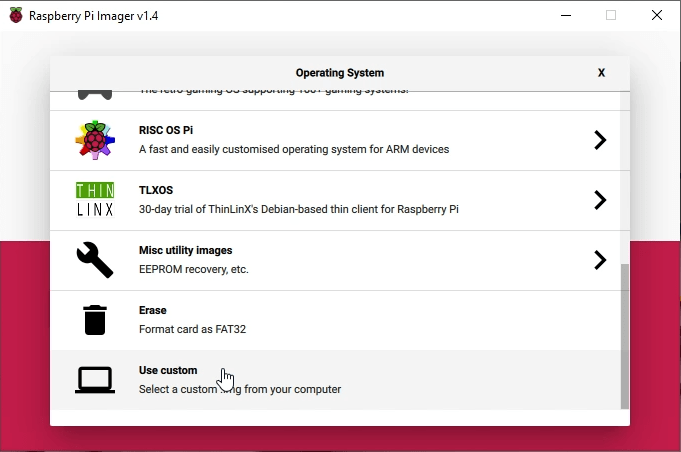
Then install the Debian Bullseye (11) system software using the Raspberry Pi Imager (using the “use custom” option).
Select from the list a MicroSD on which you want to upload the system.
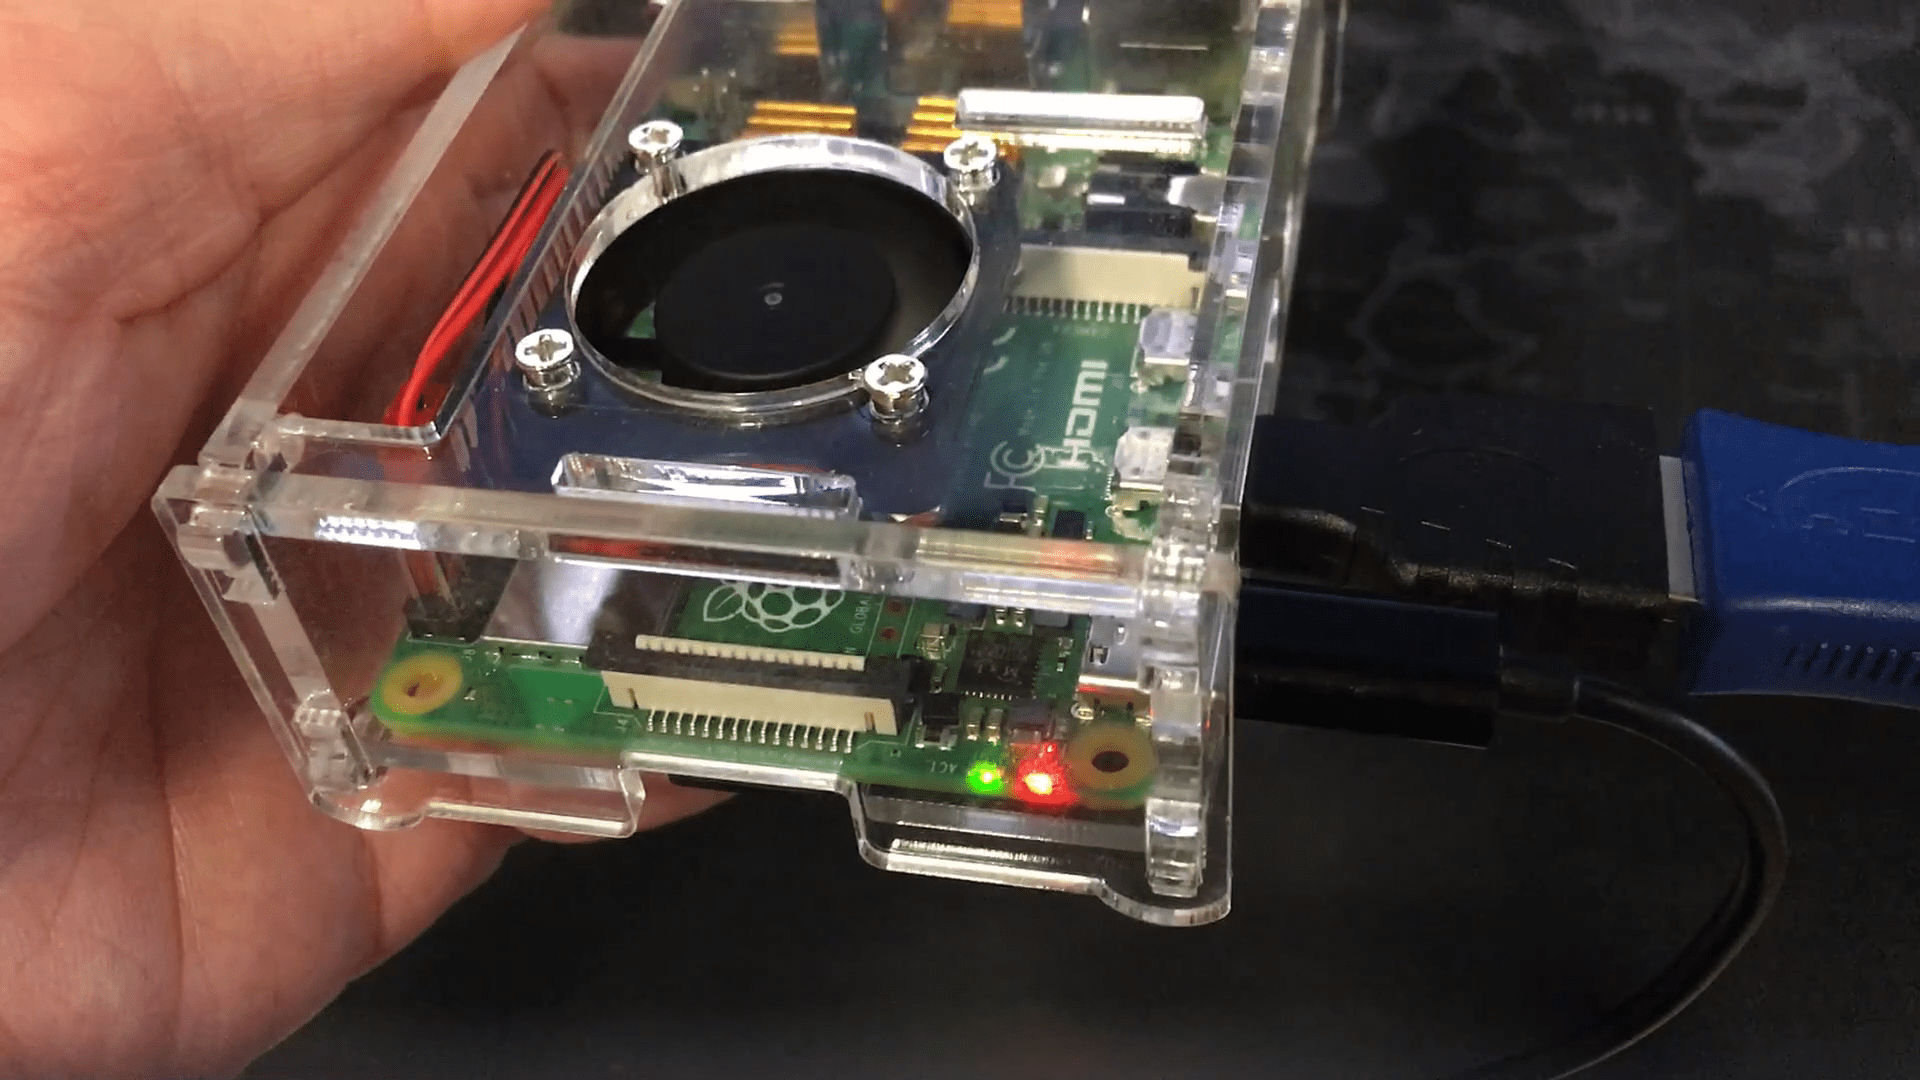
Finally, we can connect all other components: keyboard and monitor or HDMI adapter, network, power supply and a USB keyboard.
Instead of a monitor, I will use the FullHD HDMI grabber to capture the video on our device.
Do not install software via SSH. During the installation, your network will be reconfigured and you will most likely be disconnected during the installation.
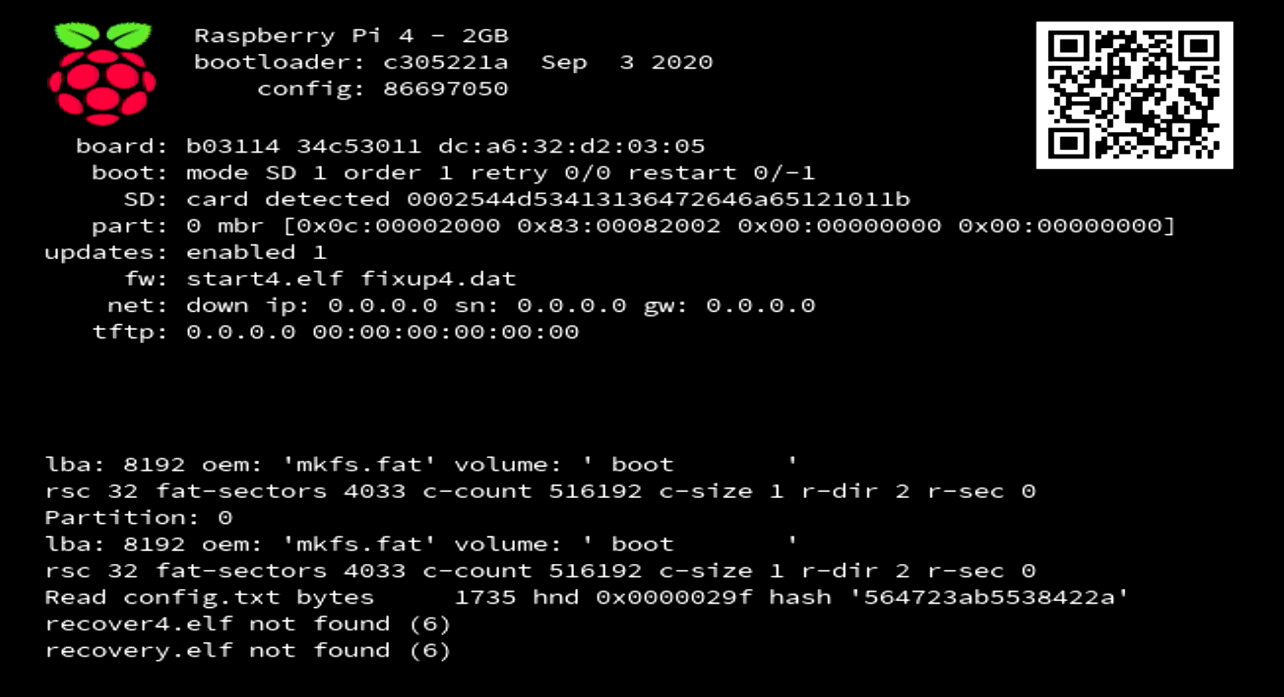
Finally, we will see the system boot. After loading the image from the card, we will be able to log into the operating system.
2) Network configuration
Correct network configuration is required prior to installation. Especially static IP address and hostname. Without these settings, the installation will fail.
Before we get to that, let’s log into the system. The first thing that catches your eye is the lack of a root password. Let’s set the password with passwd.
passwd
Next, let’s set a static IP address in /etc/network/interfaces.d/eth0
nano /etc/network/interfaces.d/eth0
In the file, clear all content and type the following lines:
					auto eth0
iface eth0
inet static
address 11.22.33.44/24
gateway 11.22.33.1
To explain:
- eth0 – the name of the network interface
- address – IP address (eg. 192.168.0.100 and alike) and netmask (CIDR eg. 24)
- gateway – gateway (np. 192.168.0.1)
Of course, adjust these settings to your local network.
In the /etc/hostname file, let’s define the hostname, e.g. pimox.
nano /etc/hostname
It’s also a good idea to add DNS server(s) in /etc/resolv.conf. You can add one or more servers.
nano /etc/resolv.conf
Finally, edit the /etc/hosts file and bind our static IP address to the hostname. Also remove any unnecessary lines.
Ultimately, the file will contain two lines similar to the following:
					127.0.0.1 localhost
11.22.33.44 pimox
In the above configuration, the first line will remain unchanged, and the second one will associate our hostname with the IP address.
nano /etc/hosts
Finally, let’s reboot the device to apply all changes.
reboot
3) Proxmox installation
Since the network is already configured, we can start installing the software.
Before installing, we will update our operating system and install curl to be able to download our installer.
					apt update
apt upgrade
apt install curl
To install Proxmox we will use the Pimox project (https://github.com/pimox).
In our case, we will install the latest version from the Pimox7 project on our Debian Bullseye.
curl https://raw.githubusercontent.com/pimox/pimox7/master/pimox.sh | sh
During the installation, we will agree to install all packages, approve the information about the ZFS license conflict, select the server to send e-mails (I stayed with the default – No configuration).
The entire installation process may take approximately 30 minutes.
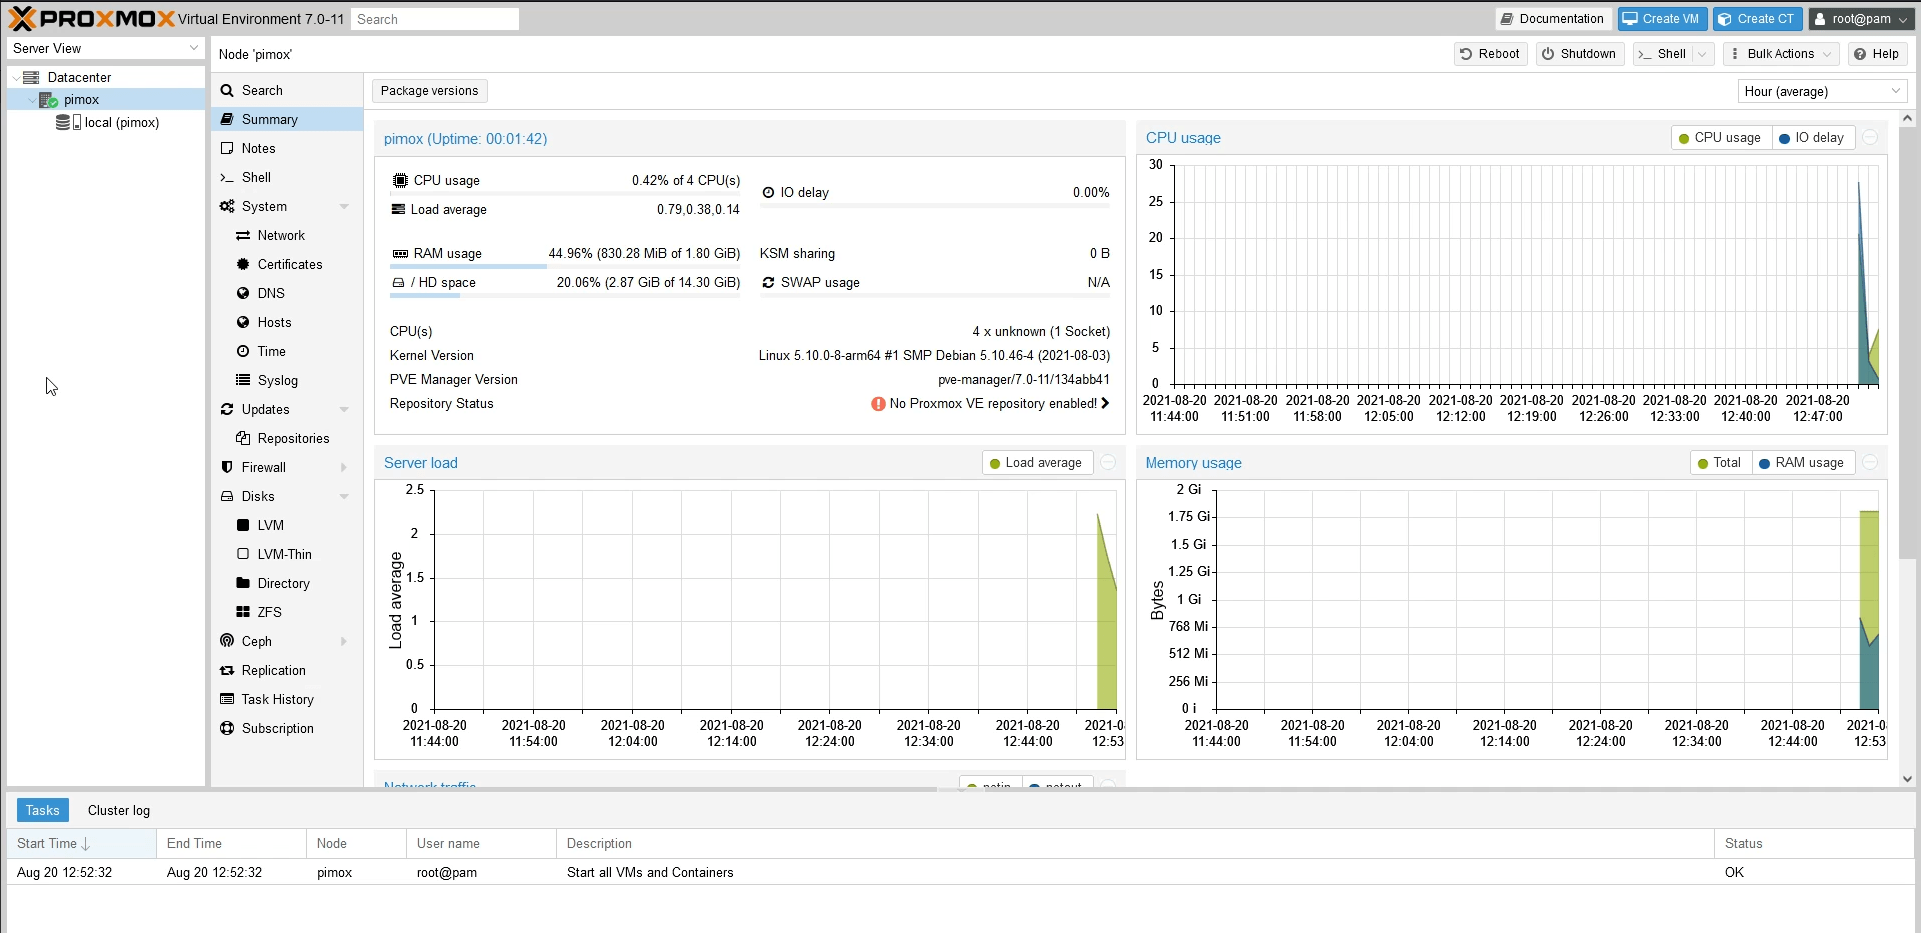
This device will all restart and we will be prompted to log in via a web browser.
As we mentioned at the beginning … this is where we finish our installation.
In the following articles and videos, we will explain how to do a basic system configuration.


