


Table of Contents
1) Debian installation
I assume you have a machine on which you can run the Debian installer. I use the free Proxmox software and downloaded a system image adapted to this environment. In the post about installing Rocky 9 on Proxmox you can see how it’s done.
After my machine with the installed system image starts and the installer runs, I select the graphical interface for installation. (Graphical Install). We do not worry about the possible search for a sound card and click Enter. We select the installation language: English. We choose our location. In my case it’s other -> Europe -> Poland. We do not worry about the keyboard configuration and leave the default values by clicking Continue. The installer will now load the startup components and stop for us to enter the name of our system. However, before we proceed, let’s now click the Go Back button. This will allow us to manually configure the address of our machine instead of letting it use DHCP, which the installer did automatically.
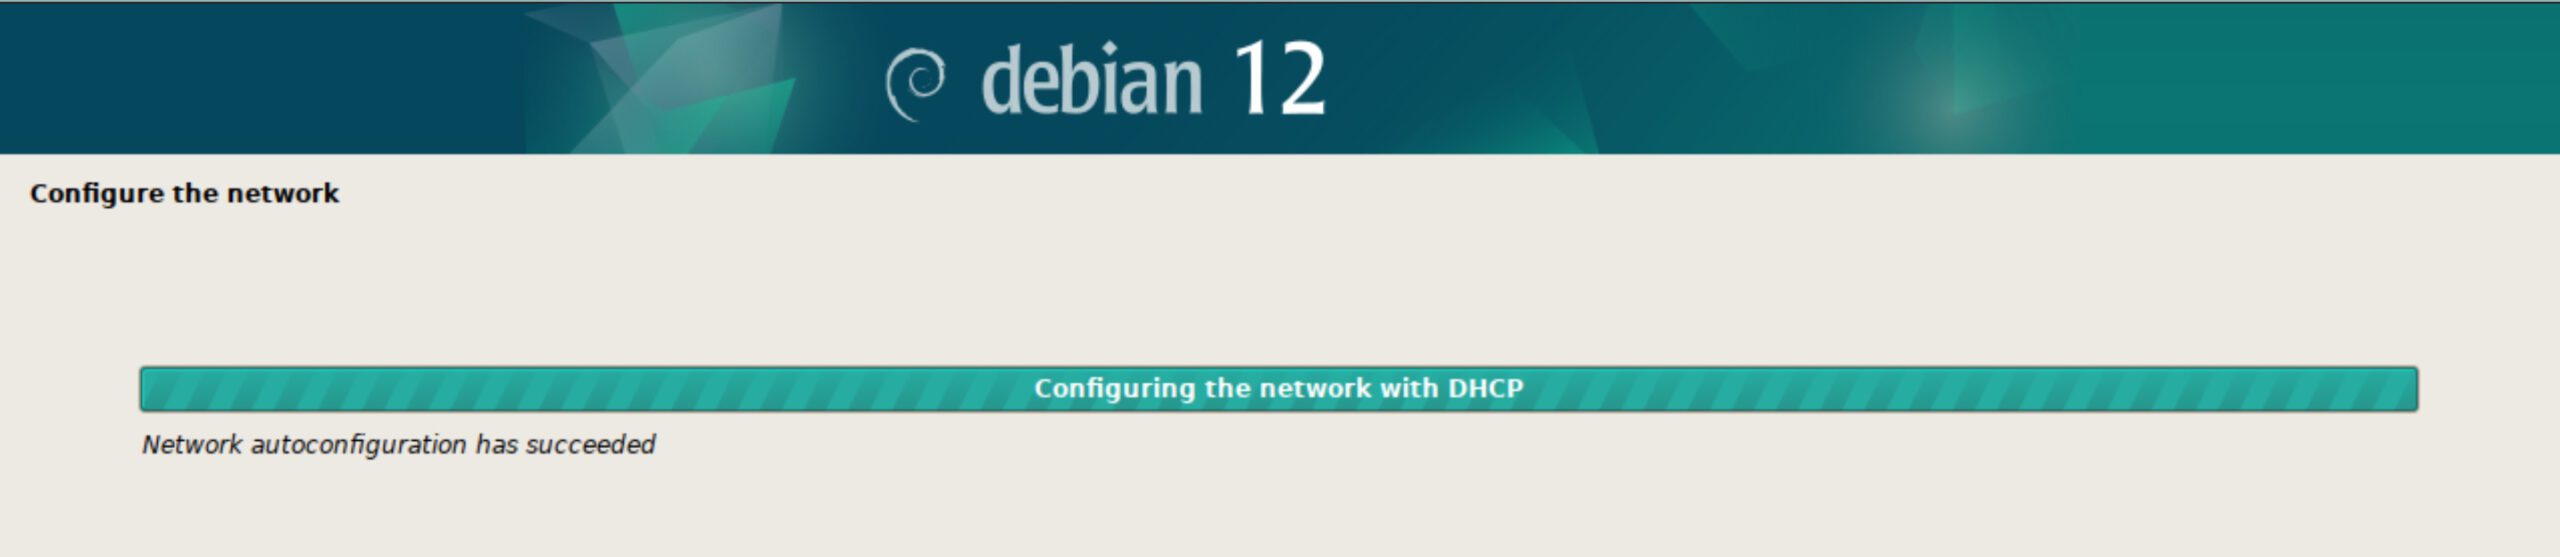

Let’s select Configure network manually and click Continue. Let’s enter our IP address with mask, gateway address (gateway), DNS server address (name server, it can be Google DNS address 8.8.8.8) and a friendly name of our server. (we can omit the domain name by leaving the fields blank).
In the next steps, enter the appropriately complex password for the root user and create an additional user for tasks that do not require such high privileges.
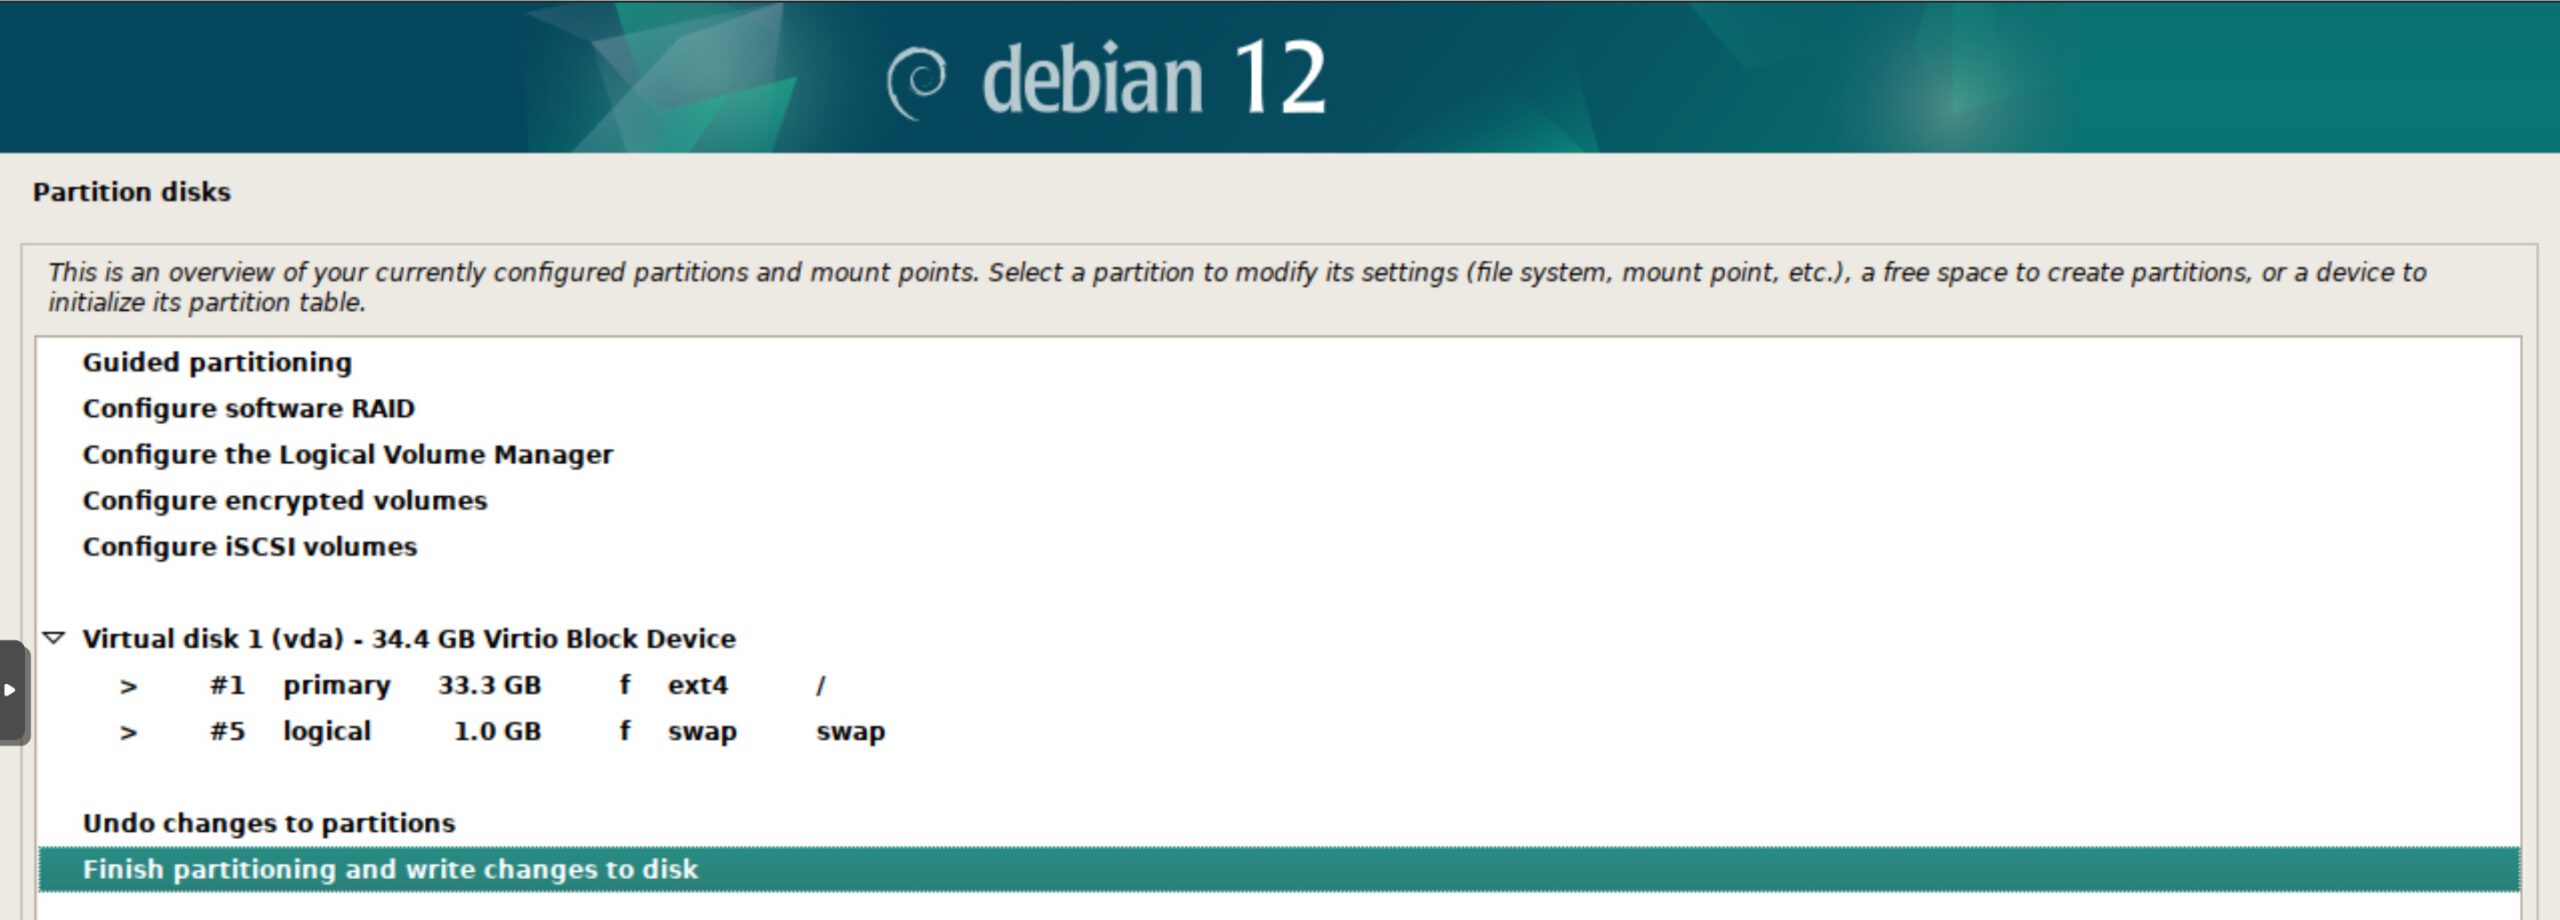
The installer will continue with the configuration and stop at the Partition Disks step. It is best to choose the default option, i.e. Guided - use entire disk. Next, we will be asked to create one partition and I suggest doing so. (All files in one partition). At the end of this stage, leave the Finish partitioning and write changes to the disk option and click Continue. On the next screen, select Yes. This will format the drive and fundamentally install the system
Configure the package manager screen, asking if you want to scan additional resources with other configuration packages. We skip this step. Then we choose the closest geographical location for the package configurator. We usually don’t need to enter any proxy. 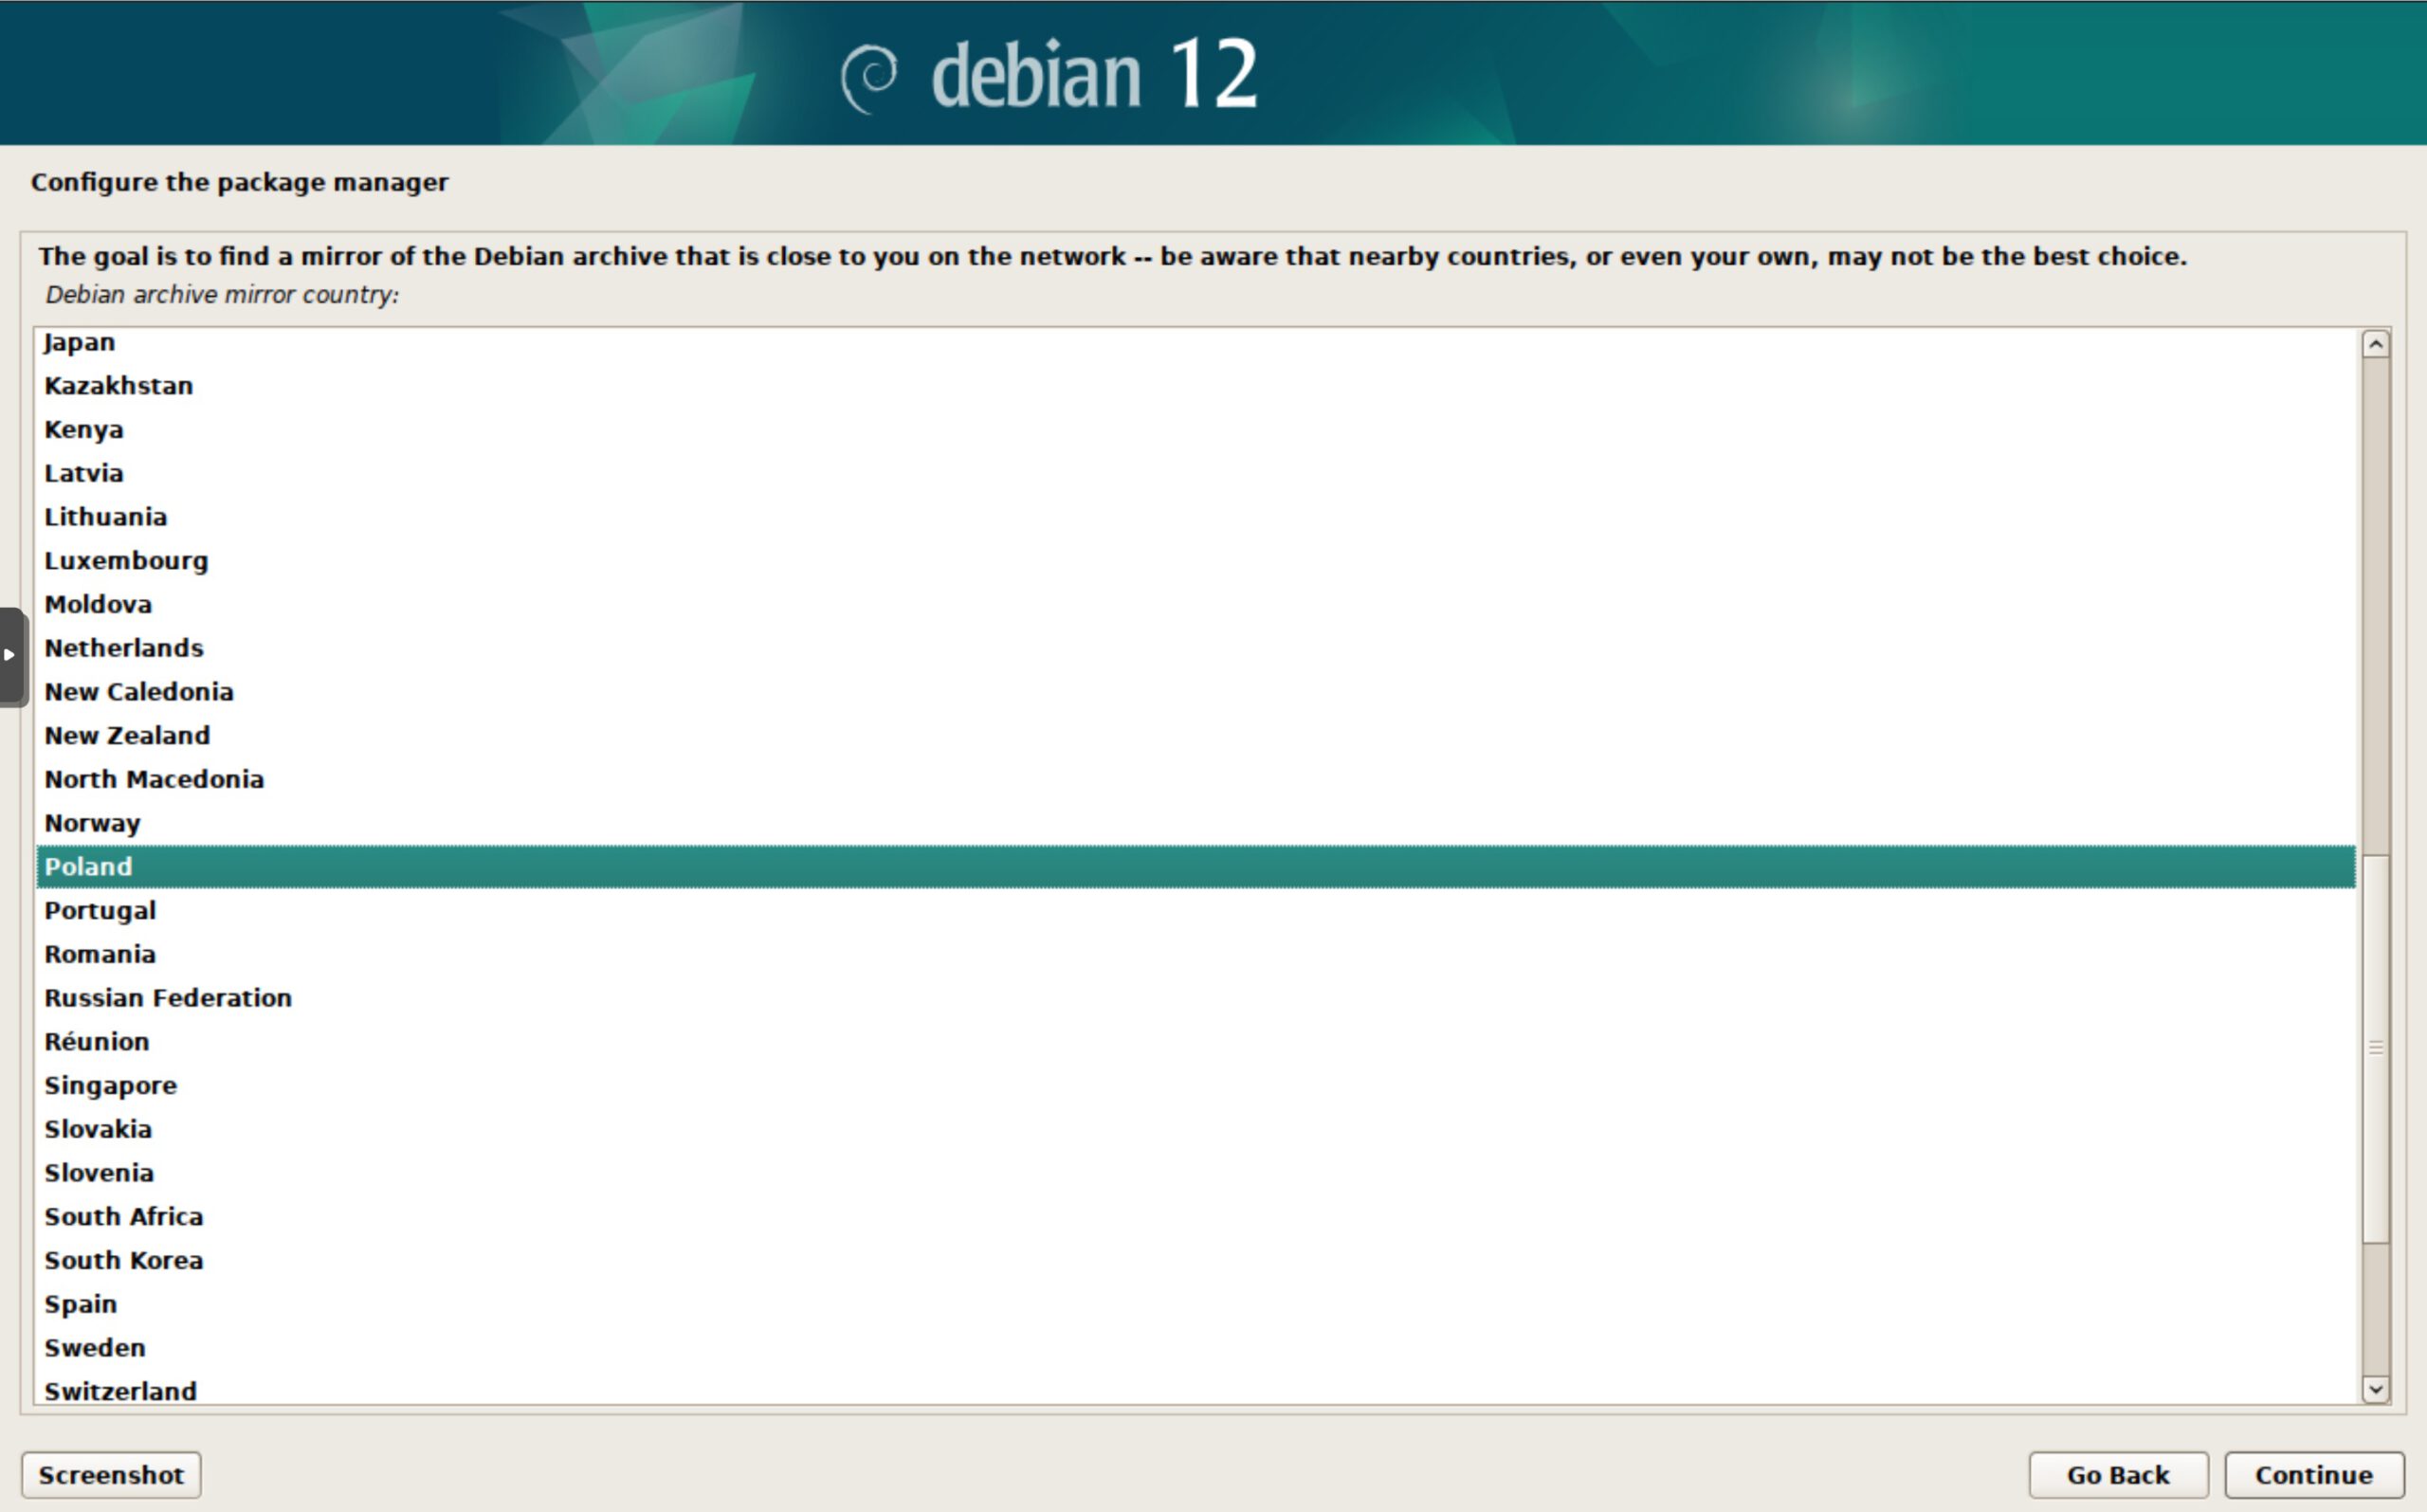
Configure the package manager screen, asking if you want to scan additional resources with other configuration packages. We skip this step. Then we choose the closest geographical location for the package configurator. We usually don’t need to enter any proxy. 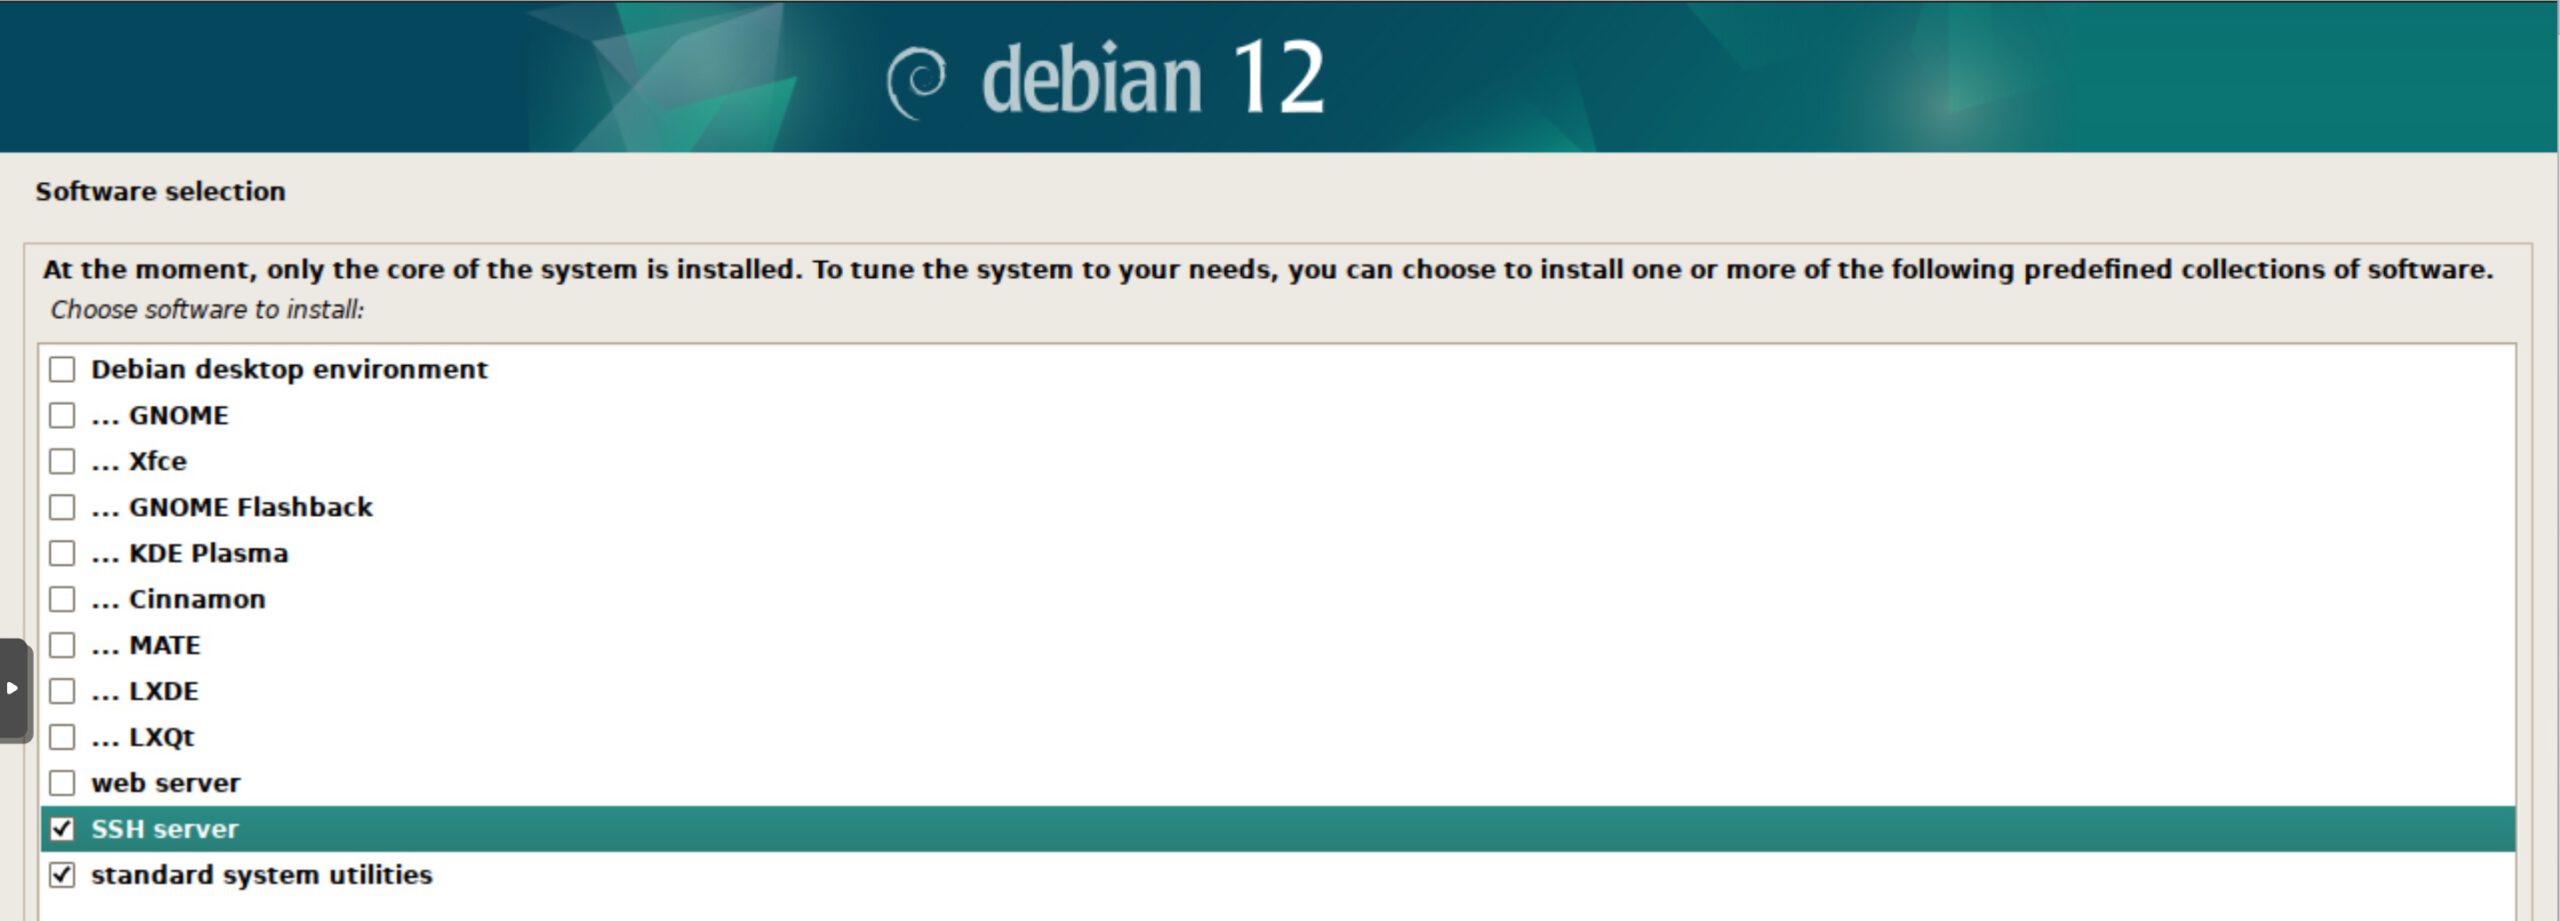
GRUB boot loader on our main partition. (Yes option) Of course, we select this partition and click Continue. 

2) Preparing the environment
After installing Debian, we already have useful tools such as nano, wget and tar in the package. We will also install curl for our needs and update the operating system.
					apt update
apt upgrade
apt install curl
We will uninstall the default apparmor access control system. It could interfere with the operation of our asterisk.
					systemctl stop apparmor
apt remove apparmor
Now we will download the Asterisk installer and unpack it.
					cd /usr/src
wget http://downloads.asterisk.org/pub/telephony/asterisk/asterisk-20-current.tar.gz
tar zxvf asterisk-20-current.tar.gz
rm -rf asterisk-20-current.tar.gz
install_prereq provided with the Asterisk project, which help automate the installation process.
The install_prereq script identifies and installs the necessary system dependencies that are required to compile and run Asterisk, as well as the libraries, tools, or other components needed for Asterisk to function properly.
If you want to find out what exactly this script does, it’s always worth checking the Asterisk documentation or reading the comments in the install_prereq script itself, which may contain information on this topic.
					cd asterisk-20*/
contrib/scripts/install_prereq install

3) Asterisk Compilation
The next command will initiate the software configuration process, which is required before the actual compilation. Configuration files that are used during the build process will be generated. These files contain information about your system configuration and build options. These will be Makefiles or build scripts that are used to actually compile the software.
The ./configure command is designed to adapt software compilation to a specific environment. Thanks to this, the compilation is optimized for a given operating system, architecture and available resources.
./configure command with the parameters shown in this warning, we will not be able to run Asterisk.
./configure --libdir=/usr/lib64
So let’s execute this command without any parameters!
./configure
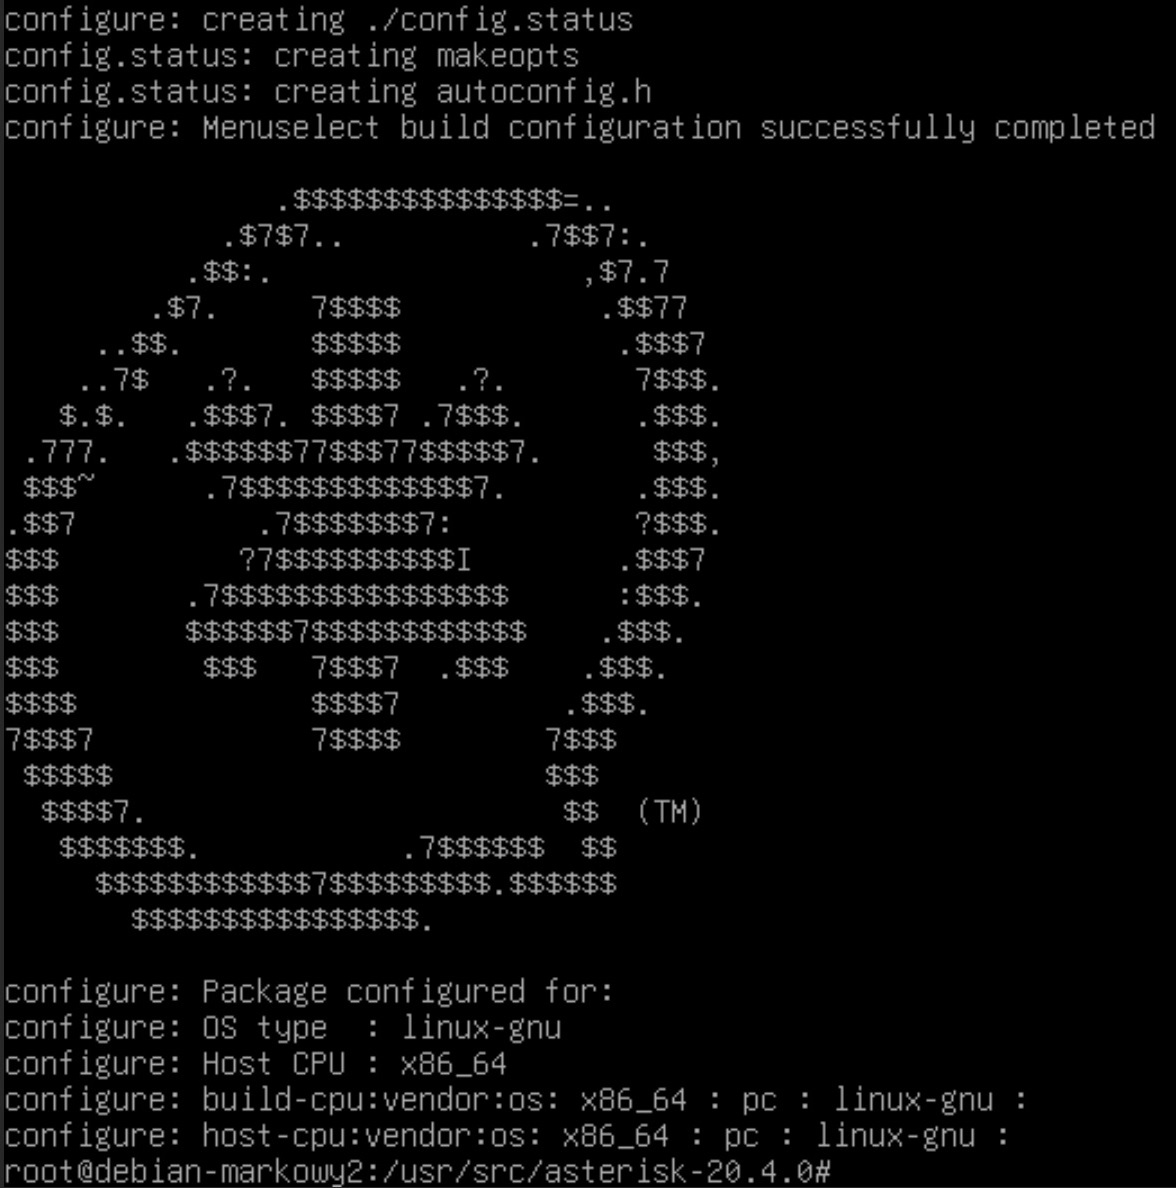
Correct execution of this command will result in displaying an Asterisk logo similar to the one below
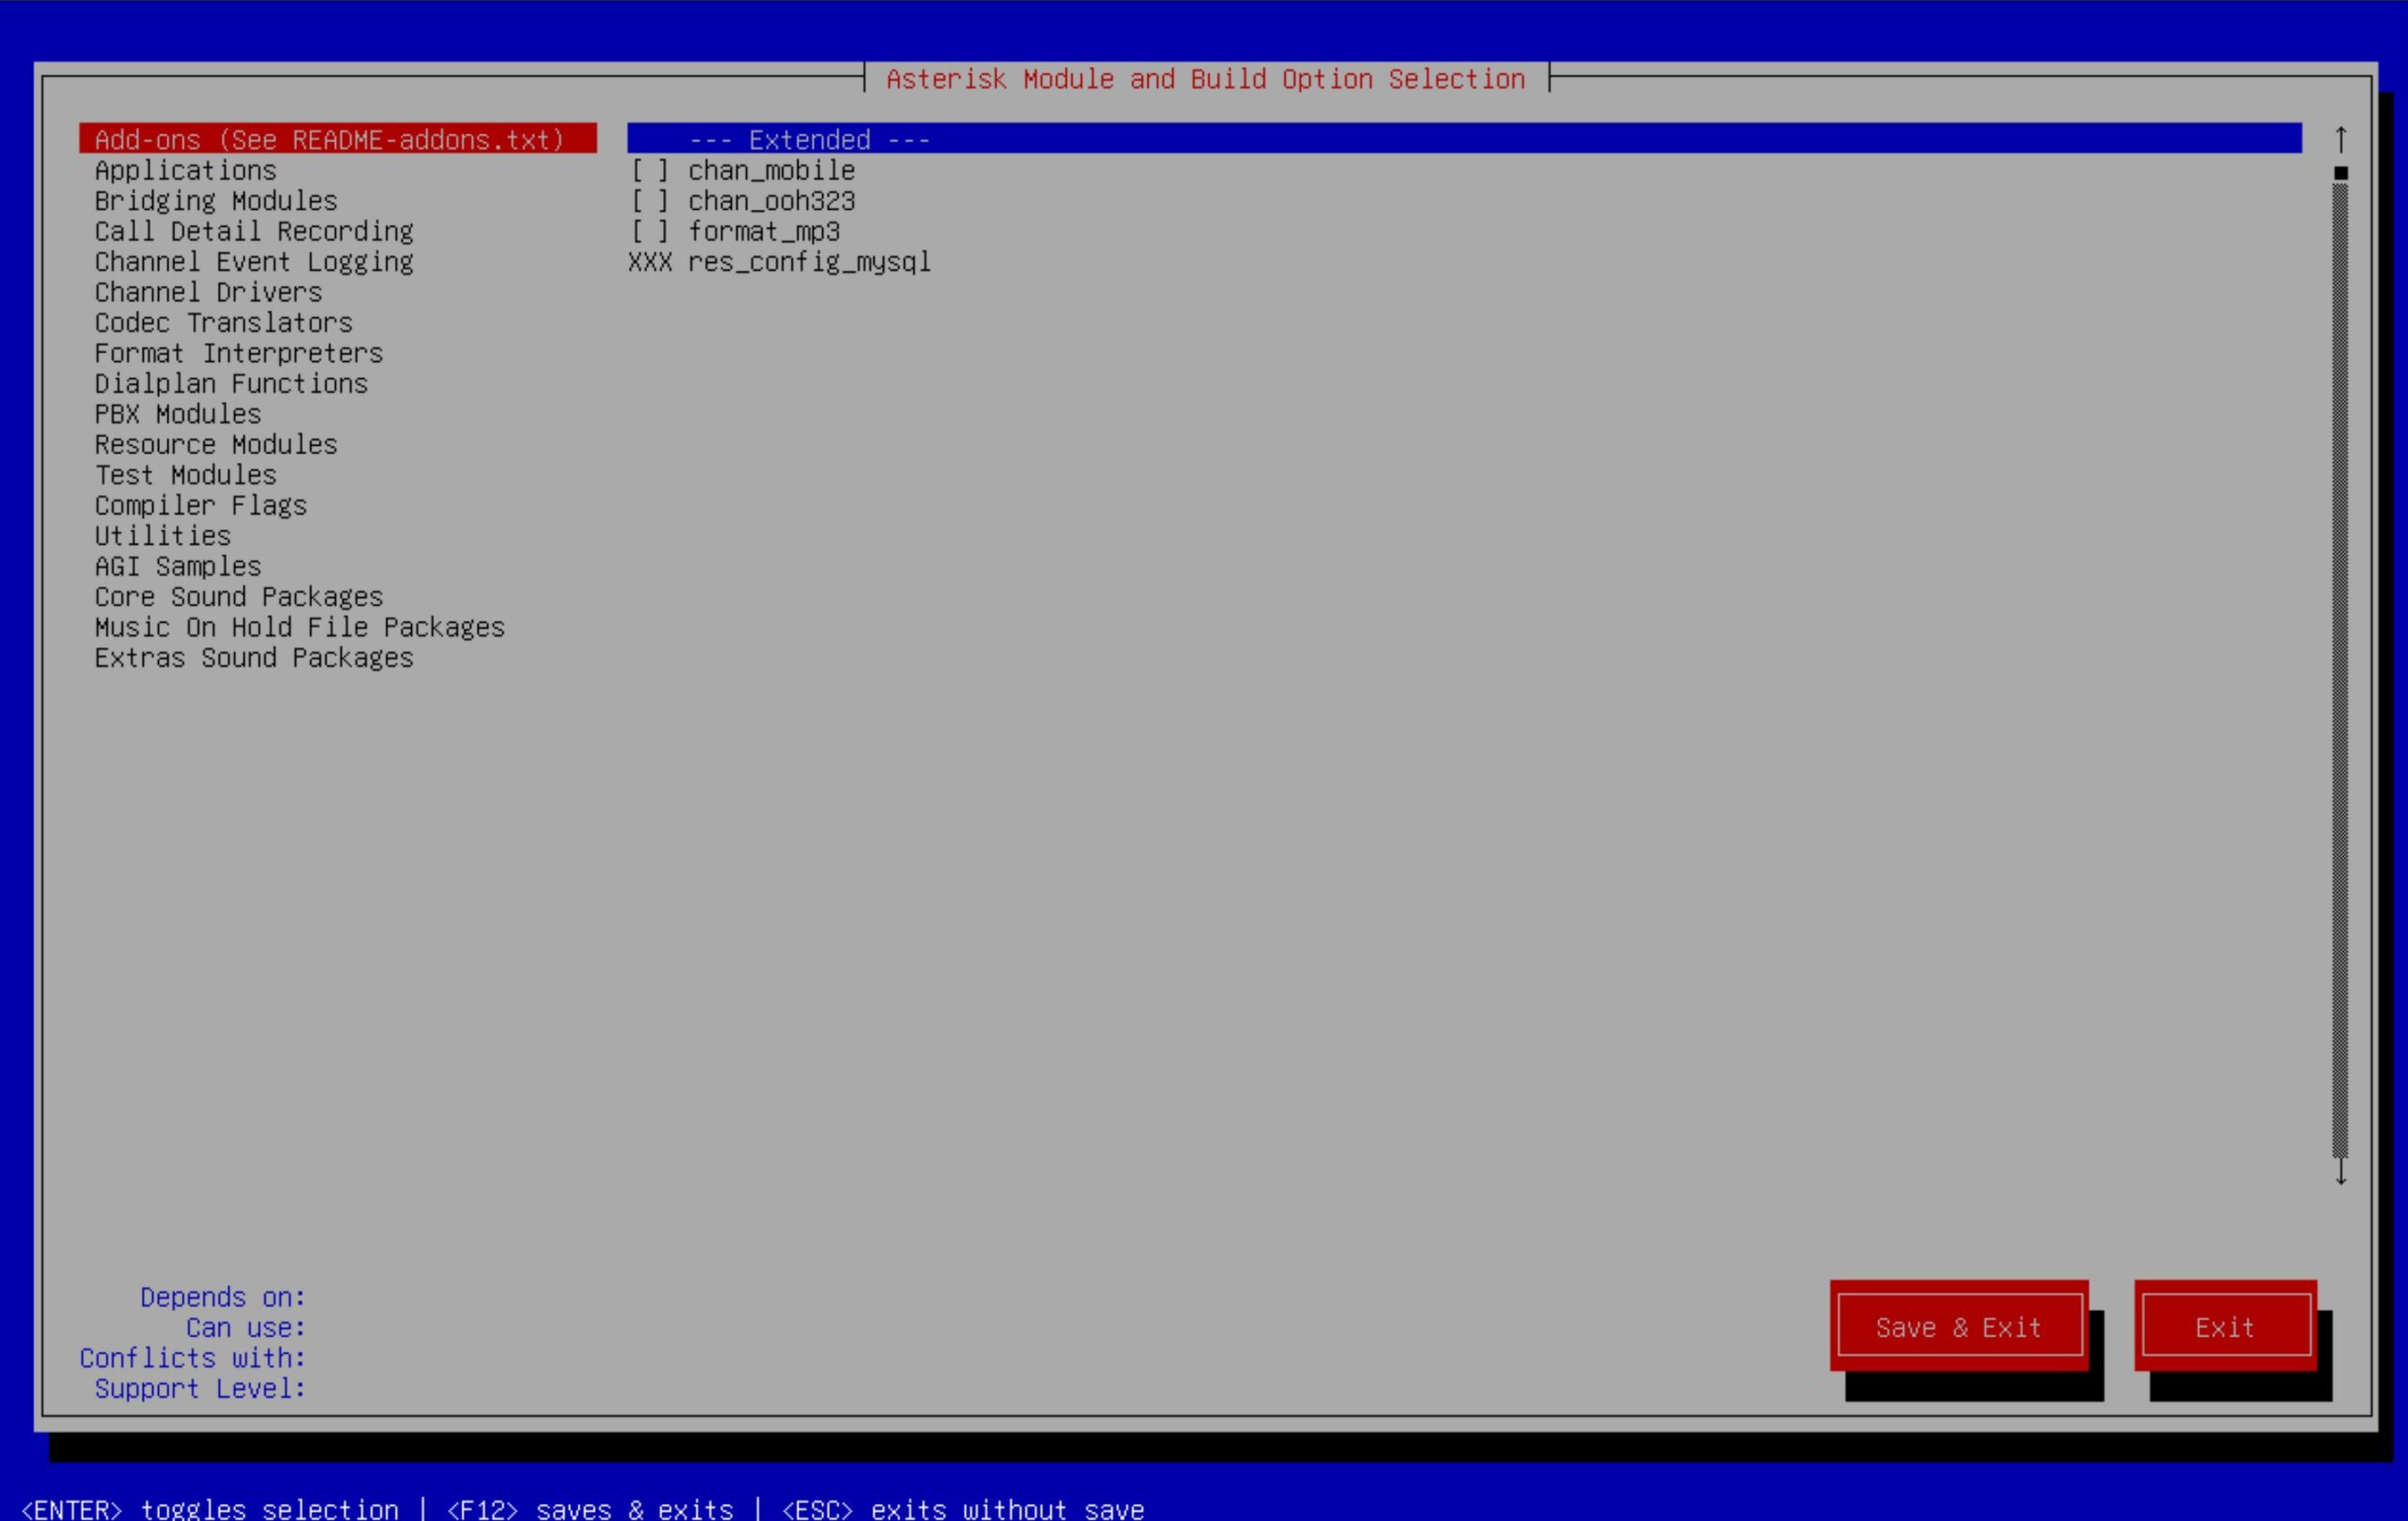
make menuselect.
We will see a list of available modules (e.g. communication protocols, monitoring tools, IVR applications, etc.) that can be compiled and enabled in a specific Asterisk system. You can browse available modules, check or uncheck the modules you want to compile and enable in your Asterisk system. These selections will be stored in the configuration file.
Once modules are selected, make menuselect can allow the user to customize their configuration with additional options. For example, you can customize the SIP-related settings for the SIP module.
make menuselect
make command itself, which will compile Asterisk taking into account the selected modules and their configuration.
make
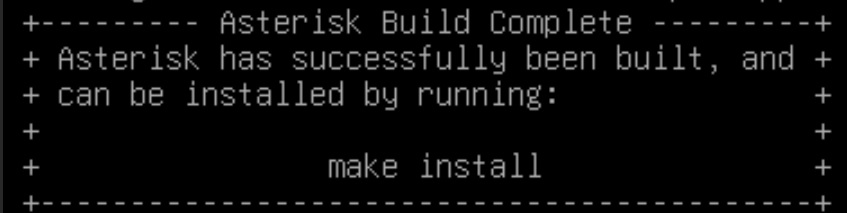
Depending on the options you choose, the compilation may take some time. At the end, we will receive satisfactory information similar to the one below.
4) Asterisk installation
make install command will install the compiled software on the system.
make install
After a usually short installation, we receive the following message.
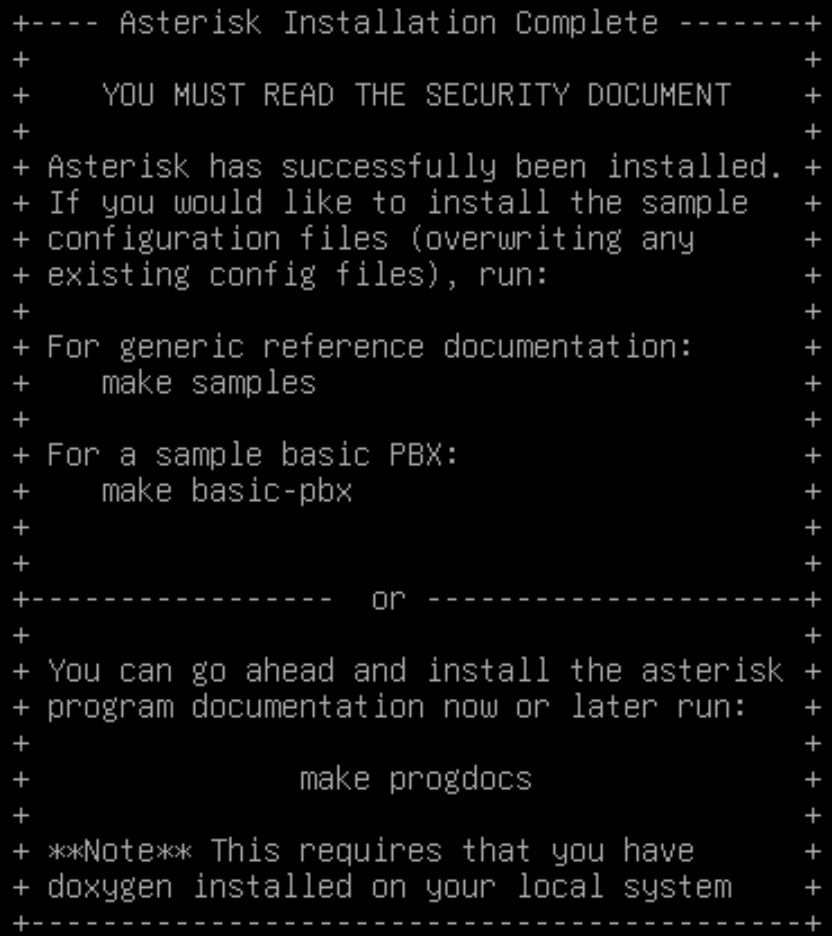
Now we can, as suggested, generate sample configuration files and move them to the samples directory, where we will be able to use them as a base for further configuration of our services.
					make samples
mkdir /etc/asterisk/samples
mv /etc/asterisk/*.*  /etc/asterisk/samples/
make basic-pbx command does:
- Create a basic configuration: The command generates a basic Asterisk configuration, which includes configuration files for users, extensions, contexts, and outbound routes.
- User configuration: The command can create user configurations, which allows you to establish connections between them within the PBX system.
- Configuring extensions: The PBX scenario contains extension examples that define what actions should be taken when users dial specific extensions.
- Contexts: The PBX configuration is divided into contexts, which define what phone numbers and extensions are available in which part of the system.
- Outbound Routes: A PBX scenario may also include an outbound route configuration that determines what numbers users can dial for external calls.
make basic-pbx command is useful for people who want to quickly run Asterisk as a simple PBX for testing and experimentation. Once done, you can customize the generated configuration to suit your needs and add more advanced features and extensions if necessary.
It’s worth remembering that Asterisk is a very flexible platform, so the PBX scenario is just one of many examples of configurations that can be implemented. For more advanced and specific applications, a more advanced configuration may be necessary.
make basic-pbx
The last installation command will create startup files.
make config
Now we are ready to run the Asterisk system
5) Starting the Asterisk system
First, we will add Asterisk startup to autostart
systemctl enable asterisk.service

asterisk.service is not a native service should not worry us, because Debian takes care of adding the service to the startup itself.
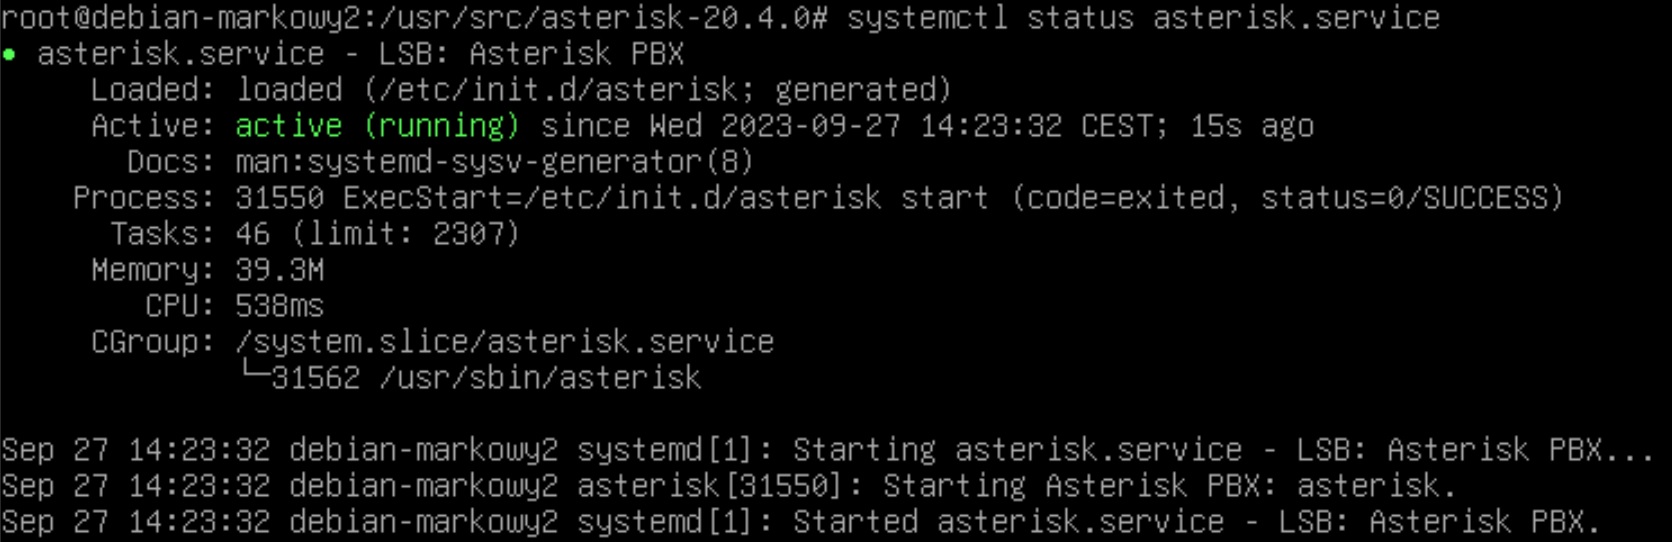
The following set of commands will allow us to run Asterisk and check its status.
					systemctl start asterisk.service
systemctl status asterisk.service
Correct start of the service will greet us with a message similar to the following:
We can now launch the Asterisk console and start monitoring the service and its further configuration. Have fun working with asterisk.
asterisk -rvvvv